With Special Forces come special tools for the battlefield, the most useful, in my book, being the grappling hook.

Assault troopers and anti-tank infantry are granted this device on all SF maps, except Iron Gator. This guide will show you the unbeaten spots on Ghost Town that will prove useful on the battlefield. Some of these tips can also apply in other maps where scenarios are similar.
I’ve taken screenies of the spots and their view points, which are often vast given their often bird’s eye view of the battlefield. Hope your Internet connection is ready for a pounding. All of these scenarios were viewed in 64-size Ghost Town. Only one or two will differ from 32-size, and none of these may be useful for 16-size, but where can you find 16-size these days online?
The team you’re playing on could have an effect on the spots for obvious reasons. It would be easier for Spetz to access the Hotel rooftop their way via sign (shown in ‘Signs, More than Advertising’ situation), but if an SAS tried it while the Spetz had the Convoy and North Bridge, good luck getting their alive. Of course, the SAS have Hotel roof access with the ladder.
Just a warning, there is a war going on, you will die! But to avoid demise, use your head and be aware of your surroundings. Pressing ‘c’ will change your camera view to a 3rd-person view of you climbing the rope. Switch between the camera modes to stay sharp.
Legend: * = spot 1, ** = spot 2, so on | = zip-line accessible, as well | = kick-ass spot
Now that everything is cleared up, let’s get started, shall we?
*
Hotel signs, more than advertising:
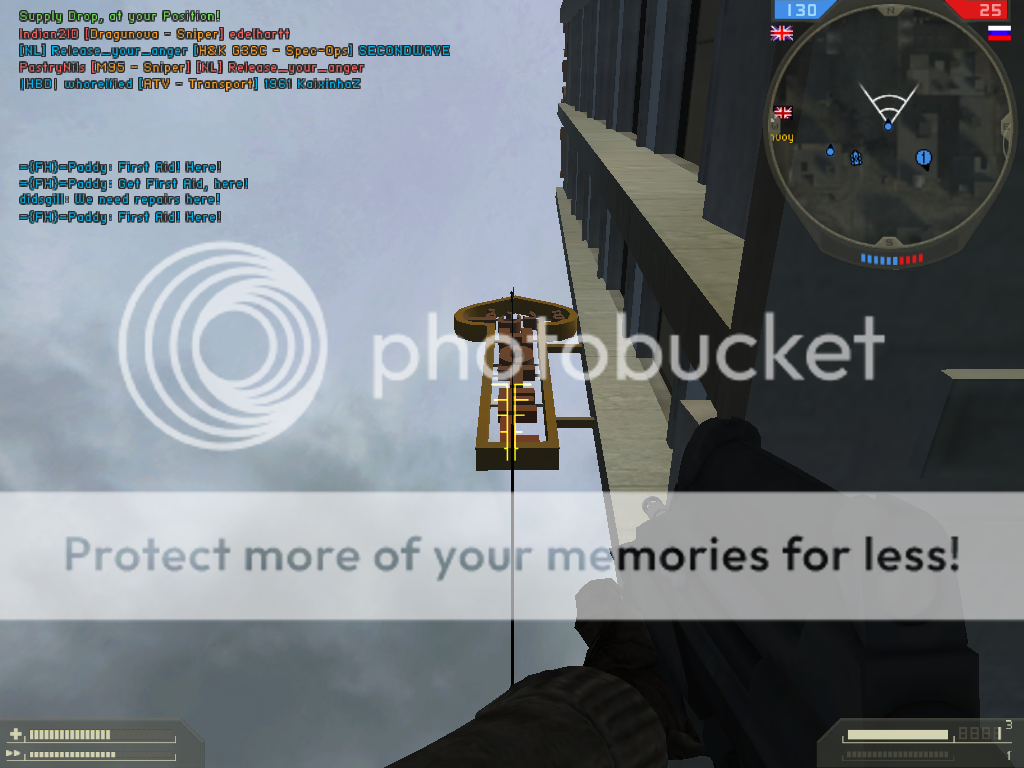
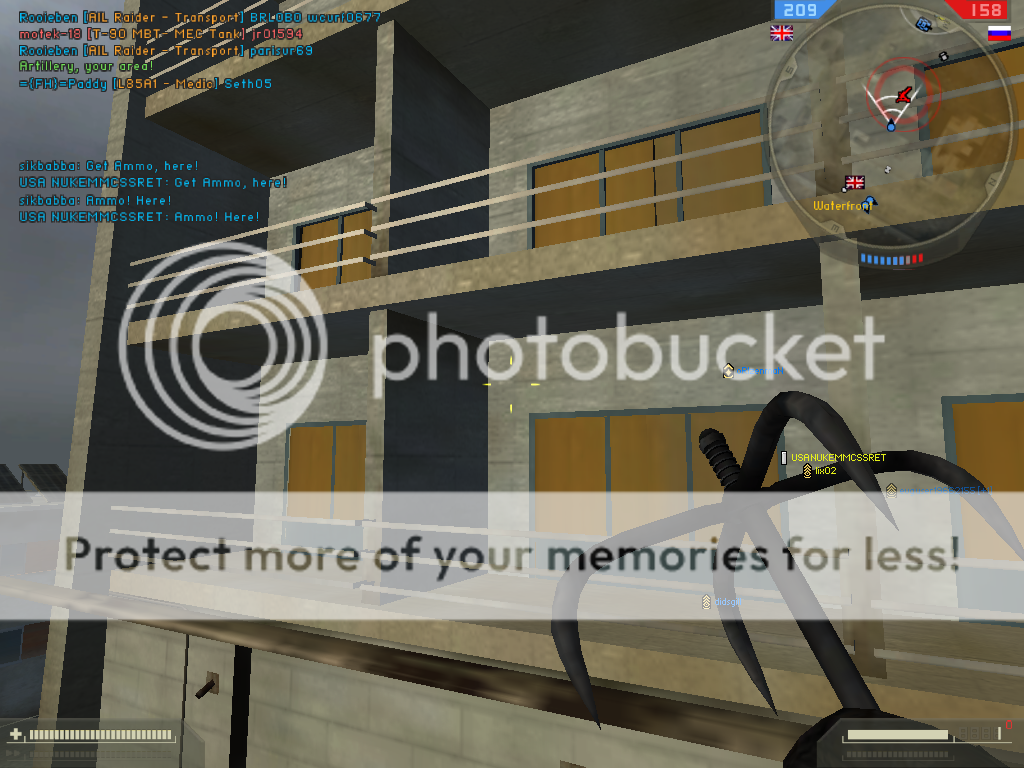
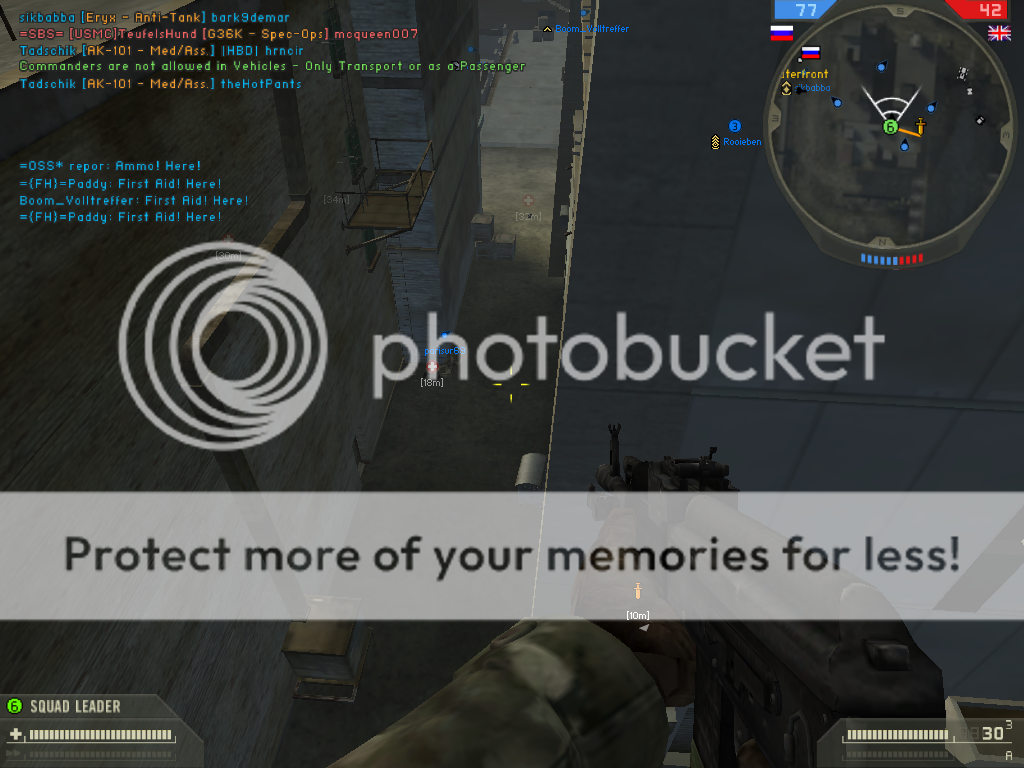
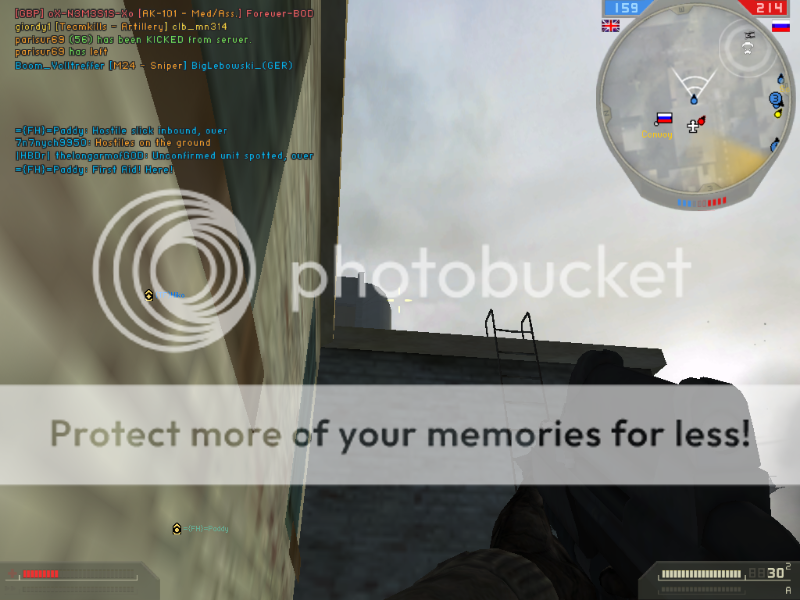
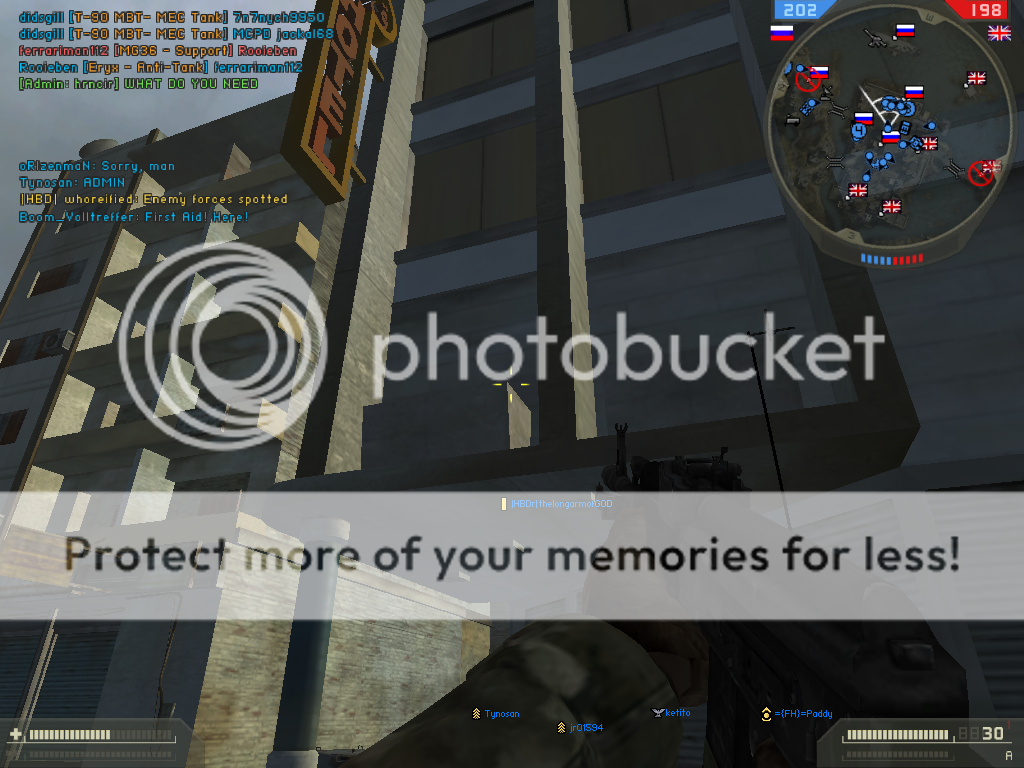
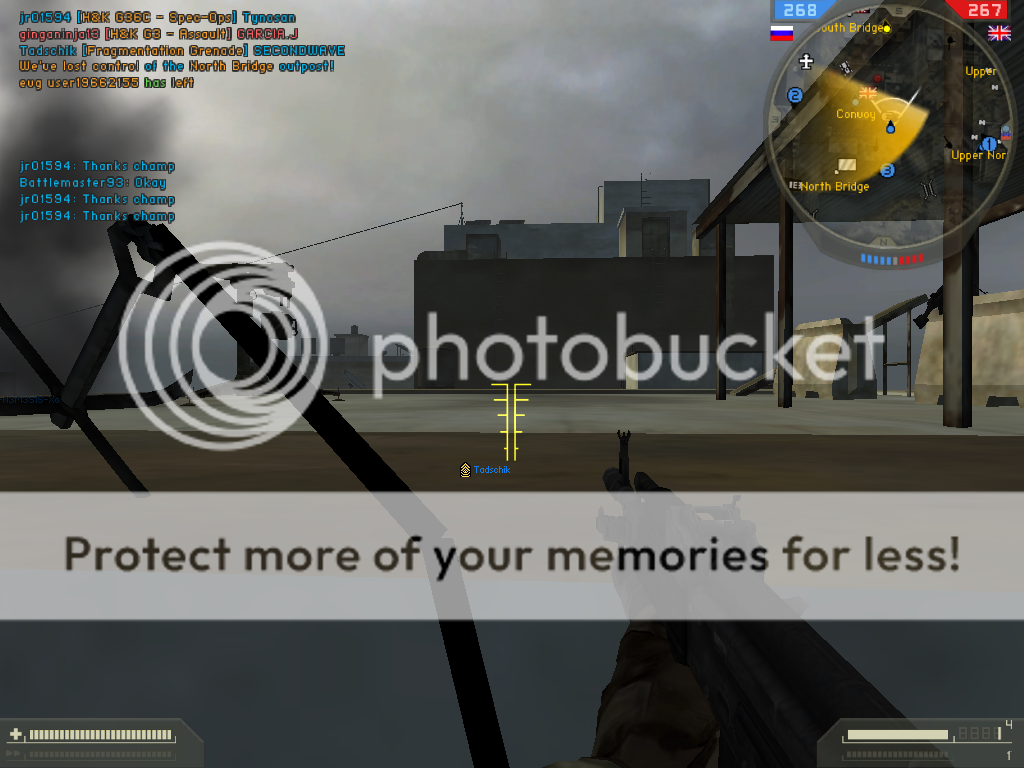
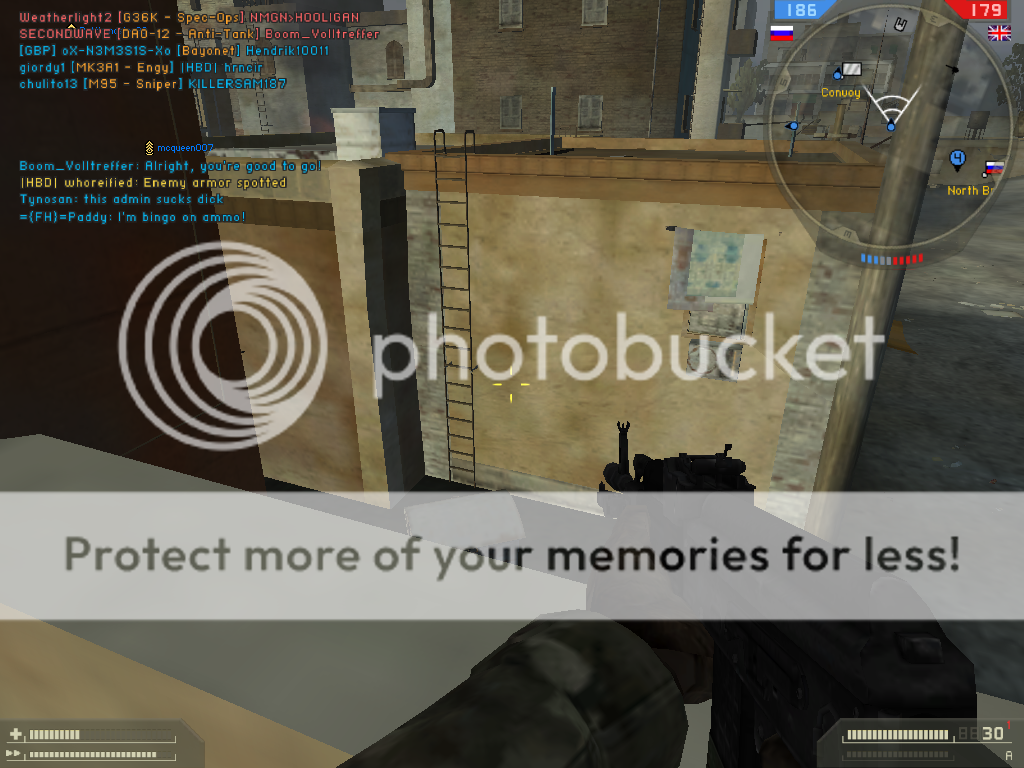
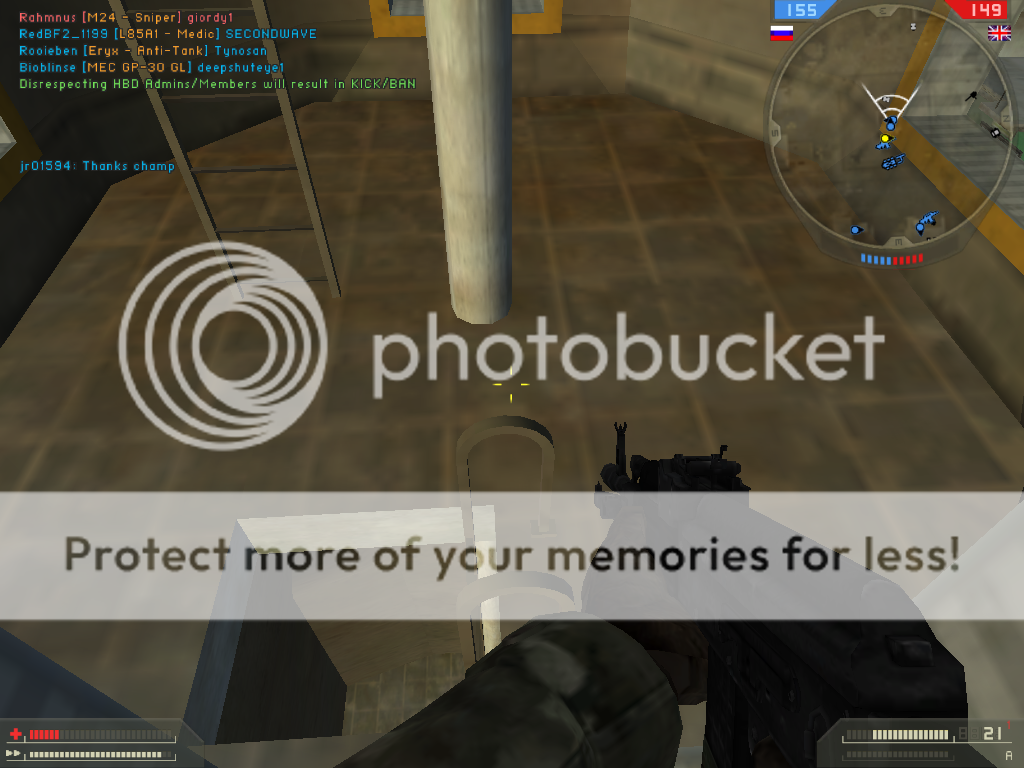
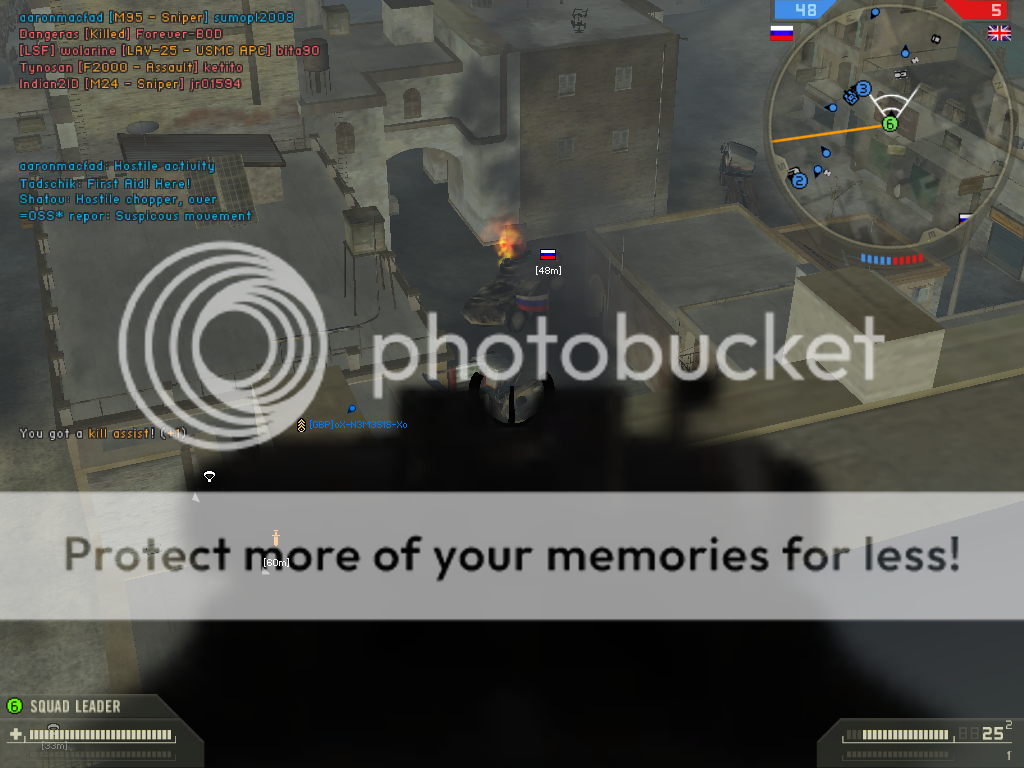
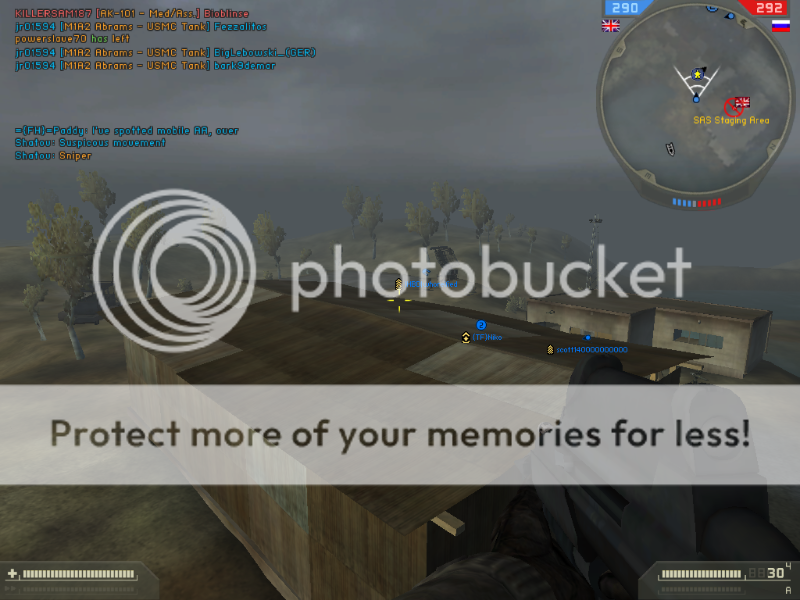
On the ground near the APC wreckage blocking the main road from North Bridge and South Bridge, look up. Why, it’s a sign advertising the Hotel! That Arabic hotel owner gets around, doesn’t he? I’m sure he won’t mind us using his sign for the greater good. After all, enemy snipers could be up there on his rooftop. :x We’re doing that guy a service, really. Toss your hook onto the sign, having the crosshairs above the sign. If it latches onto one of the Arabic letters, no go! You’ll crush your legs and be humiliated.
As soon as you hit solid ground, top of the sign, try not to move, you’ll fall down easily. Standing up, angle yourself to look at the little out branch to the left of the sign. Toss your hook up, again, aim the crosshairs a little above the spot you want to latch onto. Begin the great climb and let’s best those sniping pains! They’ll never expect you, because they’re either looking through their scopes, or don’t expect an assault/anti-tank climbing out of nowhere. I have never seen a person utilize this two-step climbing method ever in my many hours of GT playing.
Almost there, don’t look down. In this case, we won’t be knifing our ally sniper up there, surely. But if it was an enemy sniper, ready your weapon of choice as soon as you reach the end of your line.
Yoink! You just bypassed that claymore-d ladder and got the best of the rooftop campers. Give yourself a pat on the back, after you give me a cookie for showing you this. Fin.
**
Scare the Hotel residents & use their balcony for a surprise attack:
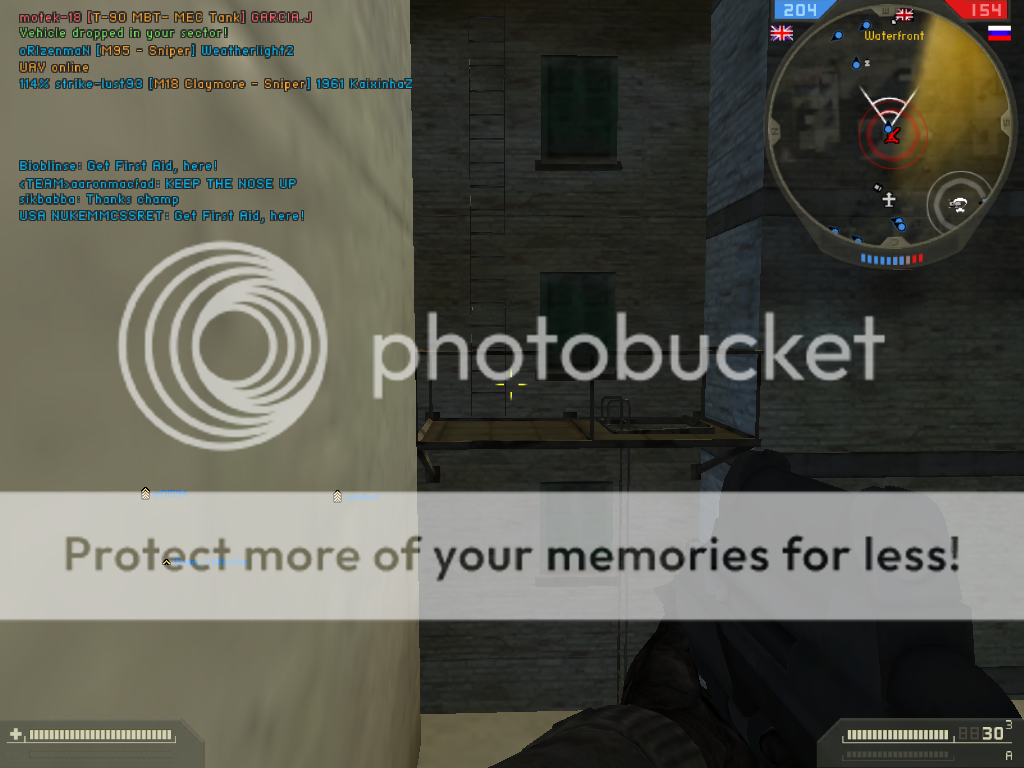
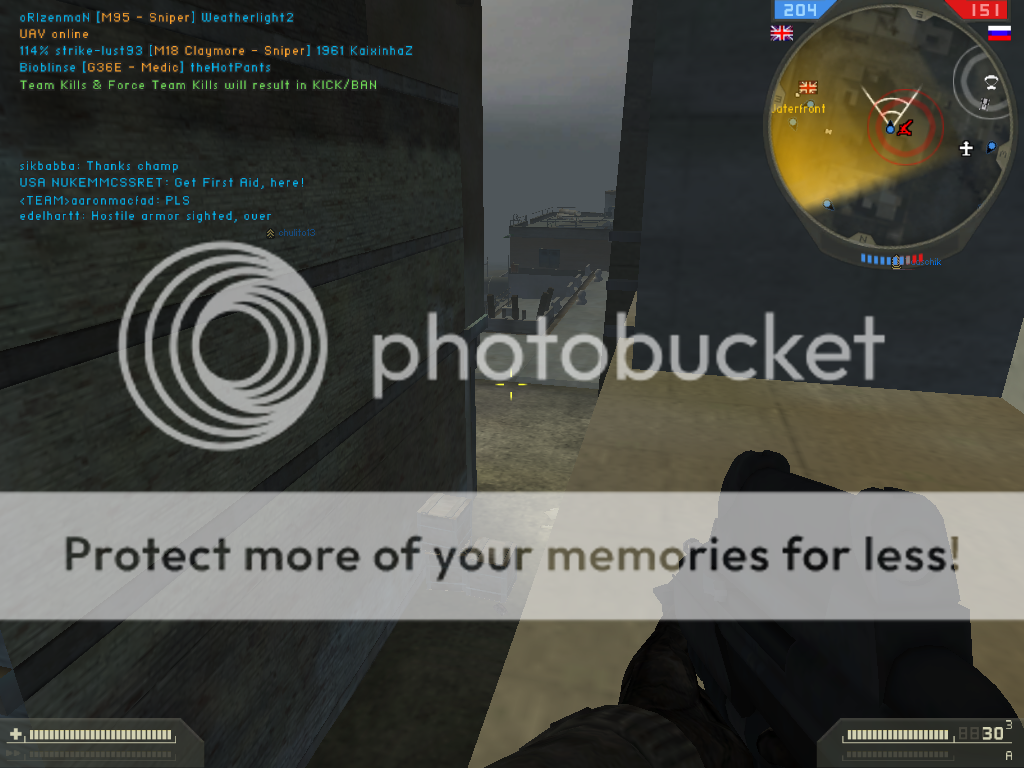
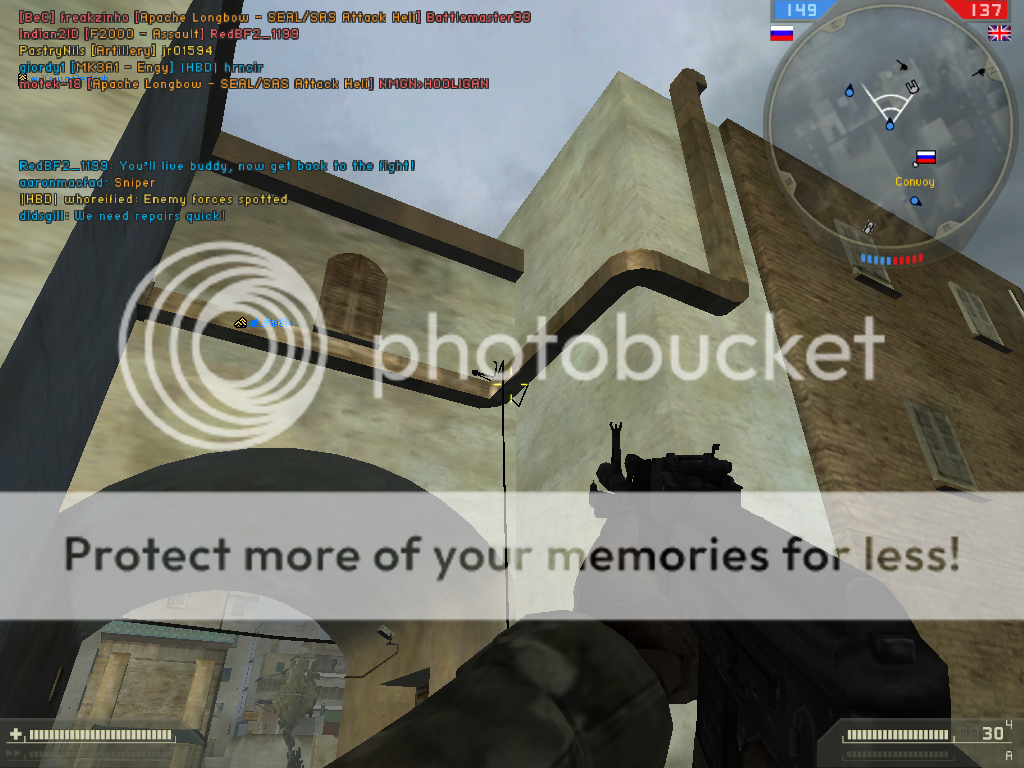
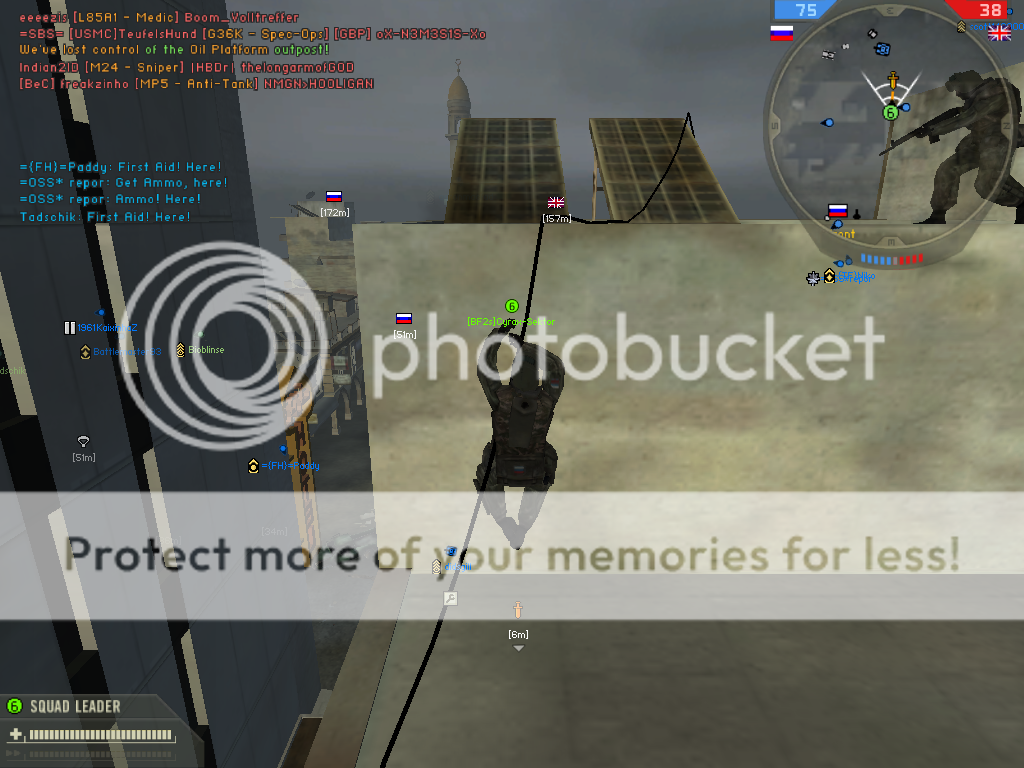
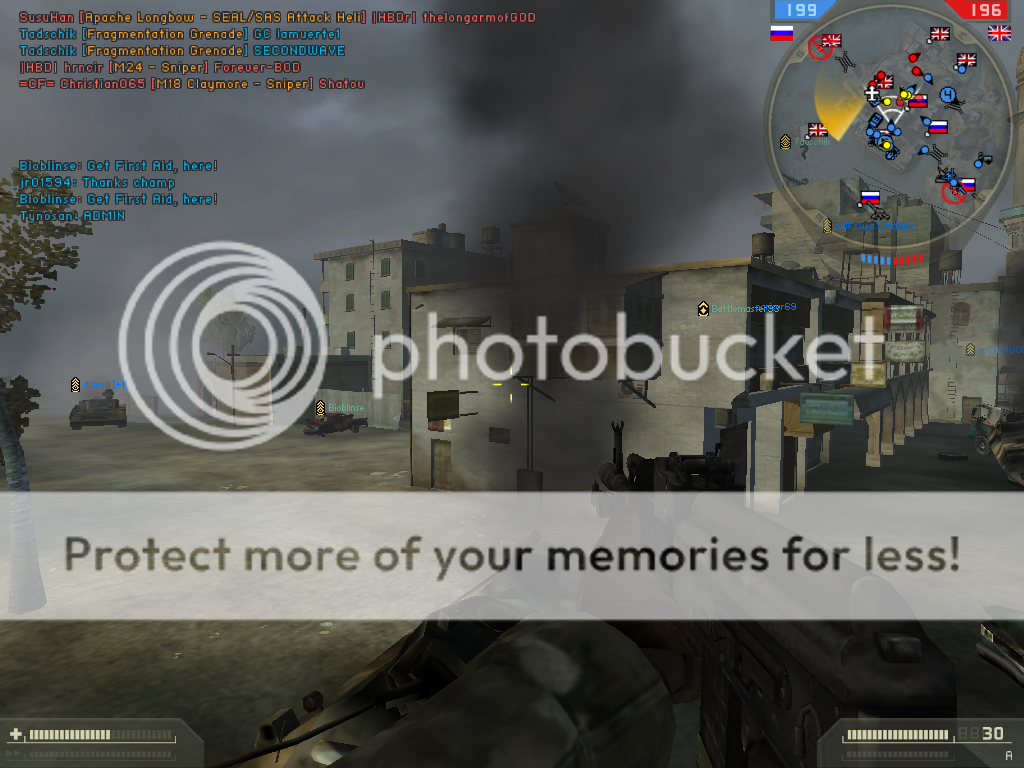
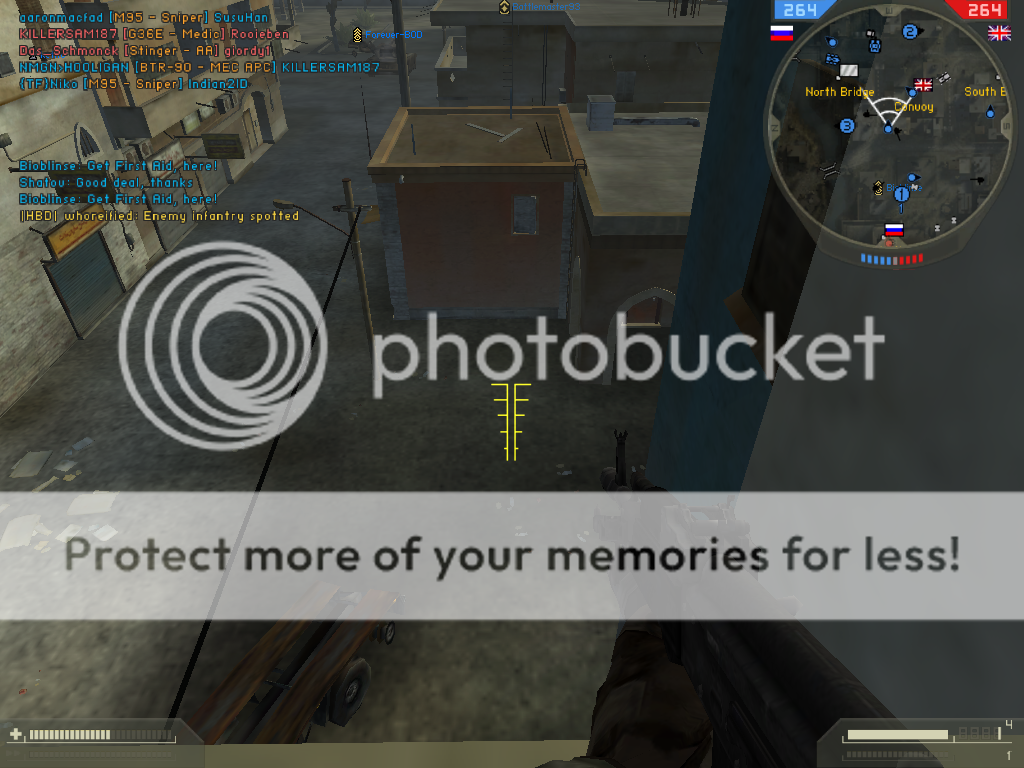
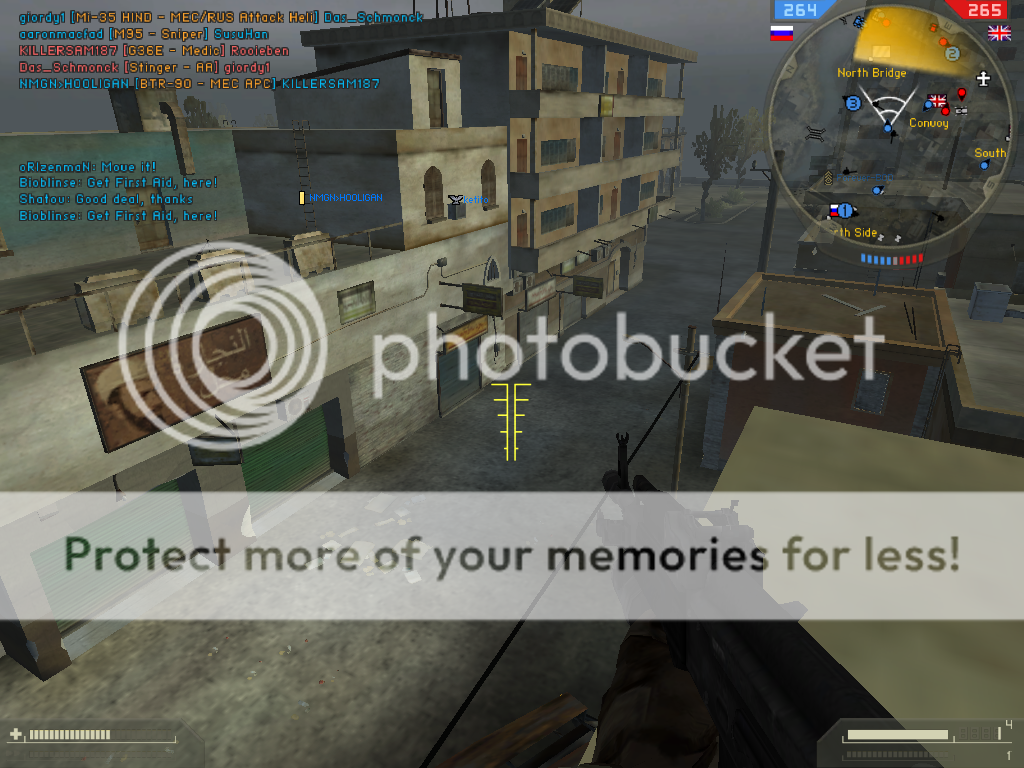
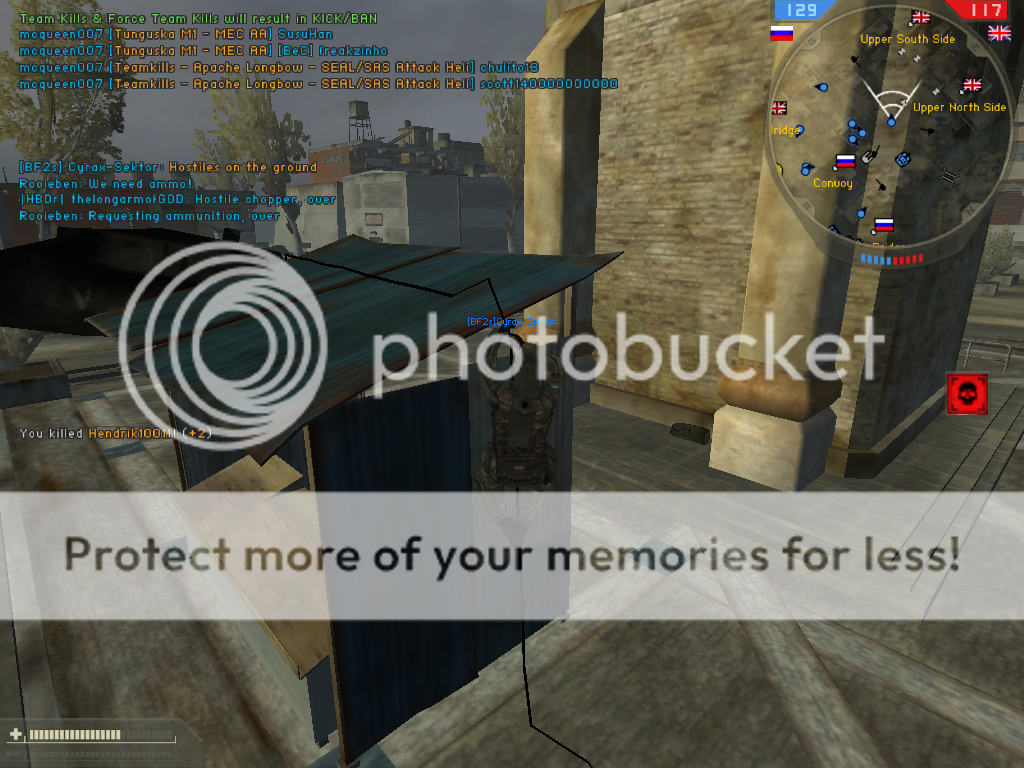
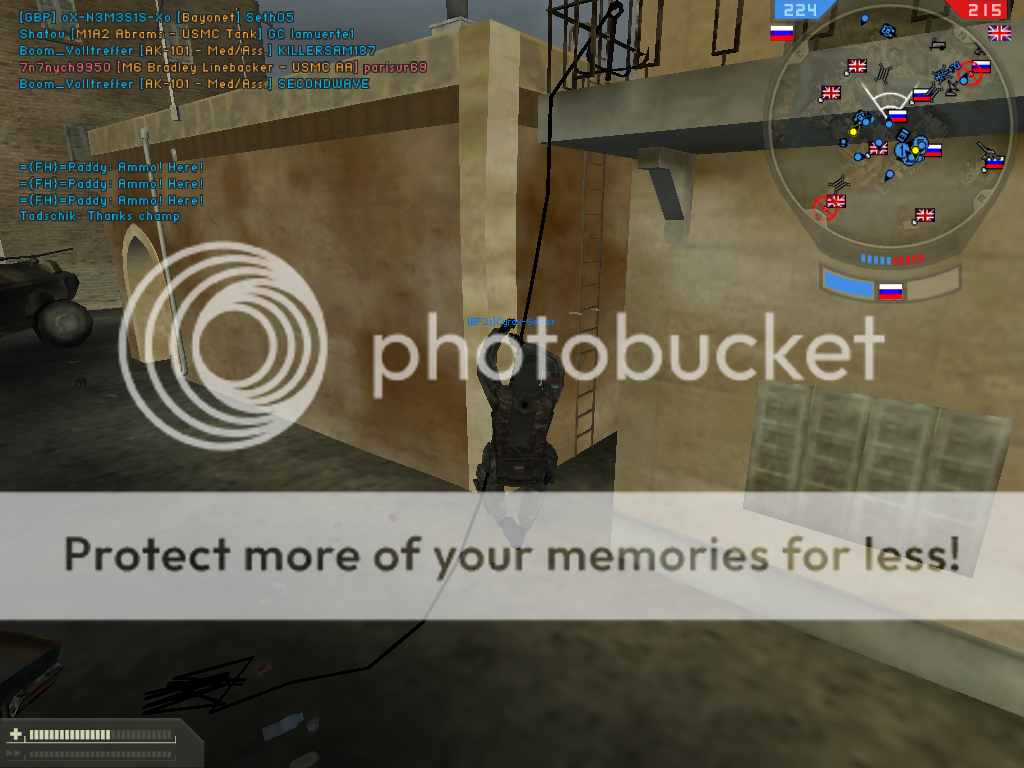
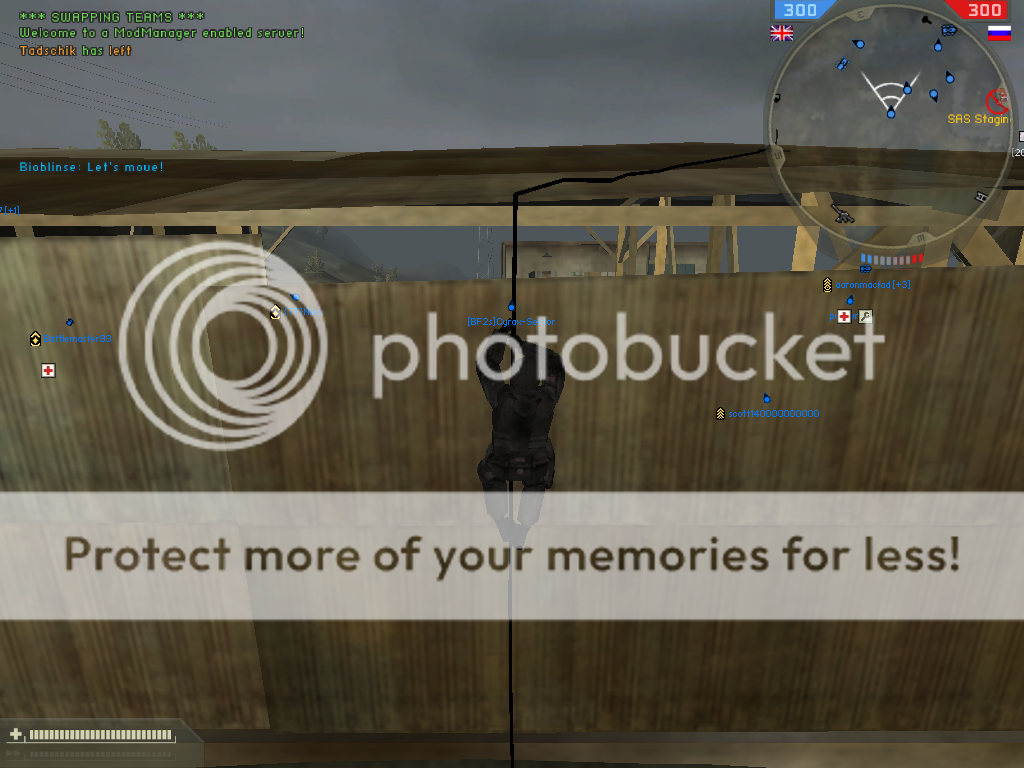
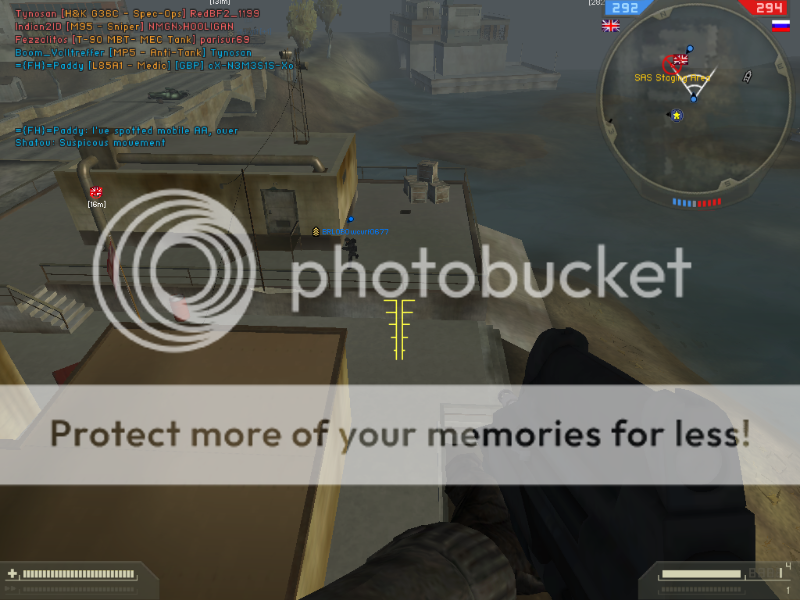
Climb up that first ladder behind the building that overlooks the Waterfront flag. Then toss the hook onto one of the many balconies of your choice, preferably the one I have in the picture. That one offers the best view without it being compromised.
Alternate access: Use the hook from the ground near the ladder and get into the balcony. Either way works, but a guy on the ground throwing hooks in the air will be seen easily with this risky alternate. People usually look ahead of them, not above them.
Sniper/Spec access: These two kits get tools too, but although not as versatile as the hook, they can get the job done here. Climb the first ladder, and then deploy the zip line to get to the balcony. Of course, don’t forget to set the clays/C4 . This could be a handy spot for a commander, as they may have to wait for enemies, and you can hear the enemy climbing the ladder, or see them on your scans/UAV, so you can set off the charge. Or they’ll run into the claymore, so you don’t have to look up from your lounge chair and commander screen. Then you can snipe enemy backs after all of the clays have been depleted.
Sit back and enjoy the sight of an unsuspecting enemy climbing the ladder, merrily claying the ladder, before blasting his ass off the metal overhang and onto the ground. C4’s recommended for giving heart attacks and getting hackussations.
Note: I guess DICE forgot to add the skin of the railing on the other side. You can’t see it, but it’s there, so don’t worry about falling over to your death.
Your balcony view is great, and you appreciate the Hotel owner’s architects (Art Vandelay? ). Hehe, those unsuspecting guys won’t see you coming. Fin.
***
Pipes, like Mario?
---

---
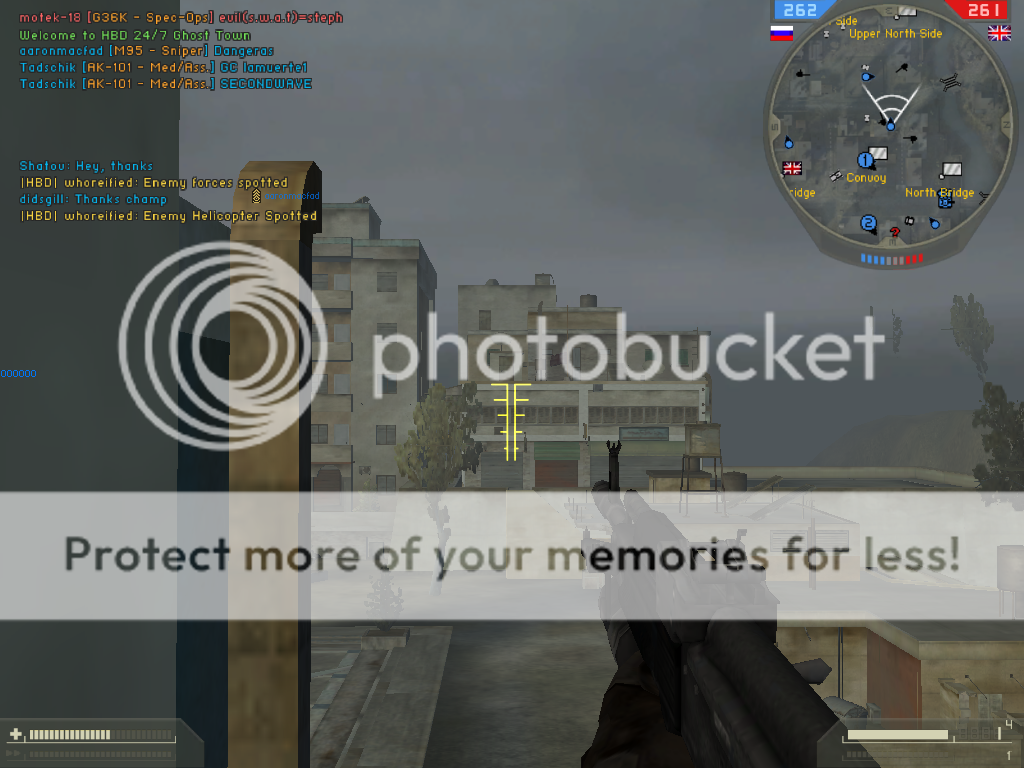
Those little air vents/pipes are handy. You can climb on them, stand on them, crouch on them, prone on them, and live on them.
You can also use them as a midway point from your true destination, giving you double the rope needed.
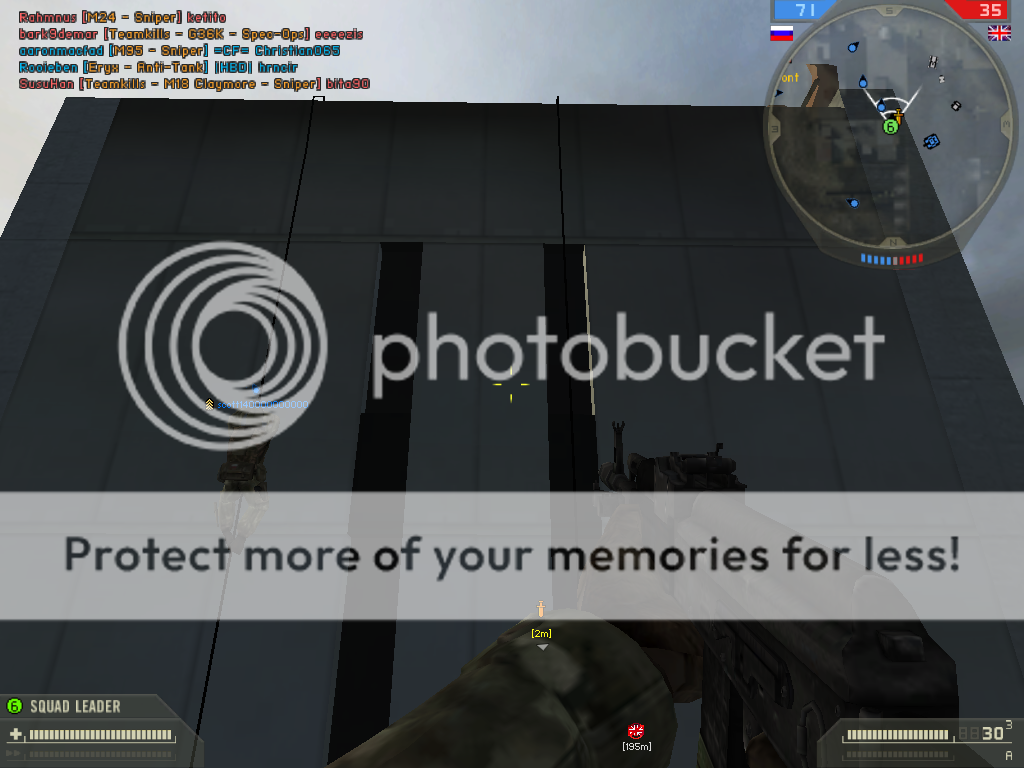
Another way to get to the hotel, but they might see your hook!
These little things are found in many places across the map, and in other maps. I forgot about one or two, so I’ll add them in an update. You can even access them without tools, just don’t fall down. Fin, but update needed.
****
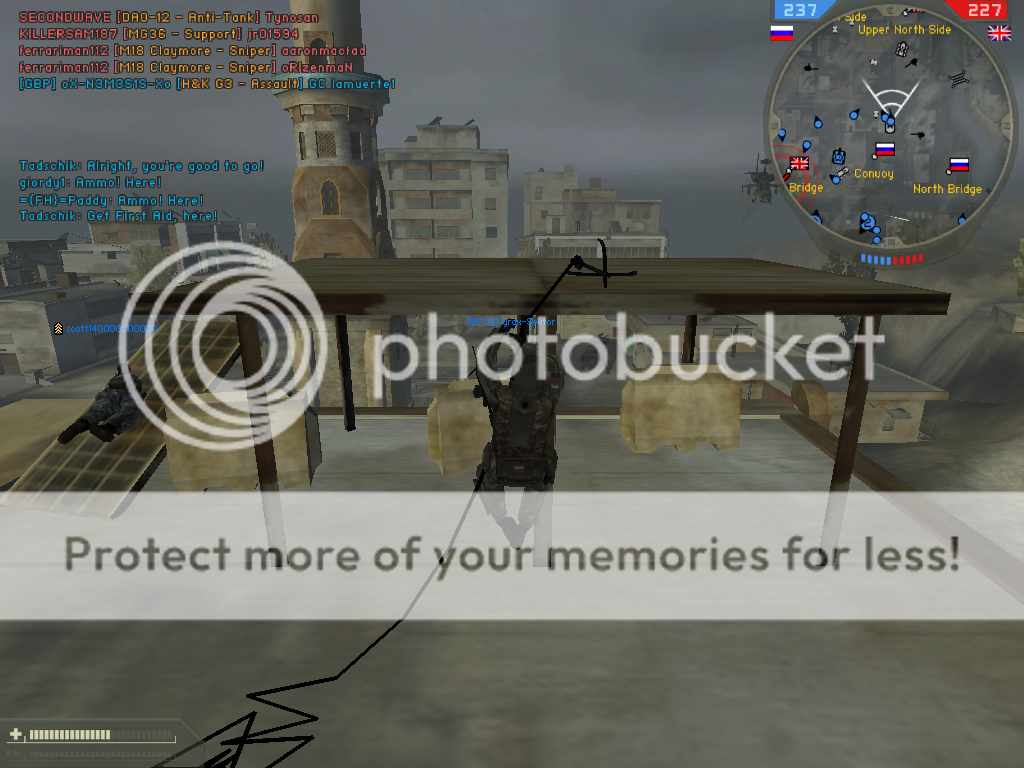
You like planters? You’re nuts if you don’t:
The first spot provides cover if prone from Convoy to your position. The second doesn’t provide as much cover from Convoy, but if Convoy is in your team’s hands, you’re safe from that point. But if Convoy is yours, don’t use the first spot, you won’t see much action.
Sniper/Spec access: On the Convoy buildings, zip line to the desired planters.
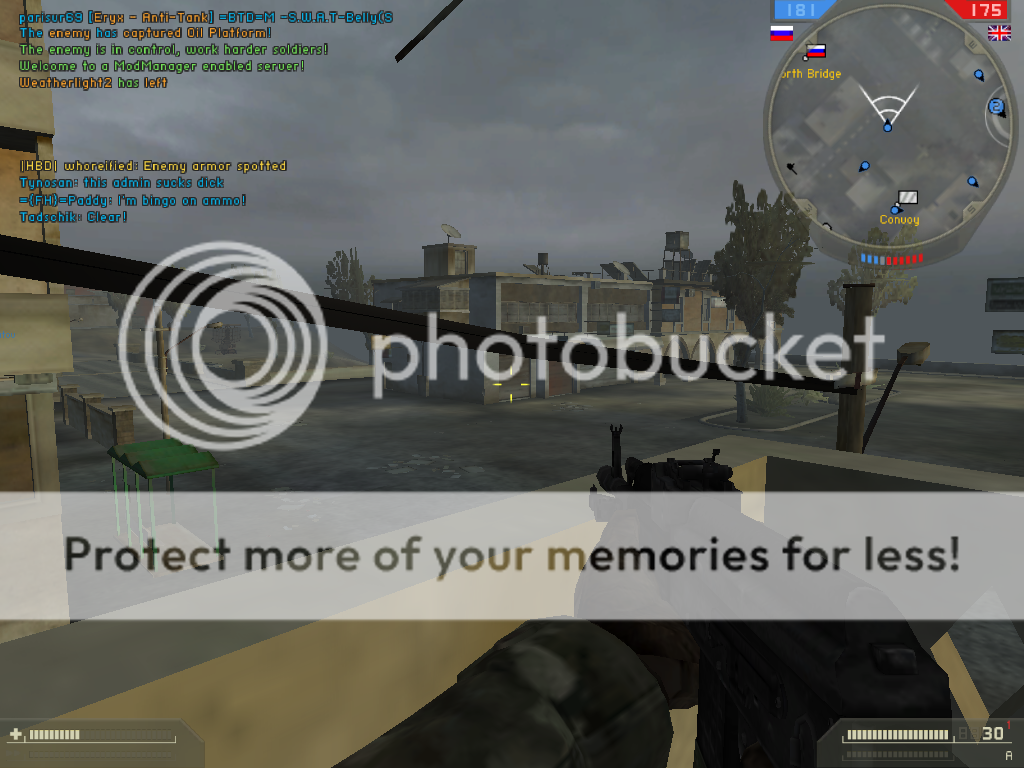
These are your views from the second planters. It’s quite large. You have view of the Convoy flag and the road of N & S Bridge. Snipers would probably be better here, as you’ll be making long range shots. If you’re handy with the non-sniper weapons however, all the power to you. Fin.
*****
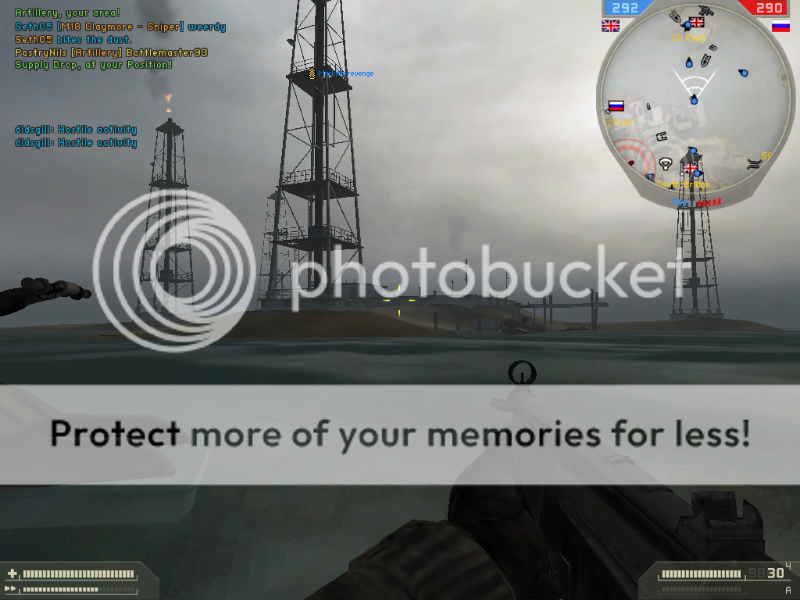
Oil Field rooftop capping point:
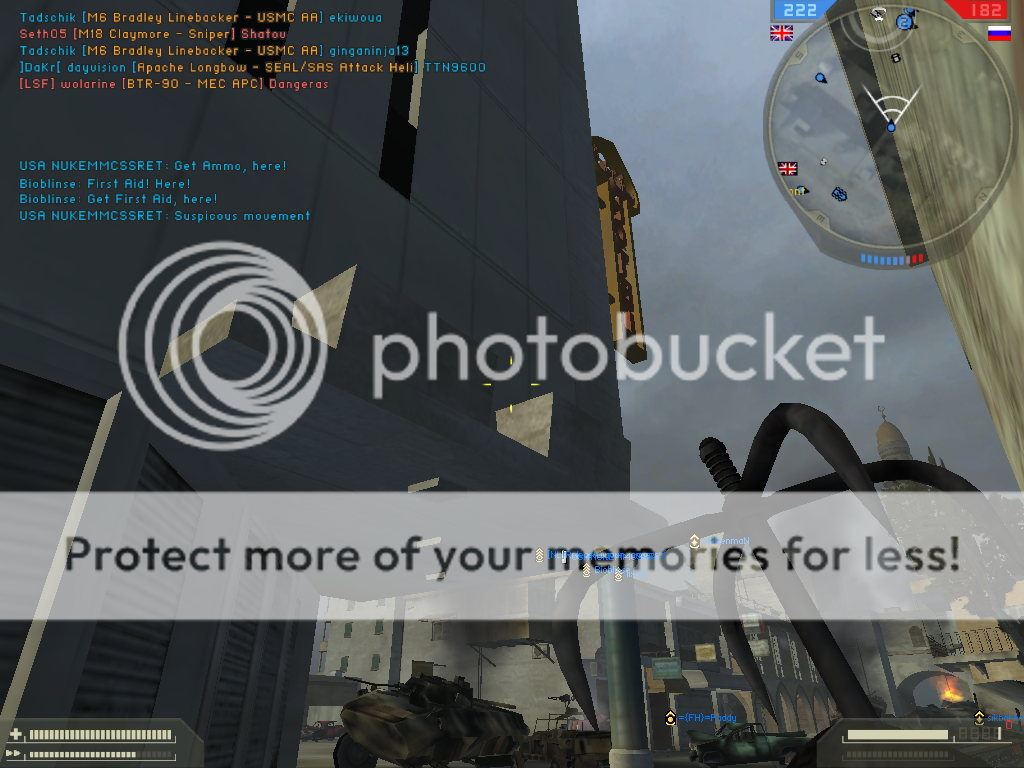
Easy to hook. Climb, prone and you won’t be detected from enemies on the ground near the flag. You’re exposed; however, some may not see you. Precious seconds can earn you the flag.
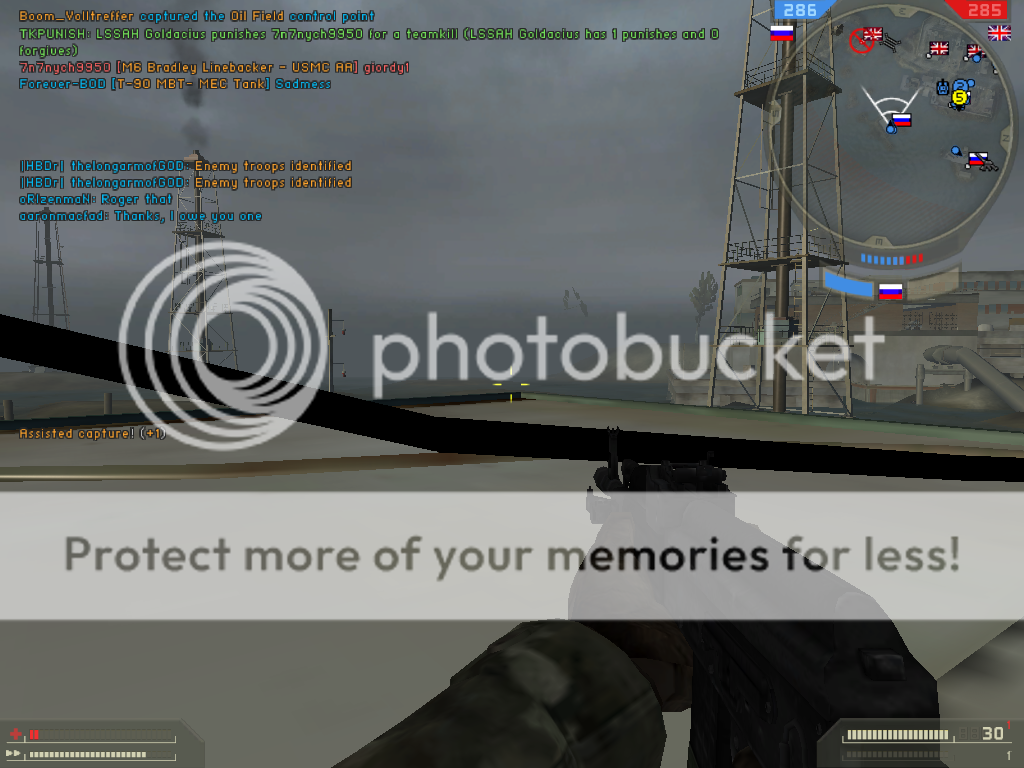
Alternate entry: Use the boxes closest to the roof, jump on them, get a little sprint and run and jump onto the roof. Fin.
******
Heavy metal supports army soliders:
Easy to access with the hook, but using the little sun tanning ramp, you can hop onto it. It’s not the best spot, but Convoy troops may not see you.
Your view.
*******
Convoy Cliff Chaos:
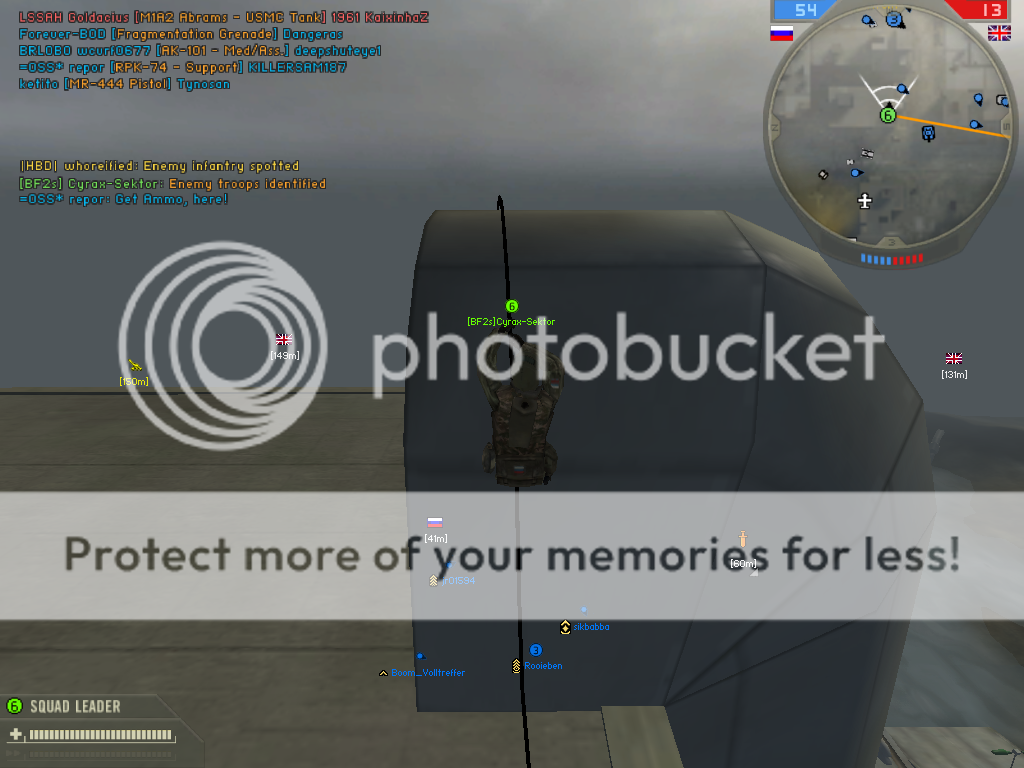
Let’s get some foes at the Convoy. Spot hardly utilized/checked. You’re as good as invisible. You could get a decent kill streak up there.
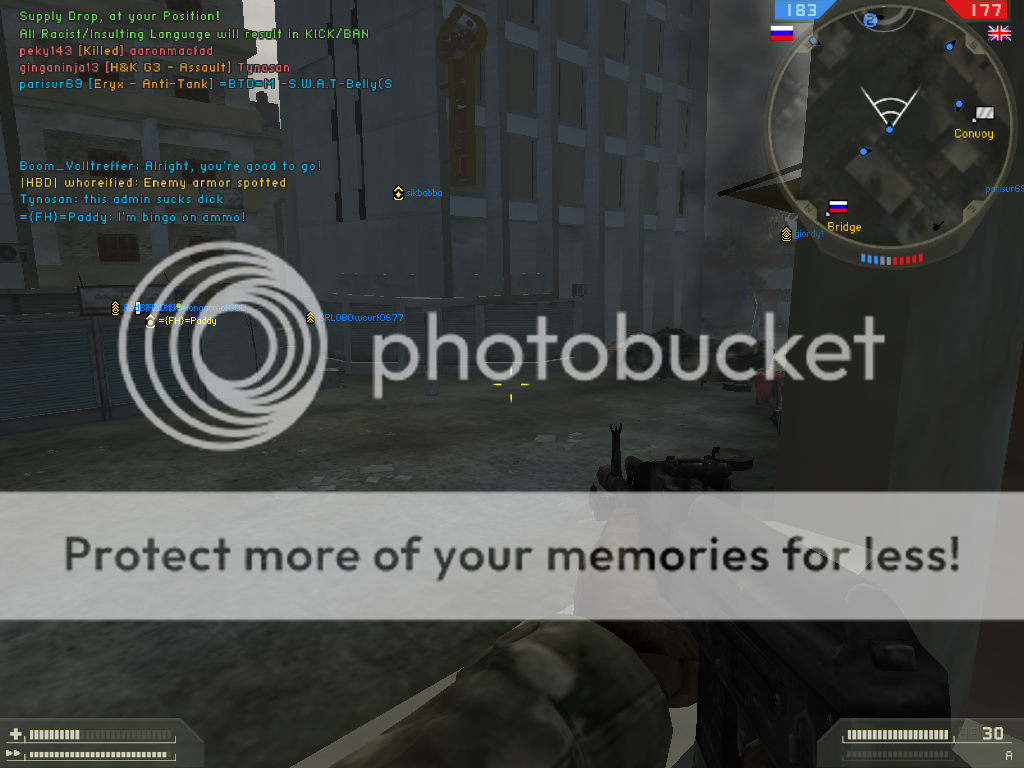
Here’s what you see on the overhang; everything nearly. And they only see your ripe melon, if they’re lucky.

Your wide view. Your GL will draw much blood.
Alternate access: Climb up the ladder to Convoy LMG and AA site, then slowly settle yourself on the little “cliff”. Support wouldn’t be too good, as you need to stand to see your opponents, and support kits are rather inaccurate standing. Of course, unlimited nades . . . ‘Nuff said. Fin.
********
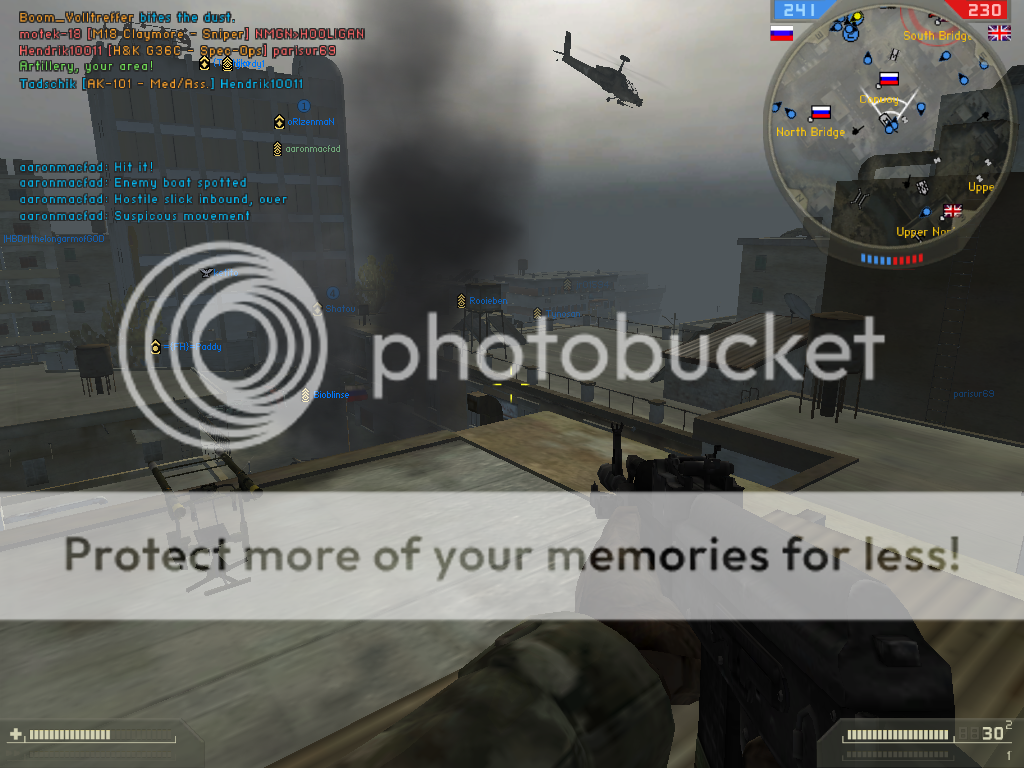
North Bridge defense post, keep your Convoy and Waterfront:

This little porch is hardly used/checked. You’ll be spotted eventually, but not before wiping out some opponents. This spot is ideal if the enemy owns only North Bridge and you’re here.
Let’s see them get past your guard post. Imagine a squad up there. Let’s see them not even get past the bus bench. Fin.
*********
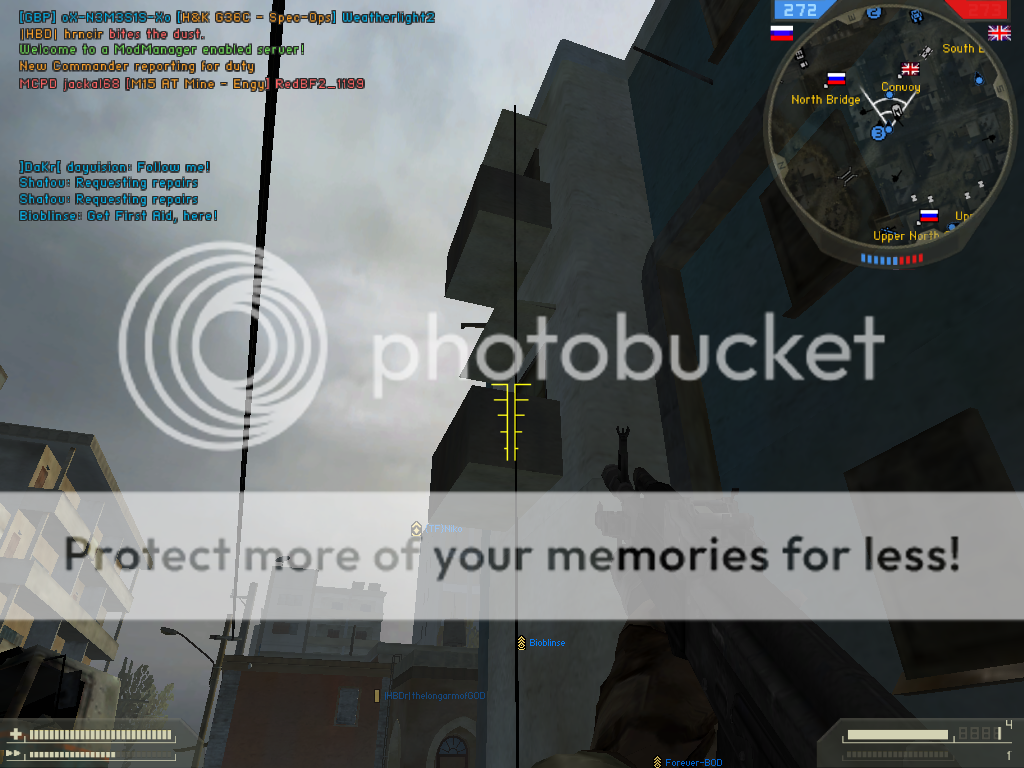
Pass claymores, piss claywhores:
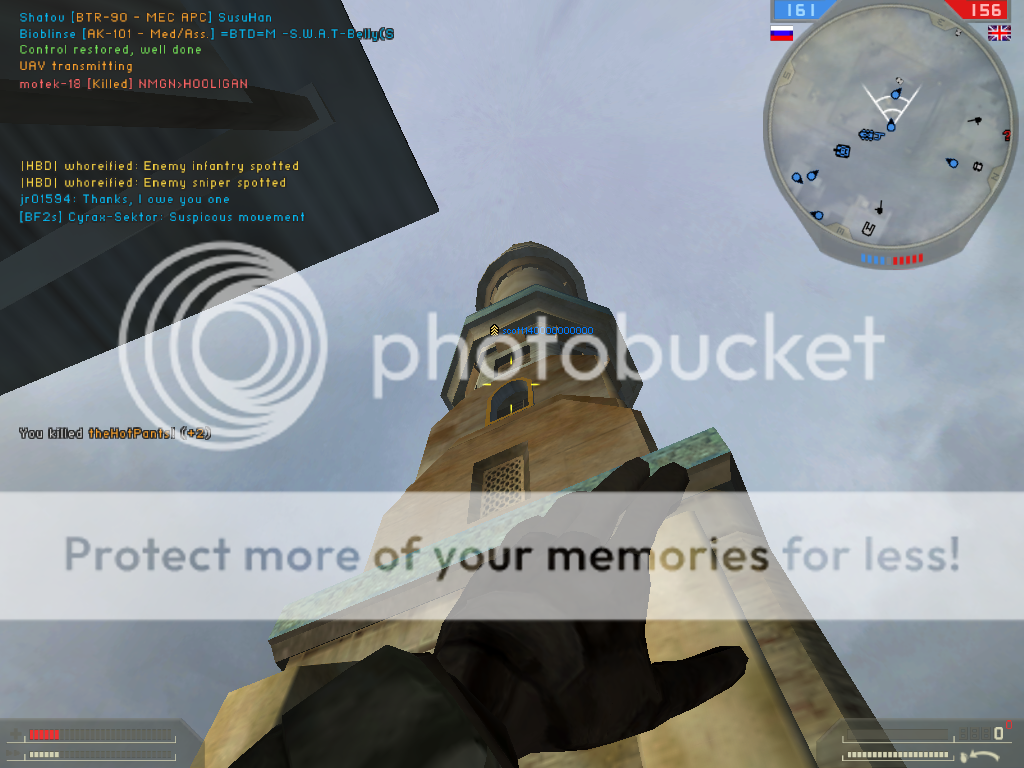
Hook yourself up and bypass enemy claymores on your way up the central tower. A full throw (hold down right click and wait for max charge, like with nades) is suggested.
Alternate access: Zip line through one of the four windows. Upper N & S Side are tricky to manage, Convoy roofs are the easiest.
Get onto this roof and getting the hook through the window will be easier. Fin.
**********
Convoy cap point:
Use the rope or zip-line to get here. You can also go up the ladder of the red building adjacent, and jump onto the balcony.

You can cap from here at the very edge of the railing. Detection is difficult for the enemy if they’re looking on the ground for the person capping. Give them a GL to wipe ‘em out. Fin.
***********
Hotel elevators have their other uses:
Up here, you have a decent view. Of course, so does the enemy. After taking those shots, a sniper killed me. That guy dislikes paparazzos.


Presenting your luxurious view.
Alternate access: Request a supply crate next to the elevator. If all goes well, you might be able to hop on top. I haven’t tested this method. Fin.
************
SAS garage for Spetz attackers:
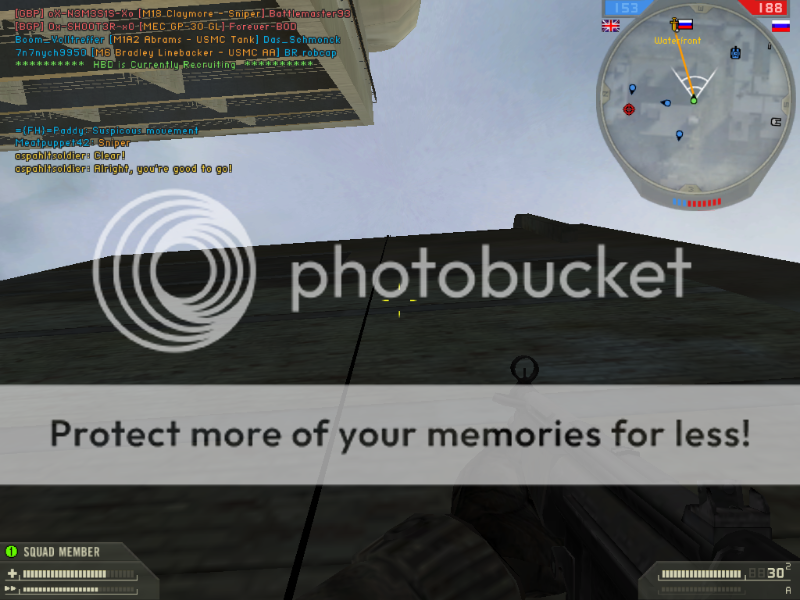
Just a simple hook will get you on top of the roof. You have quite a view of the heli pad, TOW, and spawn points. SAS commanders could also utilize this safe spot. Fin.
*************
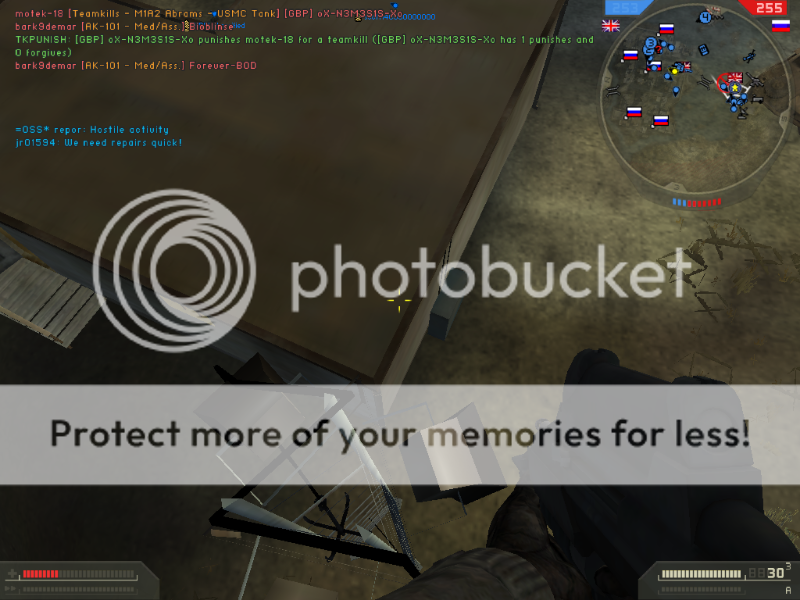
Antennas, not just for broadcasting:
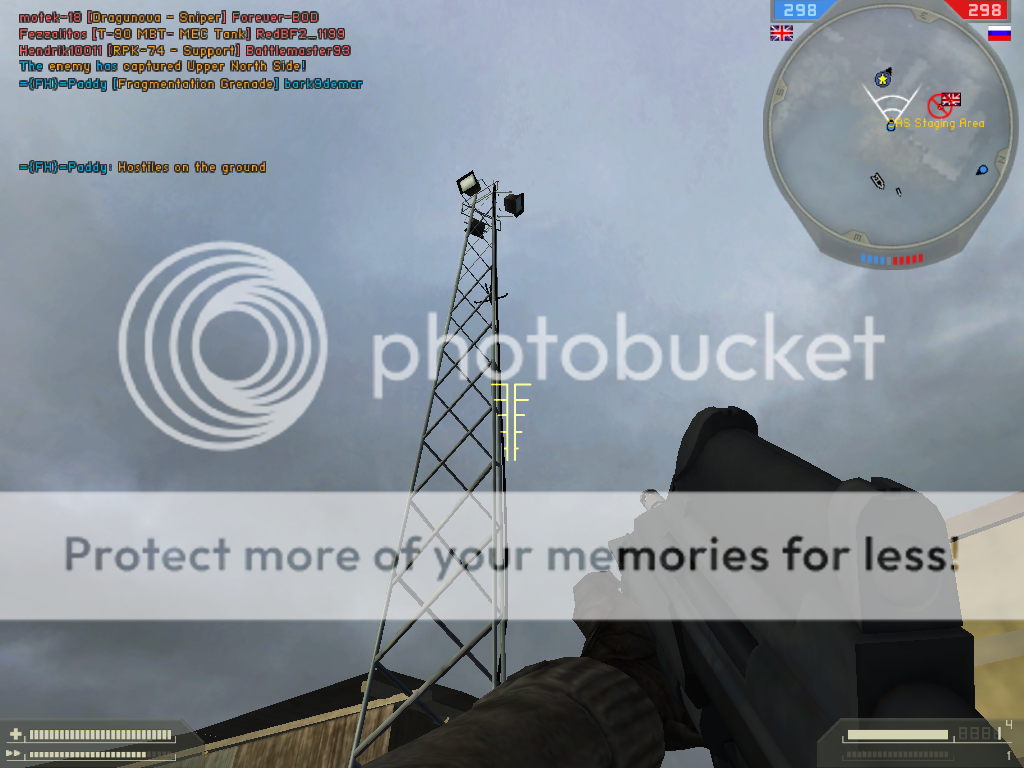
When you thought you saw the peak of cool grappling hook spots, here I go again raising the bar. These two spots are in the SAS uncap, and if you’re lucky enough to get up there alive and unseen, you’ll be hacking off British troops. That is, if you’re laughing doesn’t incapacitate you.
Simply aim a little above the antenna, and make sure the hook loops a little bit, or you’ll fall and injure yourself. Try practicing before using it in a real game.
Antenna 1 near heli pad:
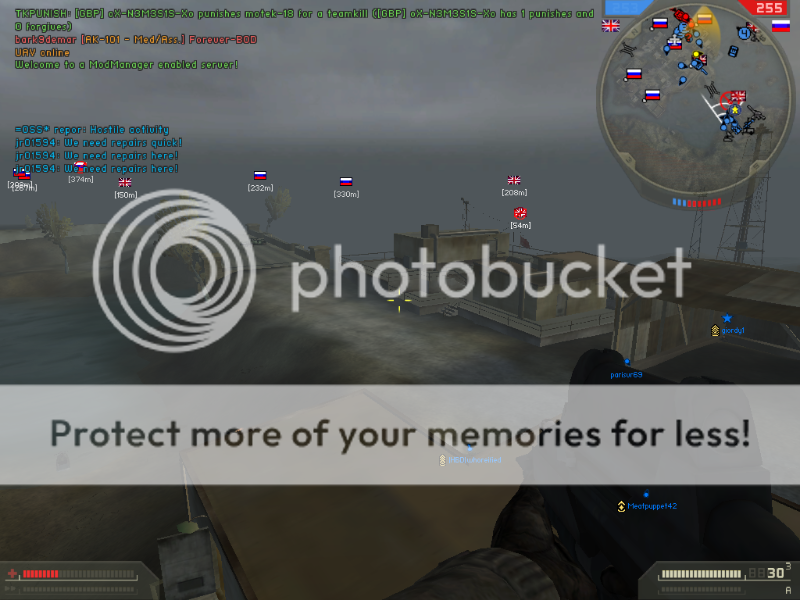

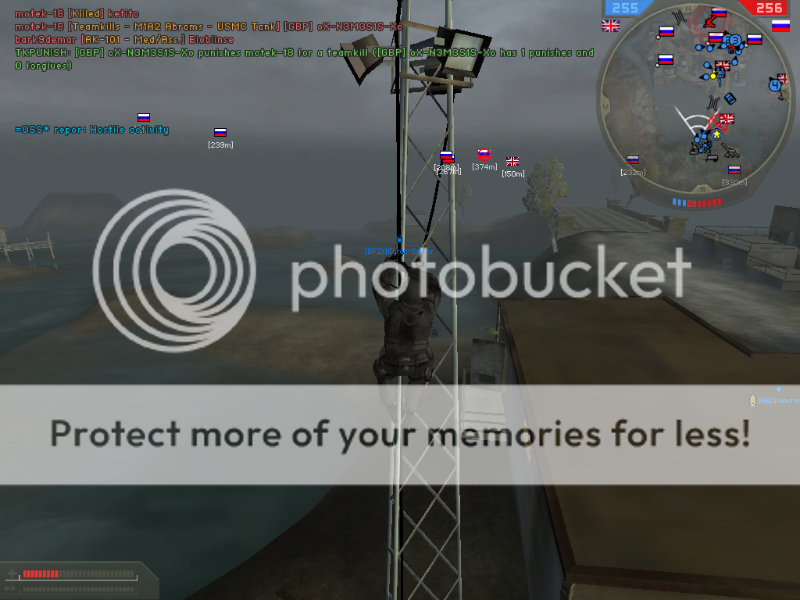
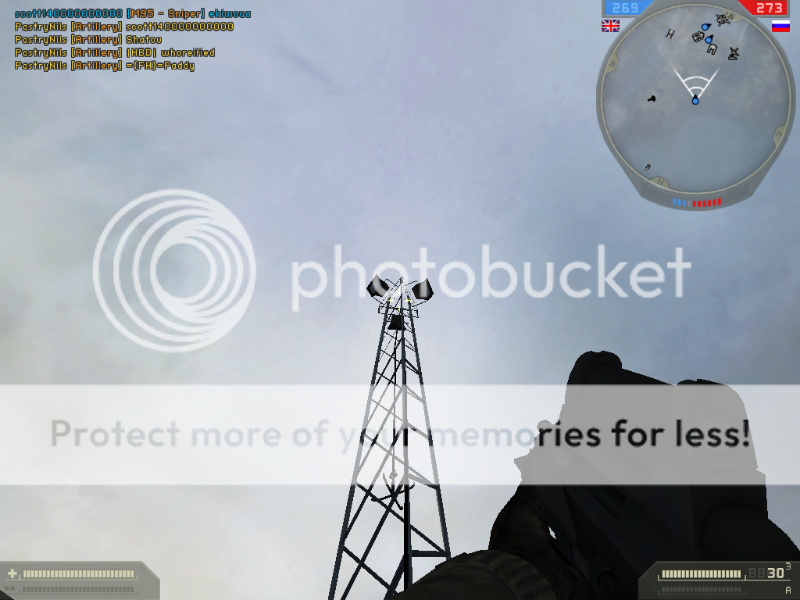
Antenna 2 near water facility and garage:
*************
Waterfront building:
Use the boxes right next to the Hotel ladder. Hop onto the single box, full charge your throw, estimate where the hook will land and climb. Best for SAS if there are enemies that will be wary on the main route. From there, you can retrieve your hook and toss it onto the Hotel roof. Watch out for the clays. I managed to not activate the claymore on the ladder, just barely. Good to toss your hook toward the right.
Extra:
You can swim onto that dirt outcrop and snipe any people on Oil Field if you’re Spetz.
************** UPDATE!!!
South Bridge tree monkeys :
We must loop the hook around one of the firmer branches.

Now climb up and you're capping. Don't reach the end of the rope, you'll just fall and be greeted with plenty of fire.
Special thanks:
-|HBD| = Honored By Death clan for hosting a full well-kept GT 24/7 server. http://www.hbd-gaming.com/
-Snake and OrangeHound. Talks of adding this to trackr's library are in the works. Future guides from me might also make it. OrangeHound also made this a sticky. <3
-EA and DICE. You folks didn't make the grappling hooks kill you like the zip lines.
-The BF2s community as a whole. If I never joined here, I'd have never made this guide. The warm welcomes, especially from the EU players, made me a dedicated BF2ser I am today. I hope I do the tag proud. ^_^
Assault troopers and anti-tank infantry are granted this device on all SF maps, except Iron Gator. This guide will show you the unbeaten spots on Ghost Town that will prove useful on the battlefield. Some of these tips can also apply in other maps where scenarios are similar.
I’ve taken screenies of the spots and their view points, which are often vast given their often bird’s eye view of the battlefield. Hope your Internet connection is ready for a pounding. All of these scenarios were viewed in 64-size Ghost Town. Only one or two will differ from 32-size, and none of these may be useful for 16-size, but where can you find 16-size these days online?
The team you’re playing on could have an effect on the spots for obvious reasons. It would be easier for Spetz to access the Hotel rooftop their way via sign (shown in ‘Signs, More than Advertising’ situation), but if an SAS tried it while the Spetz had the Convoy and North Bridge, good luck getting their alive. Of course, the SAS have Hotel roof access with the ladder.
Just a warning, there is a war going on, you will die! But to avoid demise, use your head and be aware of your surroundings. Pressing ‘c’ will change your camera view to a 3rd-person view of you climbing the rope. Switch between the camera modes to stay sharp.
Legend: * = spot 1, ** = spot 2, so on | = zip-line accessible, as well | = kick-ass spot
Now that everything is cleared up, let’s get started, shall we?
*
Hotel signs, more than advertising:
On the ground near the APC wreckage blocking the main road from North Bridge and South Bridge, look up. Why, it’s a sign advertising the Hotel! That Arabic hotel owner gets around, doesn’t he? I’m sure he won’t mind us using his sign for the greater good. After all, enemy snipers could be up there on his rooftop. :x We’re doing that guy a service, really. Toss your hook onto the sign, having the crosshairs above the sign. If it latches onto one of the Arabic letters, no go! You’ll crush your legs and be humiliated.
As soon as you hit solid ground, top of the sign, try not to move, you’ll fall down easily. Standing up, angle yourself to look at the little out branch to the left of the sign. Toss your hook up, again, aim the crosshairs a little above the spot you want to latch onto. Begin the great climb and let’s best those sniping pains! They’ll never expect you, because they’re either looking through their scopes, or don’t expect an assault/anti-tank climbing out of nowhere. I have never seen a person utilize this two-step climbing method ever in my many hours of GT playing.
Almost there, don’t look down. In this case, we won’t be knifing our ally sniper up there, surely. But if it was an enemy sniper, ready your weapon of choice as soon as you reach the end of your line.
Yoink! You just bypassed that claymore-d ladder and got the best of the rooftop campers. Give yourself a pat on the back, after you give me a cookie for showing you this. Fin.
**
Scare the Hotel residents & use their balcony for a surprise attack:
Climb up that first ladder behind the building that overlooks the Waterfront flag. Then toss the hook onto one of the many balconies of your choice, preferably the one I have in the picture. That one offers the best view without it being compromised.
Alternate access: Use the hook from the ground near the ladder and get into the balcony. Either way works, but a guy on the ground throwing hooks in the air will be seen easily with this risky alternate. People usually look ahead of them, not above them.
Sniper/Spec access: These two kits get tools too, but although not as versatile as the hook, they can get the job done here. Climb the first ladder, and then deploy the zip line to get to the balcony. Of course, don’t forget to set the clays/C4 . This could be a handy spot for a commander, as they may have to wait for enemies, and you can hear the enemy climbing the ladder, or see them on your scans/UAV, so you can set off the charge. Or they’ll run into the claymore, so you don’t have to look up from your lounge chair and commander screen. Then you can snipe enemy backs after all of the clays have been depleted.
Sit back and enjoy the sight of an unsuspecting enemy climbing the ladder, merrily claying the ladder, before blasting his ass off the metal overhang and onto the ground. C4’s recommended for giving heart attacks and getting hackussations.
Note: I guess DICE forgot to add the skin of the railing on the other side. You can’t see it, but it’s there, so don’t worry about falling over to your death.
Your balcony view is great, and you appreciate the Hotel owner’s architects (Art Vandelay? ). Hehe, those unsuspecting guys won’t see you coming. Fin.
***
Pipes, like Mario?
---
---
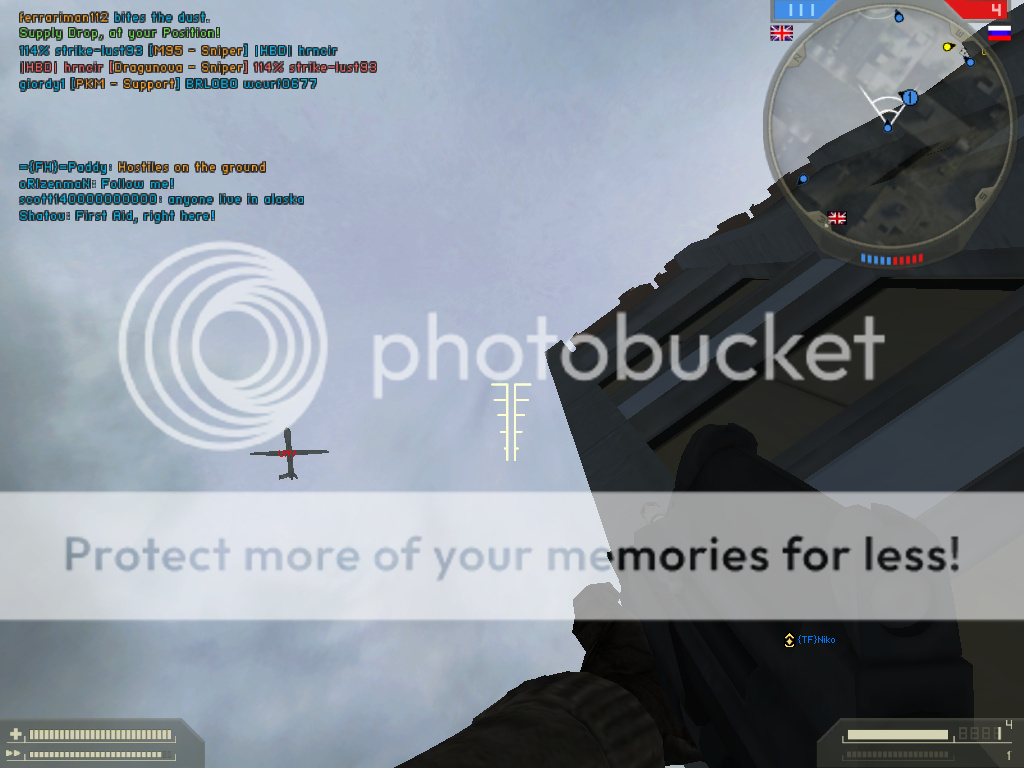
Those little air vents/pipes are handy. You can climb on them, stand on them, crouch on them, prone on them, and live on them.
You can also use them as a midway point from your true destination, giving you double the rope needed.
Another way to get to the hotel, but they might see your hook!
These little things are found in many places across the map, and in other maps. I forgot about one or two, so I’ll add them in an update. You can even access them without tools, just don’t fall down. Fin, but update needed.
****
You like planters? You’re nuts if you don’t:
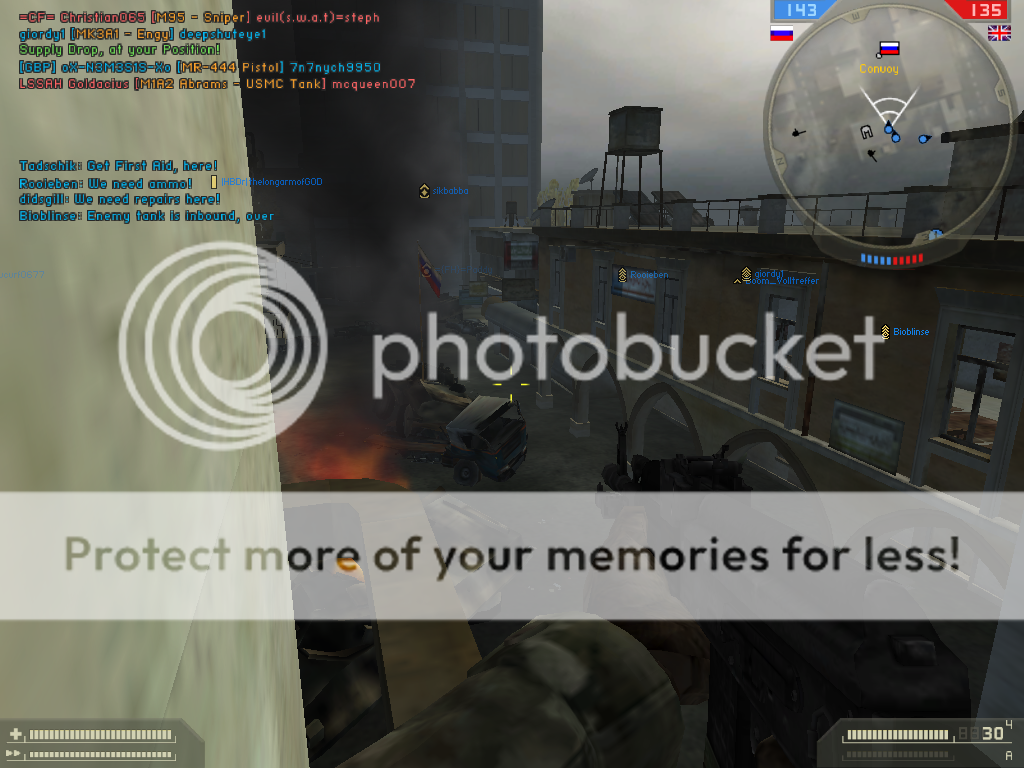
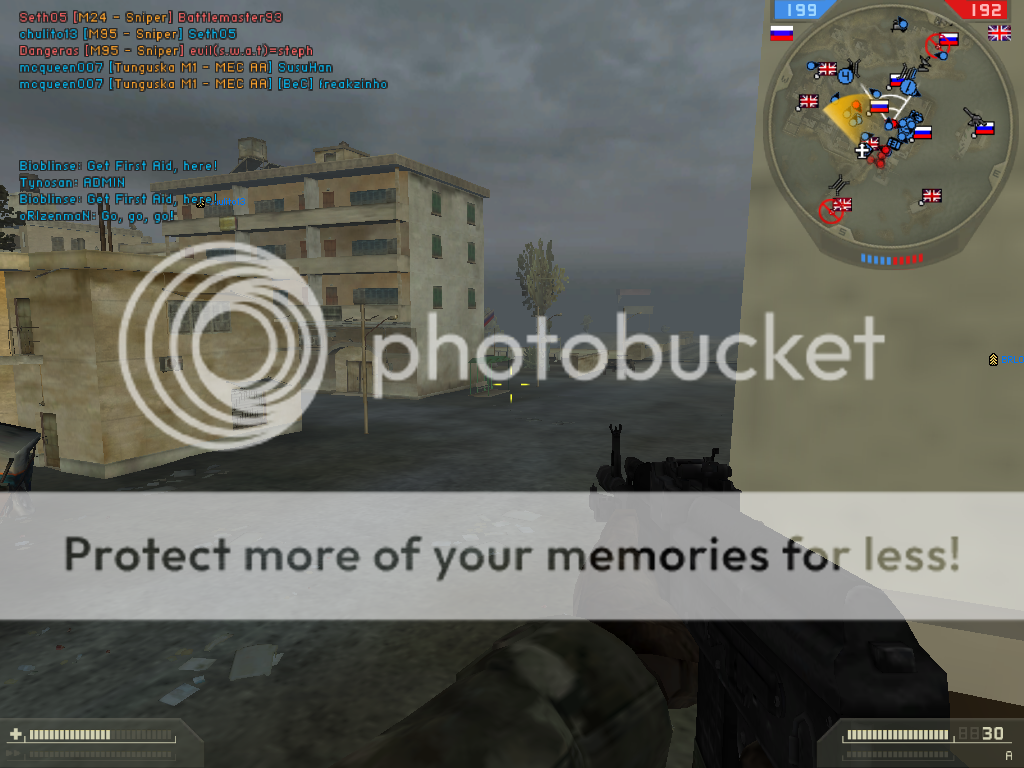
The first spot provides cover if prone from Convoy to your position. The second doesn’t provide as much cover from Convoy, but if Convoy is in your team’s hands, you’re safe from that point. But if Convoy is yours, don’t use the first spot, you won’t see much action.
Sniper/Spec access: On the Convoy buildings, zip line to the desired planters.
These are your views from the second planters. It’s quite large. You have view of the Convoy flag and the road of N & S Bridge. Snipers would probably be better here, as you’ll be making long range shots. If you’re handy with the non-sniper weapons however, all the power to you. Fin.
*****
Oil Field rooftop capping point:
Easy to hook. Climb, prone and you won’t be detected from enemies on the ground near the flag. You’re exposed; however, some may not see you. Precious seconds can earn you the flag.
Alternate entry: Use the boxes closest to the roof, jump on them, get a little sprint and run and jump onto the roof. Fin.
******
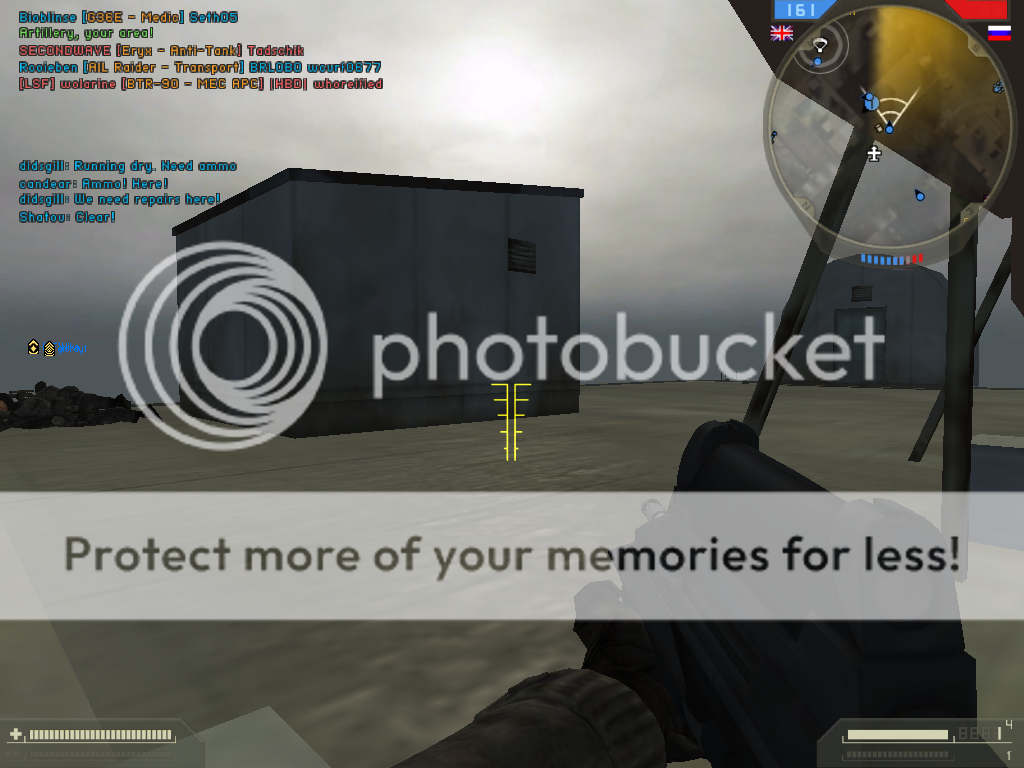
Heavy metal supports army soliders:
Easy to access with the hook, but using the little sun tanning ramp, you can hop onto it. It’s not the best spot, but Convoy troops may not see you.
Your view.
*******
Convoy Cliff Chaos:
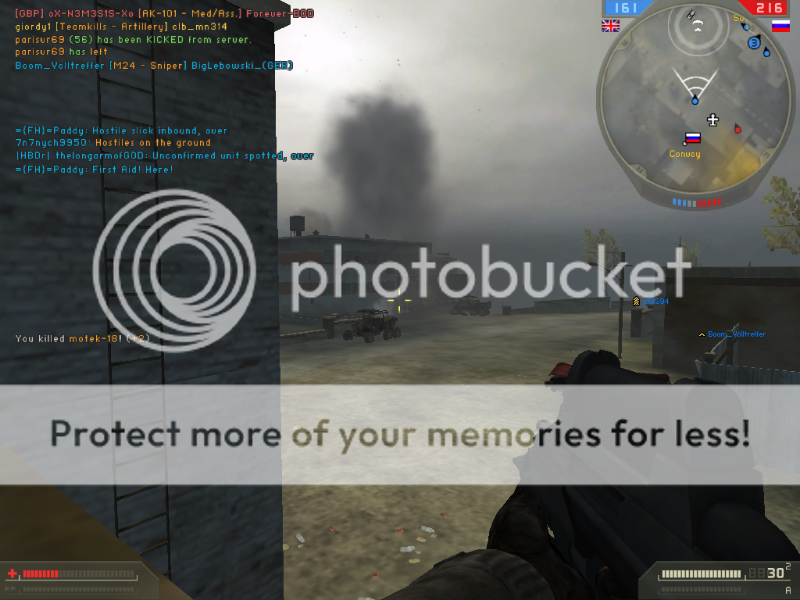
Let’s get some foes at the Convoy. Spot hardly utilized/checked. You’re as good as invisible. You could get a decent kill streak up there.
Here’s what you see on the overhang; everything nearly. And they only see your ripe melon, if they’re lucky.
Your wide view. Your GL will draw much blood.
Alternate access: Climb up the ladder to Convoy LMG and AA site, then slowly settle yourself on the little “cliff”. Support wouldn’t be too good, as you need to stand to see your opponents, and support kits are rather inaccurate standing. Of course, unlimited nades . . . ‘Nuff said. Fin.
********
North Bridge defense post, keep your Convoy and Waterfront:
This little porch is hardly used/checked. You’ll be spotted eventually, but not before wiping out some opponents. This spot is ideal if the enemy owns only North Bridge and you’re here.
Let’s see them get past your guard post. Imagine a squad up there. Let’s see them not even get past the bus bench. Fin.
*********
Pass claymores, piss claywhores:
Hook yourself up and bypass enemy claymores on your way up the central tower. A full throw (hold down right click and wait for max charge, like with nades) is suggested.
Alternate access: Zip line through one of the four windows. Upper N & S Side are tricky to manage, Convoy roofs are the easiest.
Get onto this roof and getting the hook through the window will be easier. Fin.
**********
Convoy cap point:
Use the rope or zip-line to get here. You can also go up the ladder of the red building adjacent, and jump onto the balcony.
You can cap from here at the very edge of the railing. Detection is difficult for the enemy if they’re looking on the ground for the person capping. Give them a GL to wipe ‘em out. Fin.
***********
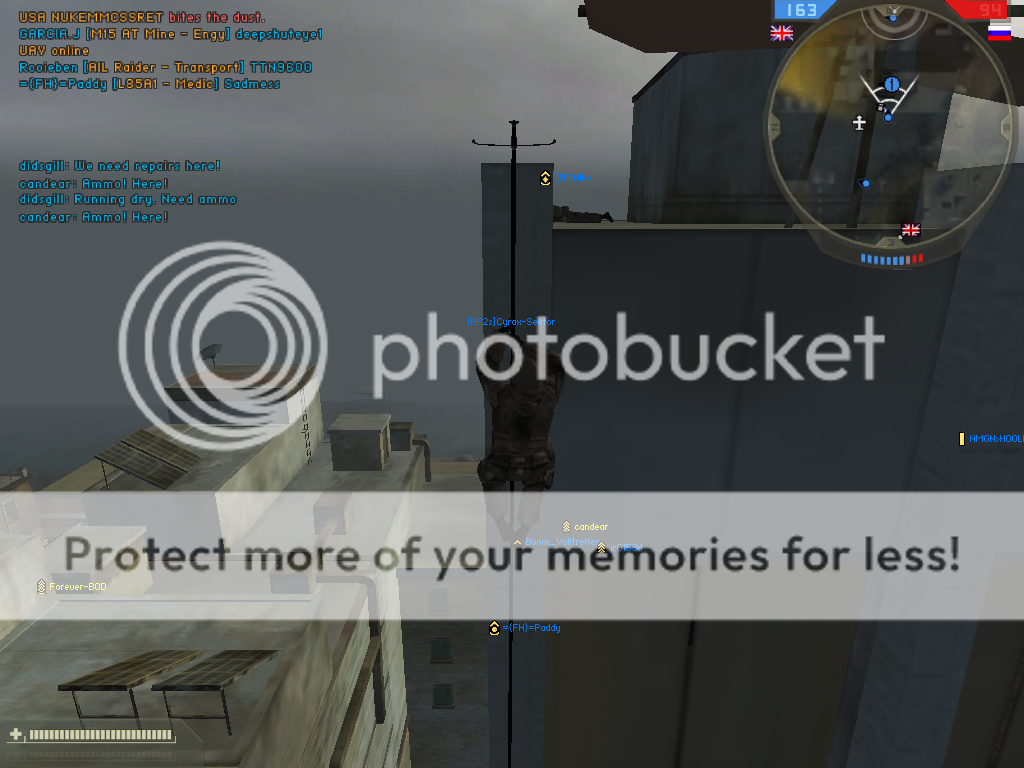
Hotel elevators have their other uses:
Up here, you have a decent view. Of course, so does the enemy. After taking those shots, a sniper killed me. That guy dislikes paparazzos.
Presenting your luxurious view.
Alternate access: Request a supply crate next to the elevator. If all goes well, you might be able to hop on top. I haven’t tested this method. Fin.
************
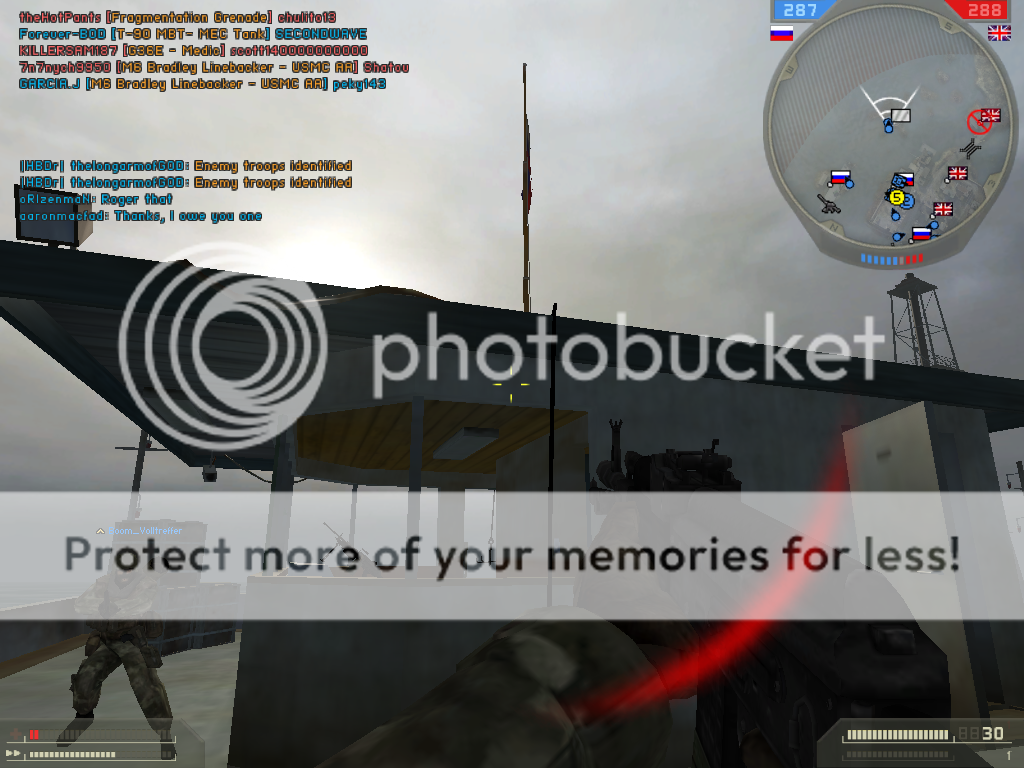
SAS garage for Spetz attackers:
Just a simple hook will get you on top of the roof. You have quite a view of the heli pad, TOW, and spawn points. SAS commanders could also utilize this safe spot. Fin.
*************
Antennas, not just for broadcasting:
When you thought you saw the peak of cool grappling hook spots, here I go again raising the bar. These two spots are in the SAS uncap, and if you’re lucky enough to get up there alive and unseen, you’ll be hacking off British troops. That is, if you’re laughing doesn’t incapacitate you.
Simply aim a little above the antenna, and make sure the hook loops a little bit, or you’ll fall and injure yourself. Try practicing before using it in a real game.
Antenna 1 near heli pad:
Antenna 2 near water facility and garage:
*************
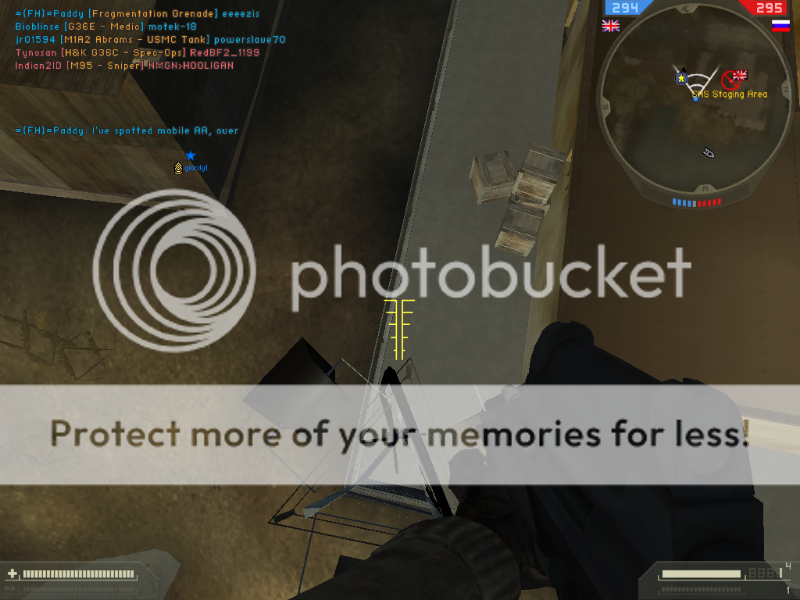
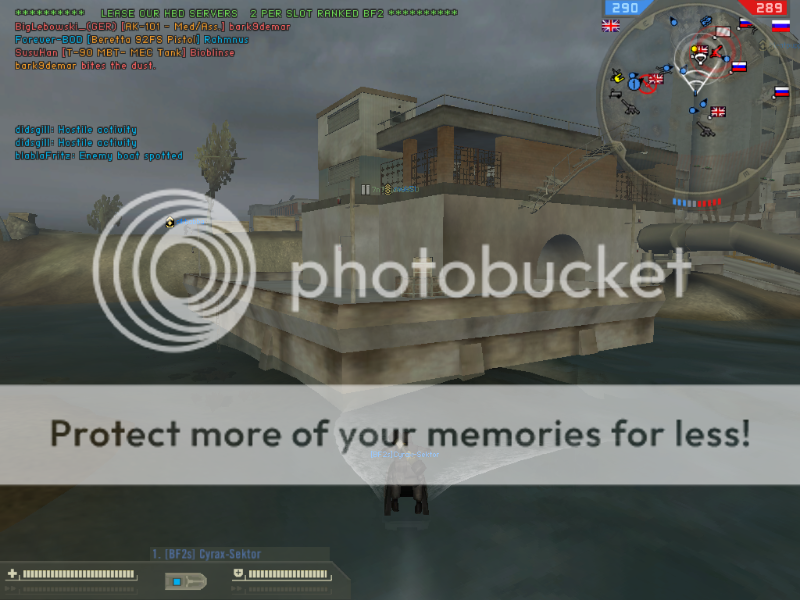
Waterfront building:
Use the boxes right next to the Hotel ladder. Hop onto the single box, full charge your throw, estimate where the hook will land and climb. Best for SAS if there are enemies that will be wary on the main route. From there, you can retrieve your hook and toss it onto the Hotel roof. Watch out for the clays. I managed to not activate the claymore on the ladder, just barely. Good to toss your hook toward the right.
Extra:
You can swim onto that dirt outcrop and snipe any people on Oil Field if you’re Spetz.
************** UPDATE!!!
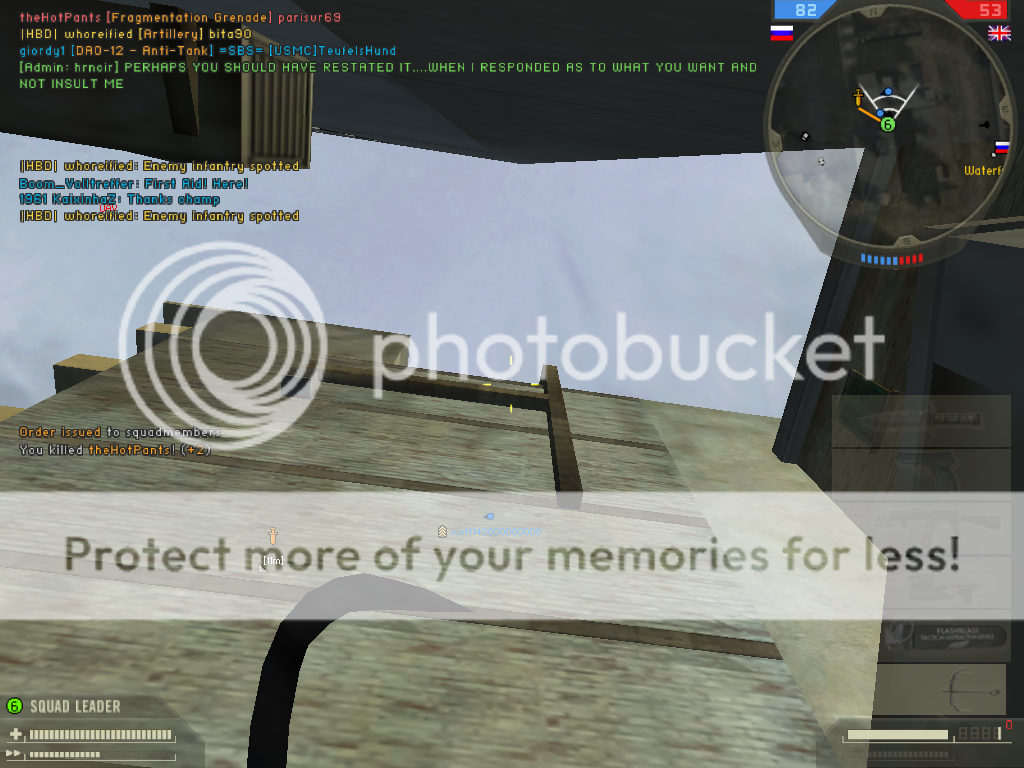
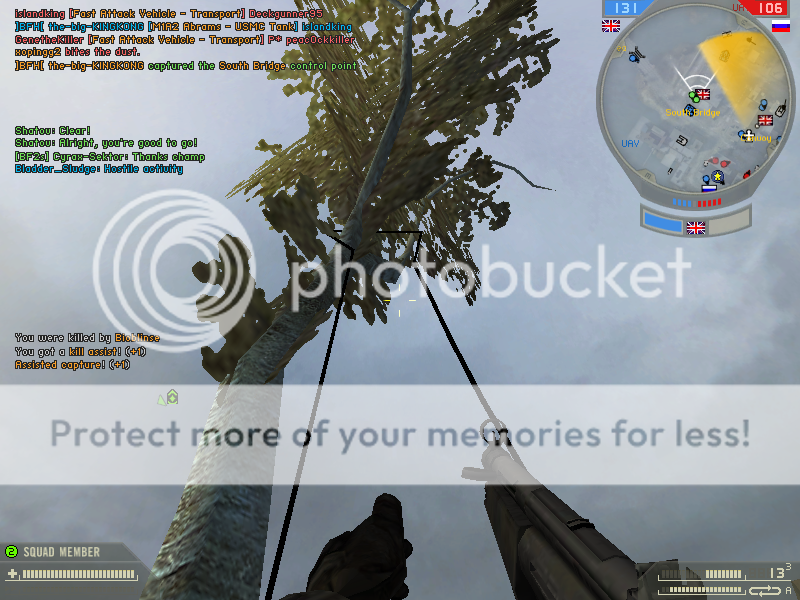
South Bridge tree monkeys :
We must loop the hook around one of the firmer branches.
Now climb up and you're capping. Don't reach the end of the rope, you'll just fall and be greeted with plenty of fire.
Special thanks:
-|HBD| = Honored By Death clan for hosting a full well-kept GT 24/7 server. http://www.hbd-gaming.com/
-Snake and OrangeHound. Talks of adding this to trackr's library are in the works. Future guides from me might also make it. OrangeHound also made this a sticky. <3
-EA and DICE. You folks didn't make the grappling hooks kill you like the zip lines.
-The BF2s community as a whole. If I never joined here, I'd have never made this guide. The warm welcomes, especially from the EU players, made me a dedicated BF2ser I am today. I hope I do the tag proud. ^_^
Last edited by Cyrax-Sektor (2008-02-15 15:26:27)

