Table of content
I realized that a lot of people from the bf2s community, want to make their own signatures, but have no clue how to use Photoshop.
- What will I learn from this?
- What have been made using this guide?
- Step 1: Creating a document and setup some settings
- Step 2: Creating a box using layers
- Step 3: Inserting, fitting and cleaning up the central object
- Step 4: The Background - and selections
- Step 5: Adding text
- Step 6: Finishing touches
- Step 7: Saving
- Step 8: Uploading and posting
- Step 9: What next?
- I'd like some serious feedback on this guide cause it was VERY time consuming.. I did this for you guys
pers0nah wrote:
Kinda made mine too \/\/Not a clue how to use photoshop, still waiting for ENTERTAYNER to video himself making a sig.
Well I'm not Entertayner, but I still know my way around PhotoshopAyumiz wrote:
Just got my copy of photoshop CS3, damn its expensive. Alright, back to my point, can anyone teach me how to use it? Kinda new to it=/
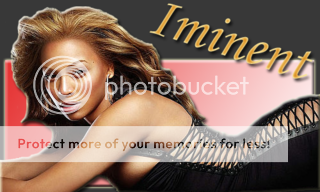
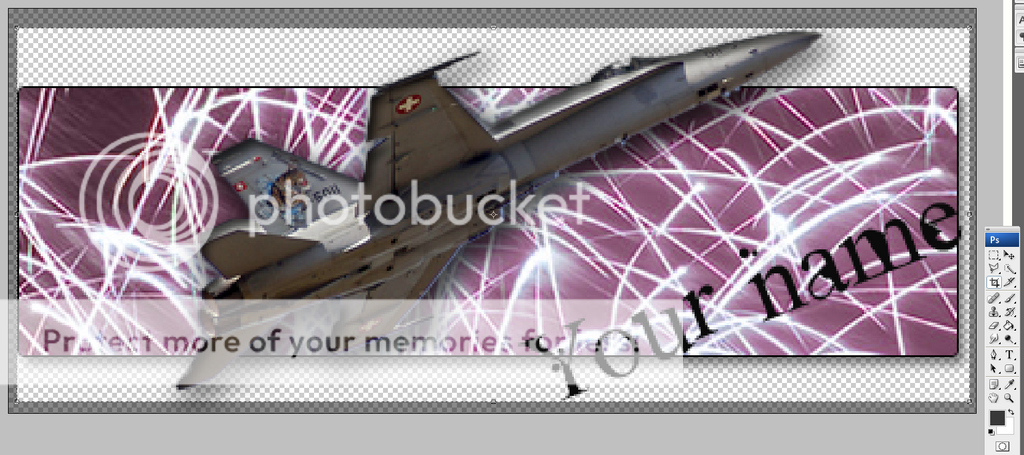
What will I learn from this?Alright lets get right down to it. You will learn to make something very similar to this:This guide will take you step by step, through the whole process. And I'll try to explain everything that I do along the way, cause I don't expect you to have used Photoshop before.This is guide is intended for beginners (at both sig making and Photoshop).Most of all I just want to share the joy of messing around with Photoshop, so you can make your own sigs instead of having to let a "pr0" do it for you (If you want me to make you one, I have a signature request thread running here...)When the guide is finished there will be a section on how to improve your Photoshop skills and such - so stick around..
Before we get started I'd like to say this:What have been made using this guide?:I am happy to present some sigs made by people using this guide! (thanks for the comments and feedback everyone - makes it worth my time )made by KrisPOLANDnorwida
made by aj0404
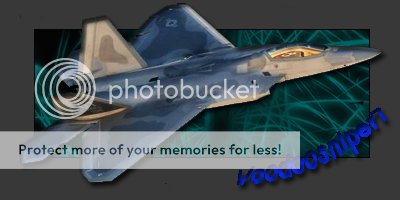
both made by voodoosniper7
made by Darkfire
made by Roughshod
made by majorassult
both made by LightMagic
both made by onadako
both made by MeanMachine77
- Save your work often. Save it as a .PSD file. Its a Photoshop working file, where all your layers and stuff are saved.
Step 1: Creating a document and setup some settings
You need to start up your Photoshop. (The version I'm using is CS3, but I've worked with CS2, CS, 7, 6... and what we are about to do in this guide is possible in all of these versions)
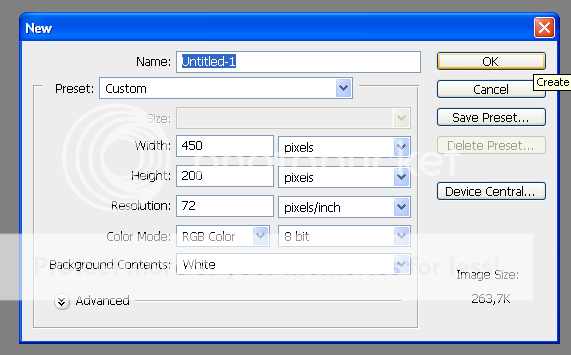
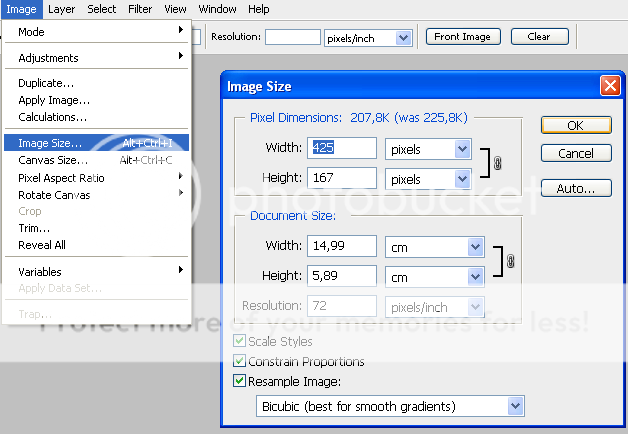
Select: File, New... And this will appear:
Most of the time I have the settings as shown above. 450 x 200 is a pretty fine size for a sig - its not too big and loud, but not too small to see details and such.
The resolution is highly recommended at 72 pixels/inch. This is what monitors are able to display, and a higher resolution will only be profitable if its something you need to print out (in which case its around 300, maybe 600 or even higher).
Enough about that.
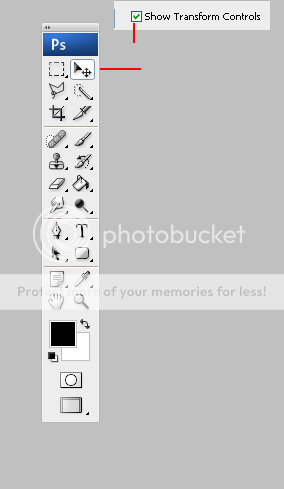
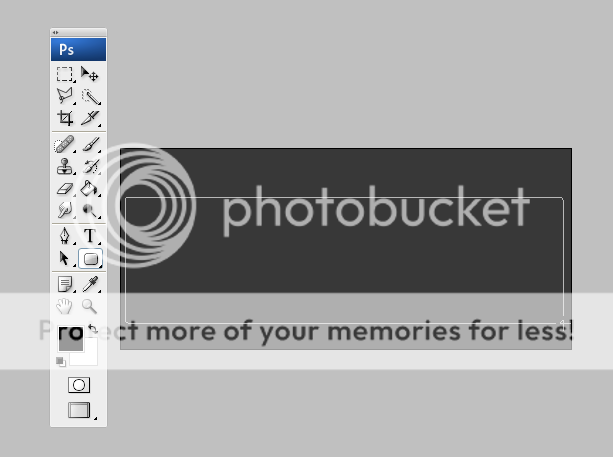
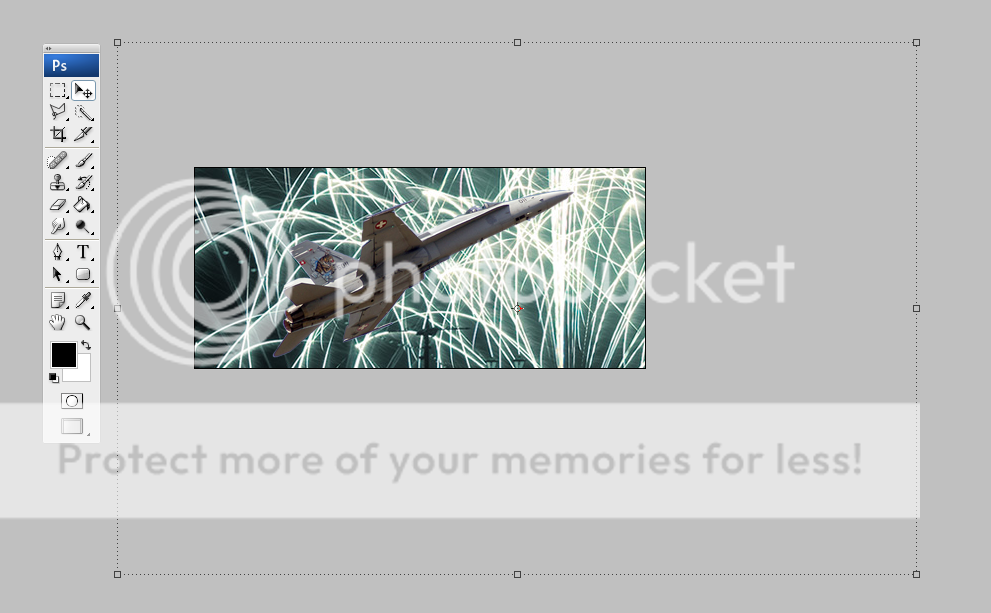
I think its a help to have this option turned on:
Select the tool I have marked, and make sure the option I have cut out is turned on. This option will show the border of any images and such you have in this document when it is selected (sometimes it can be annoying and then you just turn it off again).
Right.
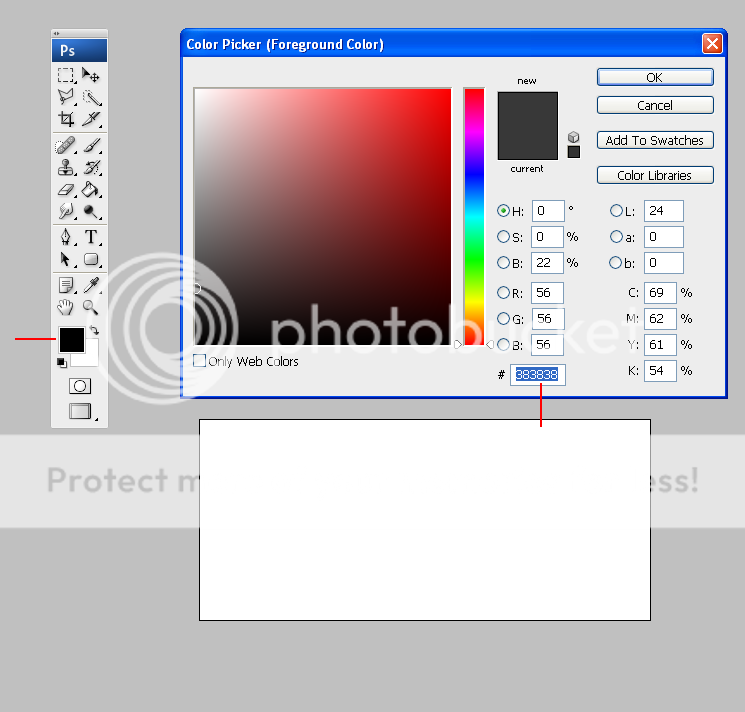
In the right side of your screen there should be a box called Layers, and a layer called "Background". What I do is I make this layer the same color as the forum, so I can see how my sig will look WHILE I'm making it..
Double click on the primary color (as shown above) and a "color picker" should appear. Here you should insert "383838" - that's the color code for bf2s forum. Press OK.
Chose your paint bucket and press anywhere on the white background, and it will become gray.
Step 2: Creating a box using layers
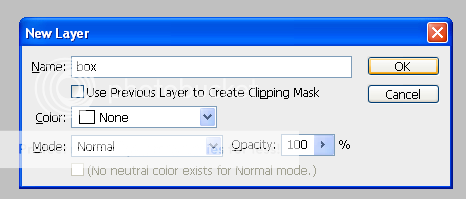
Press "Ctrl+Shift+N" and this will appear:
You can just press OK, but I've given this layer a title "box" (you can rename a layer at any time.. so don't worry) We wont have that many layers to work with in this project, but on larger projects grouping them (not included in this lesson) and naming them can be VERY useful!
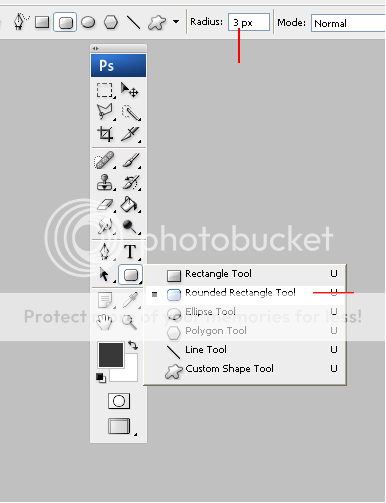
Select the Rounded Rectangle Tool as shown above. You can also use a rectangle tool or any other shape, I just like having a rectangle with smooth rounded corners, that's why I selected 3 px as the radius.
Alright. Do as shown below (but first select black as your primary color): drag a box the size you want:
This might be a good point to share a tip with you guys. Your finger could have slipped or it might not have satisfied your wishes, so instead of starting from the top (since you might know how to go back):Ctrl+Z goes back and forth between where you are now, and the last change you made.
Ctrl+Alt+Z goes back as far as it can / you wish.
Step 3: Inserting, fitting and cleaning up the central object
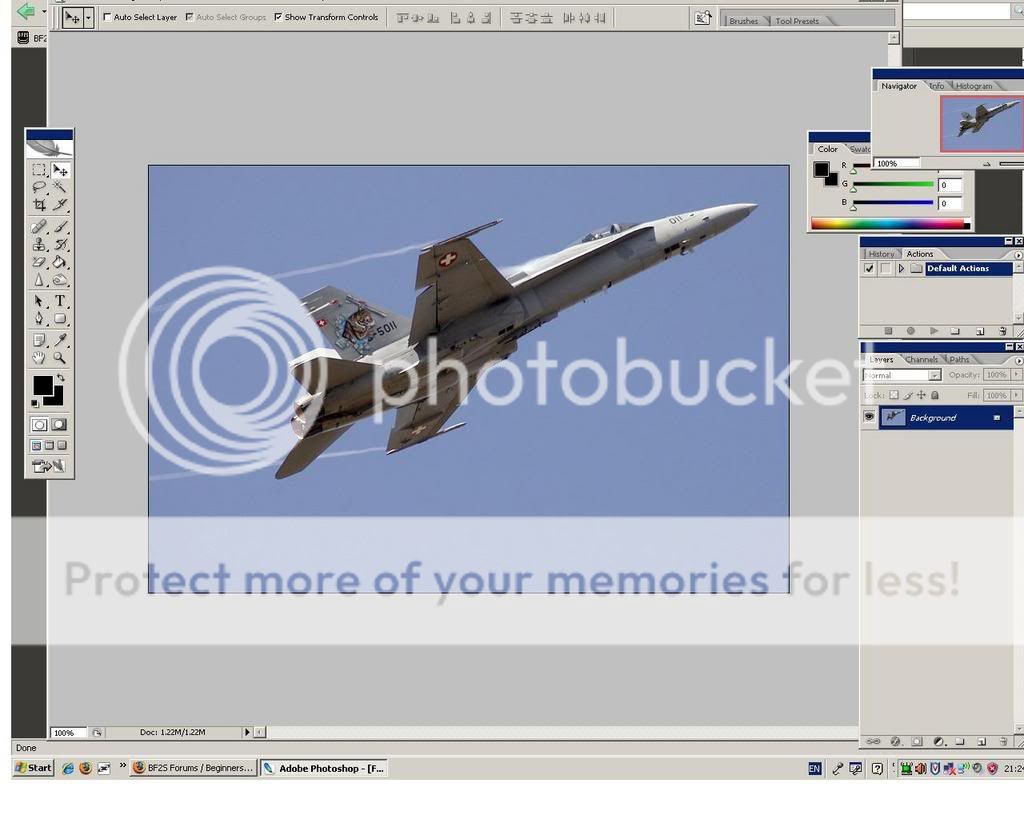
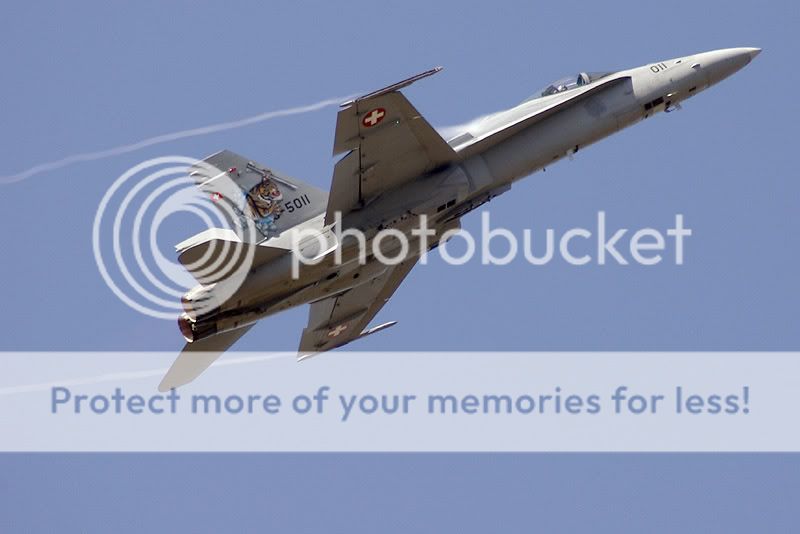
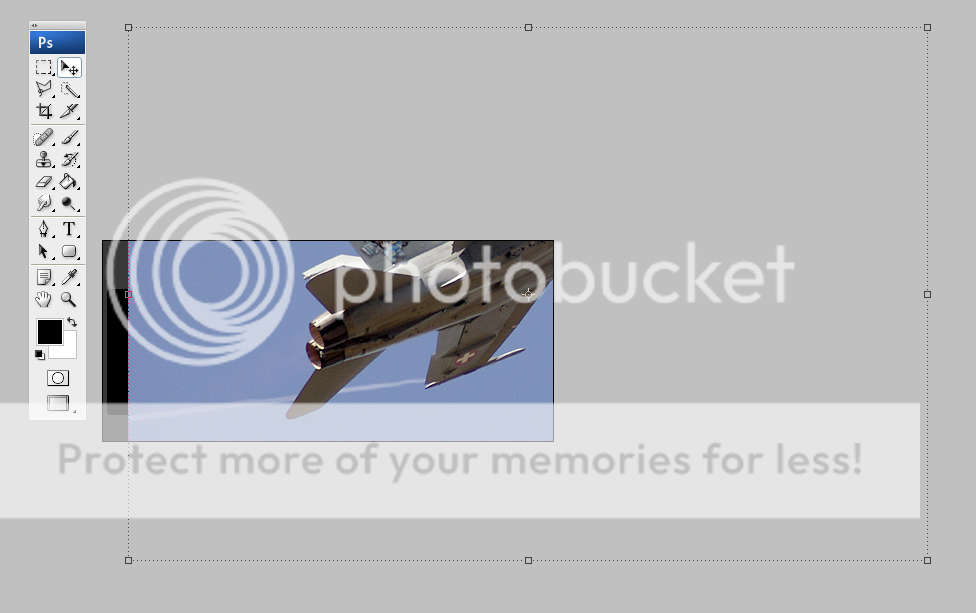
Right, most sigs have one central object, I've chosen this F/A-18C Hornet for the following reasons:
- I like planes (you might have guessed that from its full name)
- It is fairly easy to see the outline of the plane, there is a good difference in color and contrast between the blue sky and the gray plane. The reason for this will become apparent in a moment.
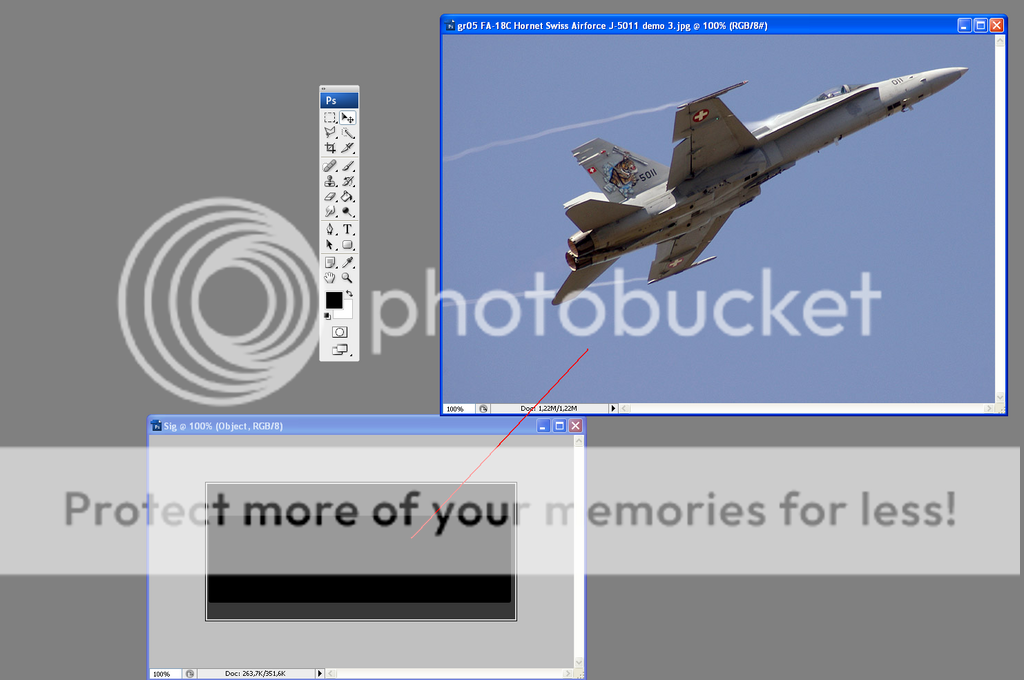
Now simply just drag and drop the object over to the sig file:Alright, I realize that a group of people have trouble importing images into the working file.
So I've uploaded a .psd file where the grey background, the box and the f18 is.. I've also imported the fireworks image if the problem should show it self there.. but I've made it invisible - see Step 8 for info on this..
good luck people
the file can be downloaded here...
you don't have to use my .psd file (you can), but you can also use my .psd file to drag and drop the pictures
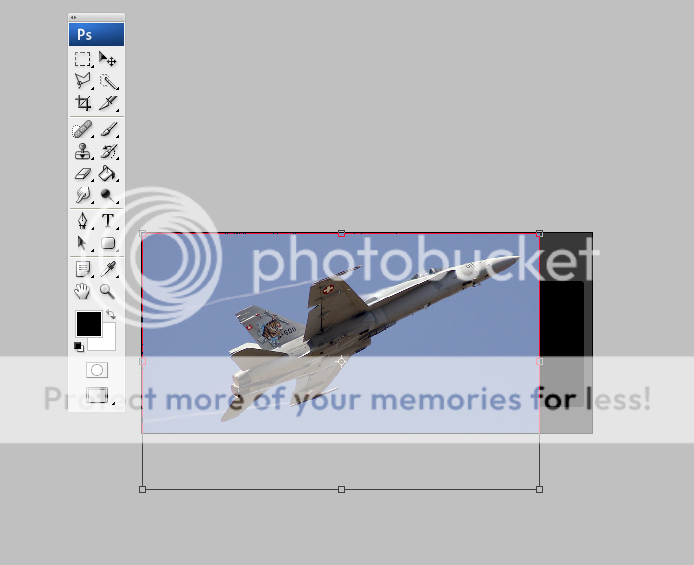
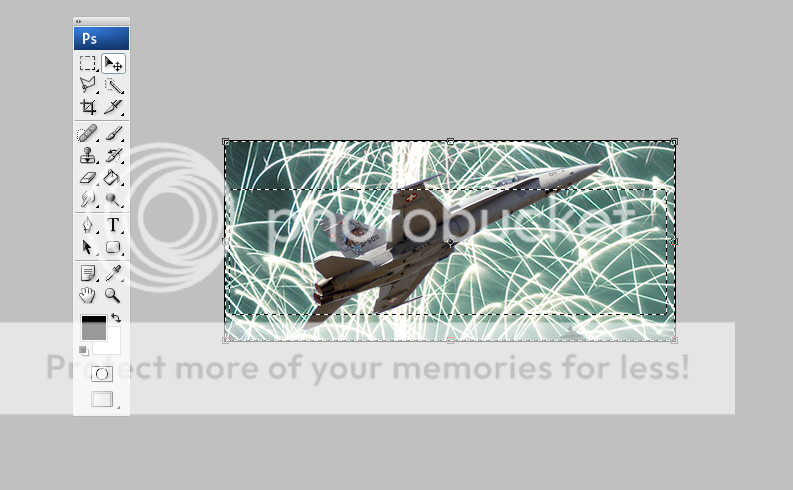
As you can see its way too big for the sig. (but you can see its full size because we selected the "Show Transform Controls" earlier )
Now play around with the corners until it reaches a size and a shape that suits you! - Then just double click on the plane and it will vectorize itself to the scale you selected.Next up: erasing the blue sky and stuff..NOTE: for all you "pr0's" out there shaking your heads right now - stop it.. I am aware that its best for the quality to cut out the object before downscaling it, but I'm just trying to keep it simple for the beginners. And the difference in quality doesn't really matter right now. On the "+"-side it takes a shorter amount of time to clean up than a full size image.. anyways I'll get more into details like that when I create my Signatures for intermediate users (if this becomes a success that is!!.. or else I see no point in doing such a time consuming things as this was with writing every single thing down and making all those pictures..)
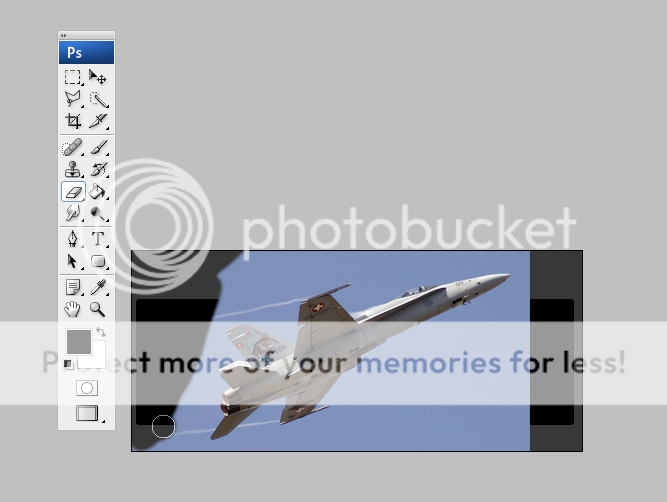
Chose your eraser tool and begin erasing. (For more experienced users I suggest you chose the Magic Eraser Tool and play around with the tolerance..
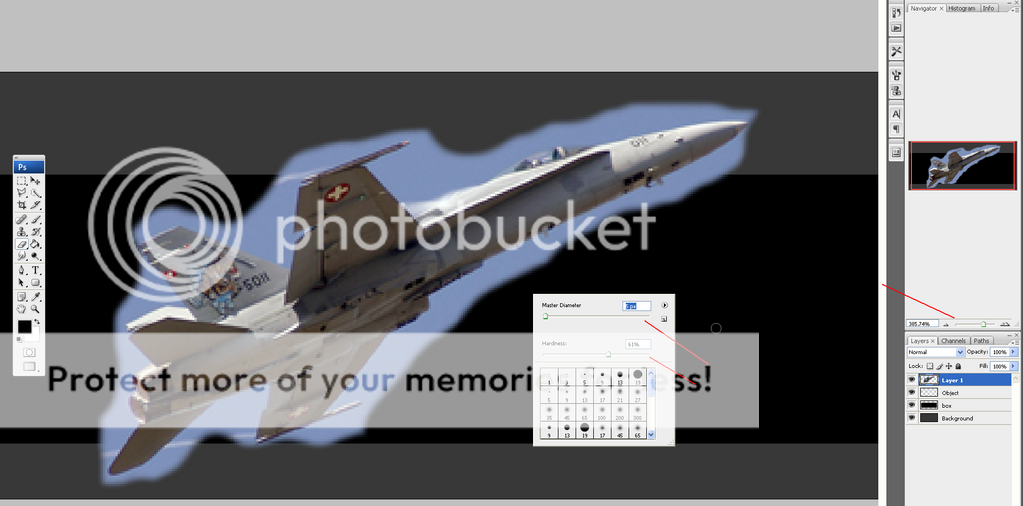
When you reach this point, you need to zoom in order to get the best outcome..
Zoom in on the trouble spots and cut it so it fits. This is very time consuming - that's why I chose the picture I did..
Try doing it on this image instead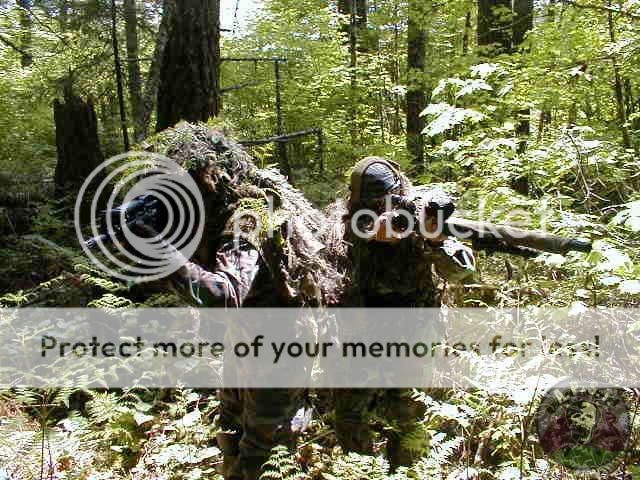
(don't do it - at least not right now..)
by right clicking anywhere on the work area (when you have selected a brush, or in this case an eraser) the box appears as shown underneath:
The size and hardness is adjustable, I usually have a hardness in the area of whats shown here when I'm doing this kind of work. (but play with it, and see what level of hardness suits you in a given situation).

Step 4: The Background - and selections
For a background for this lesson I chose something pretty with good contrast and colors so I google'd "fireworks" and took the second one.
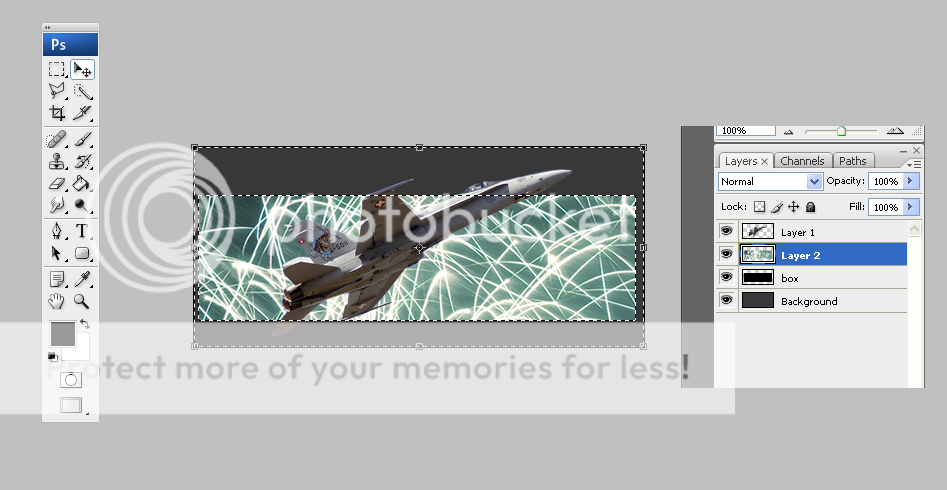
I dragged and dropped it over the just like with the plane..
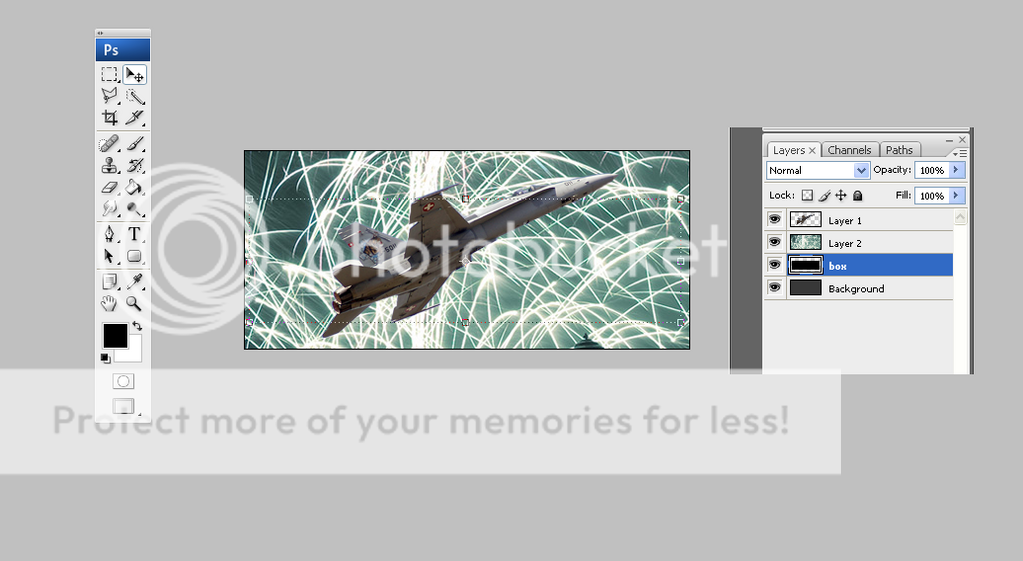
Now move/re size it around so the thing you want displayed is over the black box we made earlier. You can check whats inside that box by selecting the layer called "box".
Now we look at selections.. We do this to cut the image down to size, and while we do that - make a thin border to fit that stylish look we were going for..
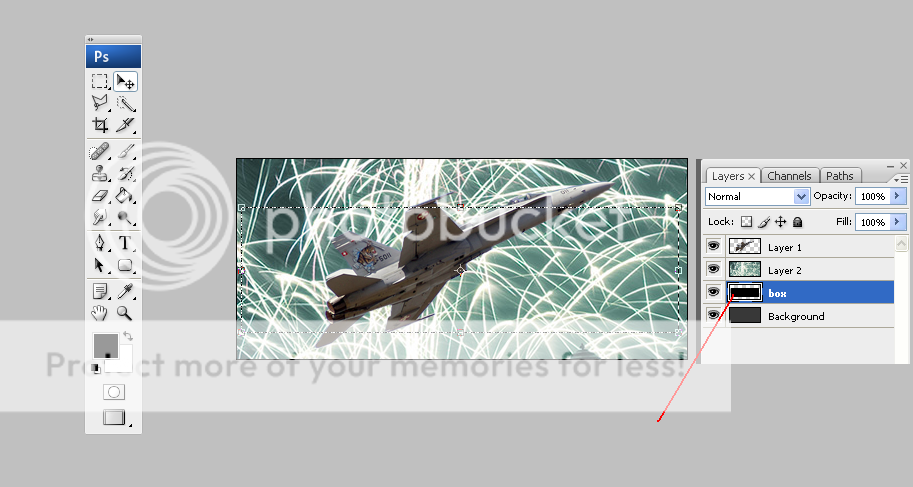
Hold down your Ctrl key and click where I've marked on the image below.. On the small preview image of the layer called box.
Now you should have a selection around the box.. the Ctrl and click on a layer selects the outline of that layer - which is a VERY handy tool for many many projects.
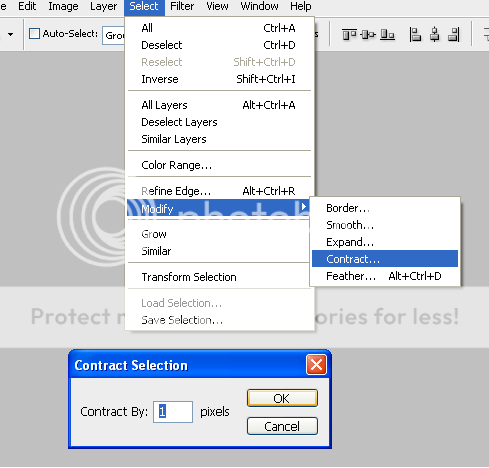
In order to make a nice border we contract the selection by either 1 or 2.. Its a matter of personal taste.. I've done it with 1 px in this case:
You might not be able to see any difference when you look at the selection if you used 1, but don't worry the changes have been made.
Now what you need to do is:
Chose the layer with the fireworks (its probably on your box layer now). Then you need to press "Ctrl+Shift+i" this will trigger an inverse selection!.
When you have done the above, go ahead and press the "delete" button on your keyboard
Edit: I seem to have forgot to show people who to deselect selections sorry.. You deselect by pressing "Ctrl+d"..
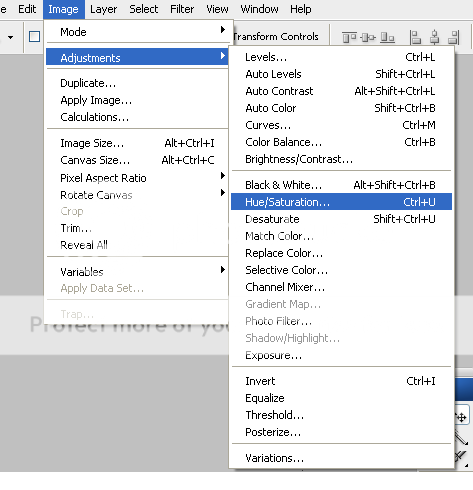
You don't need to do the following, but I strongly suggest you check it out anyways! is an awesome tool you can use to fine tune your sig with and make your colors stand out more.
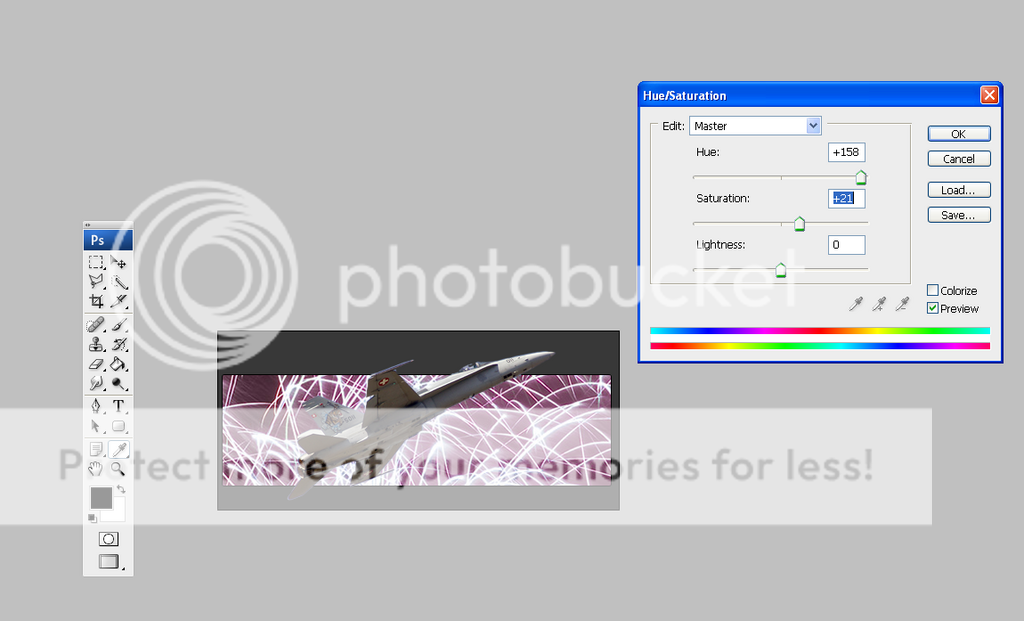
Mess around with the 3 bars, maybe even press "colorize" (but it wont do much for this particular layer).. select a color you are happy with and press OK You don't have to do what I did..

Step 5: Adding text
Most people want either their name on the sig, or some other text, so lets have a look at it.
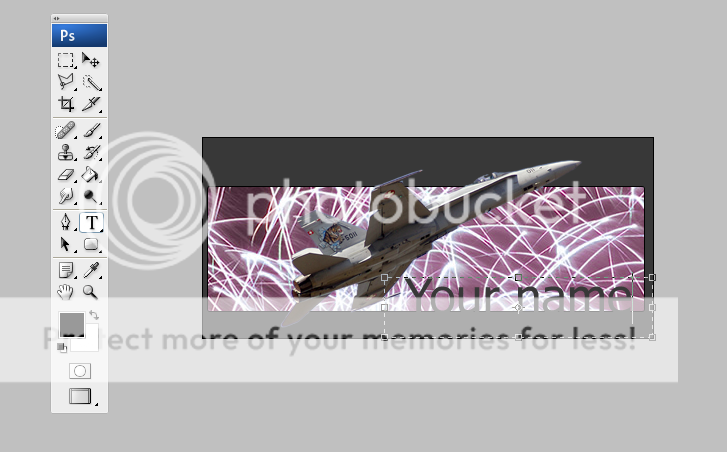
Select the big T in your toolbar and drag a box where you want the text to be.
Select the color, font and size as you would in any other text editor..
You could do this:
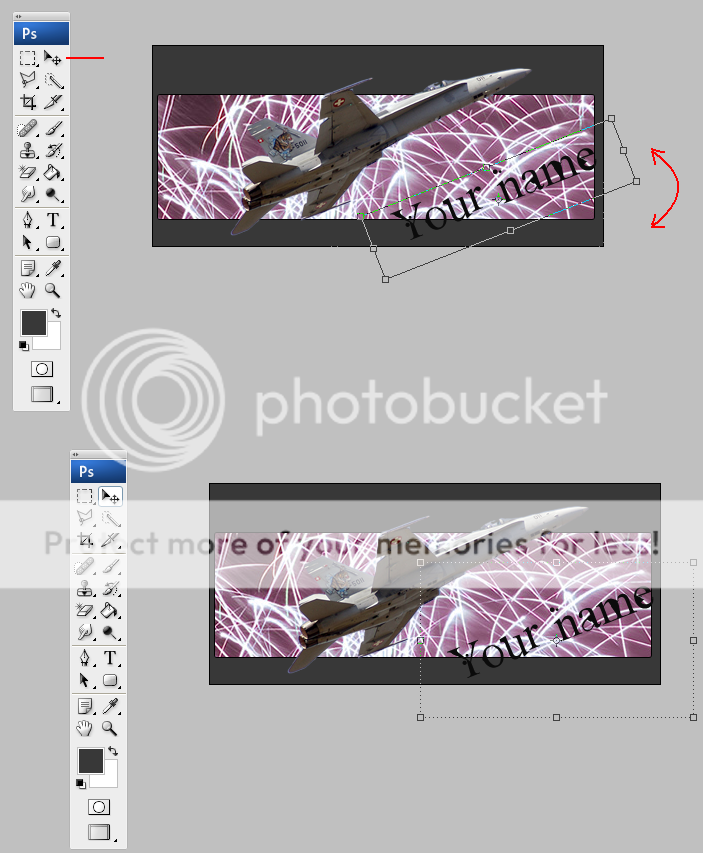
Select your "mover" tool. and select a point outside the selection, and drag it around (a bit hard to explain, but I think you might be able to figure it out..)
Double click on the text and it should vectorize like before.. Again, this particular thing is entirely optional!! its just me trying to show some small things you could do in Photoshop.
Step 6: Finishing touches
Its almost ready for its daily job: representing you on www.bf2s.com
But before it gets put up there, there are some things we still can do with it..
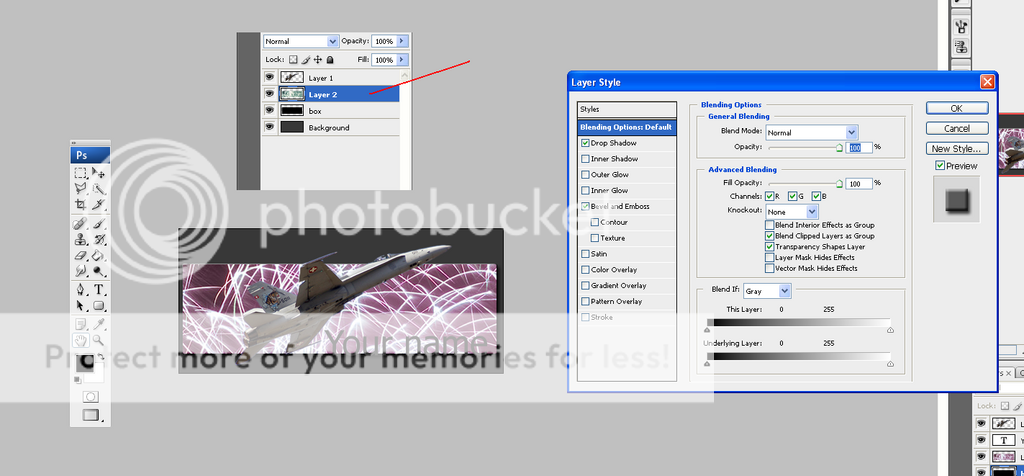
Double click on the box layer, just behind the text (where I have marked it on the following pic). If you double click on the text you will be able to rename the layer as I was saying earlier.
Mark the two boxes Drop Shadow and Bevel and Emboss
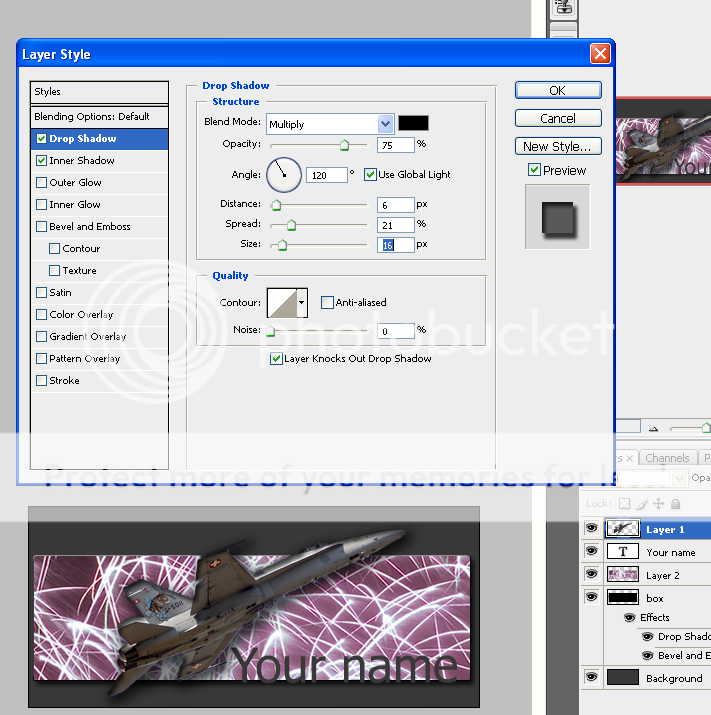
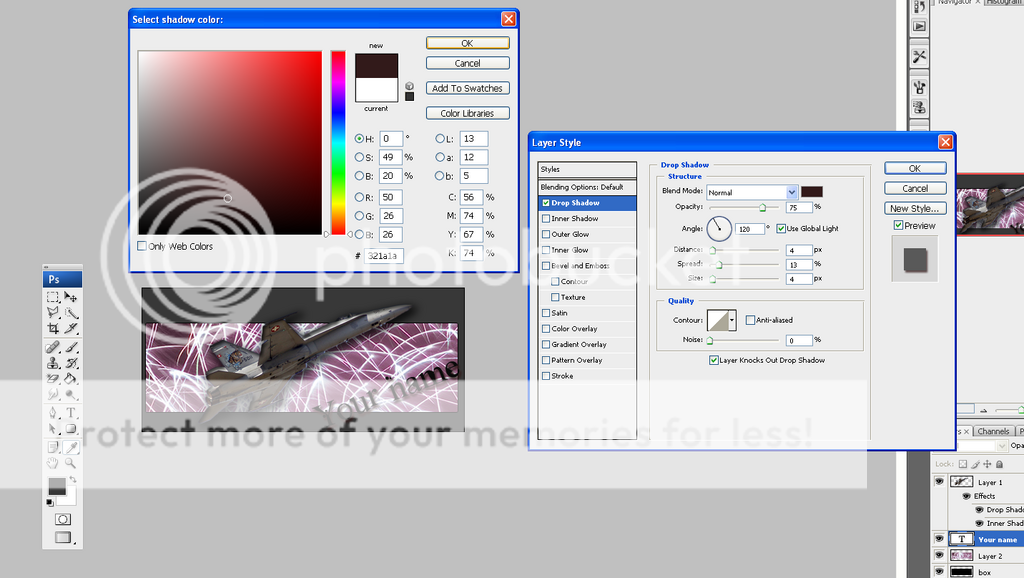
Select the layer with your object (the plane) on it, and select Drop Shadow and Inner Shadow.. What I've done here is click on the Drop Shadow option and fine tuned it to my liking.
I'm sorry I edited the text afterwards, so the two last images have different text.. I hope you don't mind
You can do this to all the layers that you want.. I've done it to my text layer here too:
(I've selected the Blend Mode: Normal to colorize my shadow.)
Step 7: Saving
Right now its time to save your work so it fits the bf2s forum and rules..
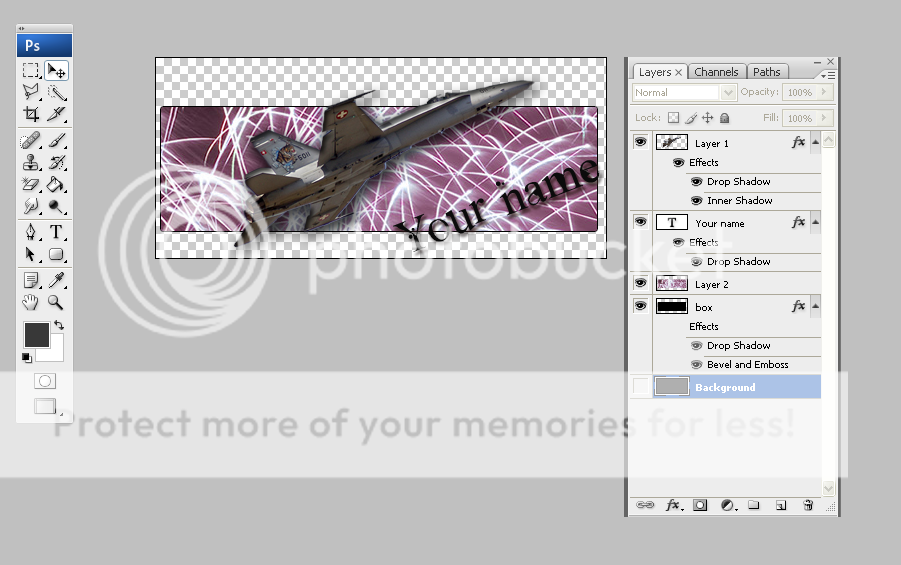
A while back we made that gray bf2s background.. we did that so we could see how it would look here while we were working on it..
Now its time to wave bye bye to that layer, cause we want it to be transparent on every surface, not just the bf2s forum.
so we make the background layer invisible, by removing the "eye" icon next to it:
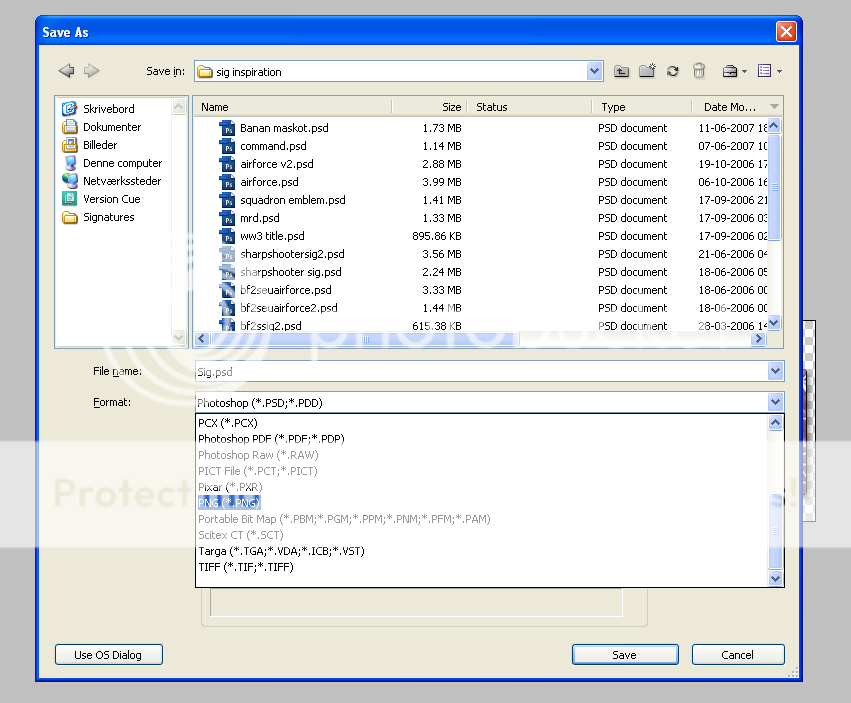
Now go to File, Save As... and select the .PNG format.
The .png format is a loss less format, and its able to show transparency.
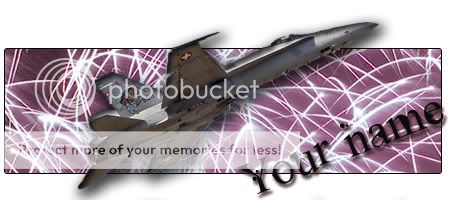
Look at the difference between .png and .jpg
The .jpg is compressed and has no transparency, and the picture quality has gone down.
There is a down side when using .png.. its tends to have a rather big file size compared to the .jpg format.
This is a bad guide, cause I found out that the .png has a file size of 155KB (and the forums allows a max file size of 150KB).
There are solutions out there for this problem. A problem which will haunt you from time to time.
You can maybe live without some effects (sometimes there can be too many!!).
You can corp the image down in size by cutting away the space we don't use anyways.
Select the Corp Tool and adjust the borders so your sig is still there (remember your shadows, if they get cut off, it might look stupid - just look at the tank dust on my current sig ) Double click, and the unnecessary space is cut away.
Unfortunately my sig was still at 153KB (and yes! mods do remove sigs for as small as 2KB violation.. its happened to me twice)
So I took the last resort, cutting the entire sig down in size!:
FINALLY!!!!!! 143KB you are good to go!
Step 8: Uploading and posting
The very final stage, which have nothing to do with either Photoshop or sig making..
Uploading it.
In the past I have used www.imageshack.us for my sig uploads. But I find it to be unstable and the upload is down from time to time. So I've started to use photobucket, and it is great!
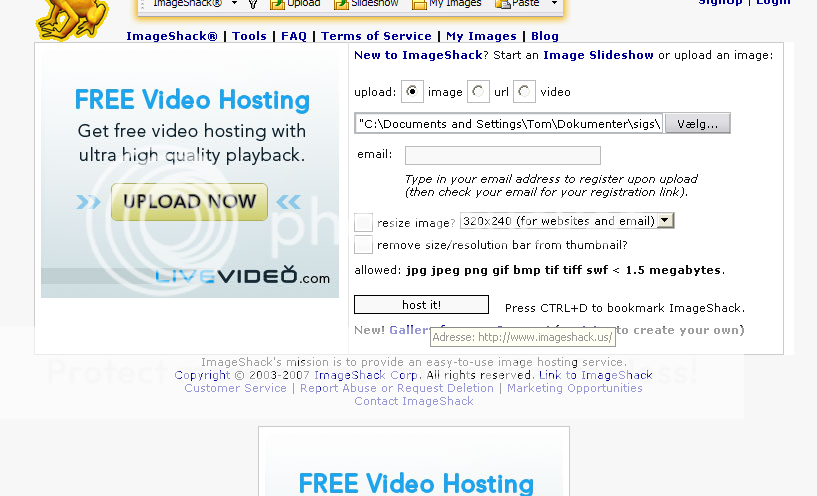
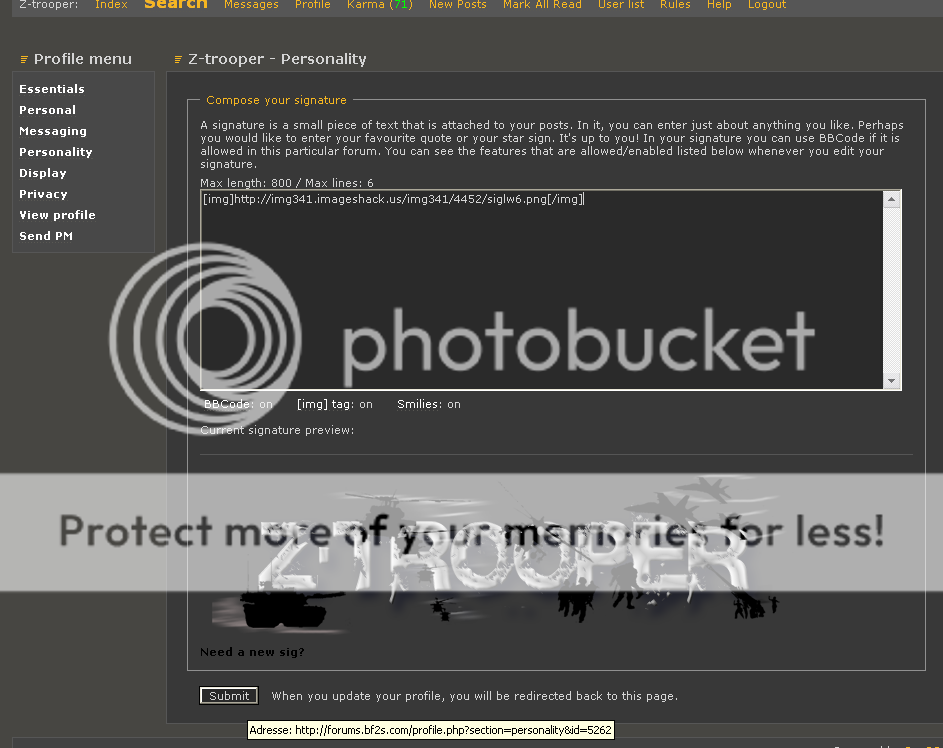
But I'll show how its done with imageshack, because it requires no registration and its easy:
Select your image on your computer and host it...
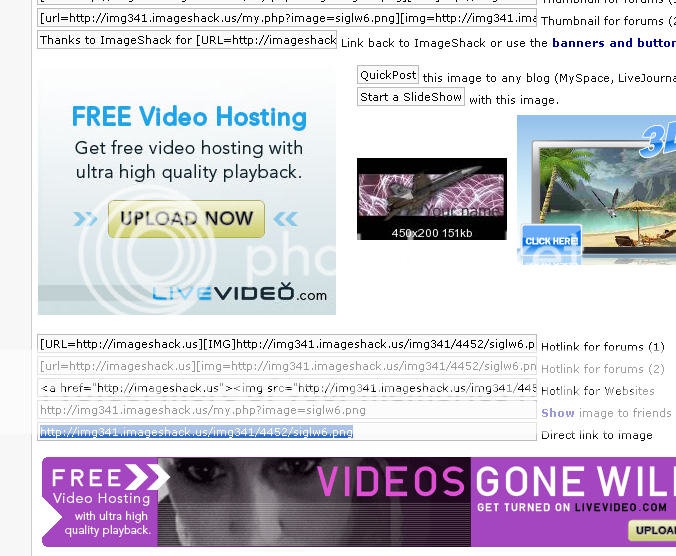
Copy the bottom link.and put it into your personality here at the forum..Code:
[img]your_link_here[/img]
Now there is only one thing left to do when you are done with your spanking new sig!
Click here

Step 9: What next?
Play around with the things I've shown here!
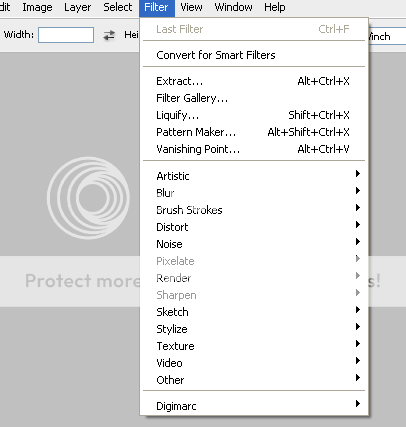
I can also recommend that you play around with this menu.. especially with the layers with the plane and the fireworks..
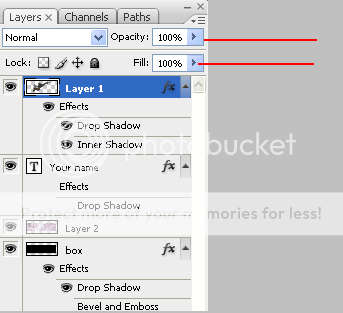
Also play with the Opacity and Fill of layers..
I'd like some serious feedback on this guide cause it was VERY time consuming.. I did this for you guys:
- Was it too noob'ish? even for Photoshop noobs?
- Was it too hard? was something badly explained?
- Do you miss something here?
- To see if my guide was worth anything, I'd VERY much like it if the people who follow it, post some of their work here
HAVE FUN WITH IT!!!
.. and if you have ANY questions - fire away, that's why we are here - to help each other!
Last edited by Z-trooper (2007-06-26 03:01:45)