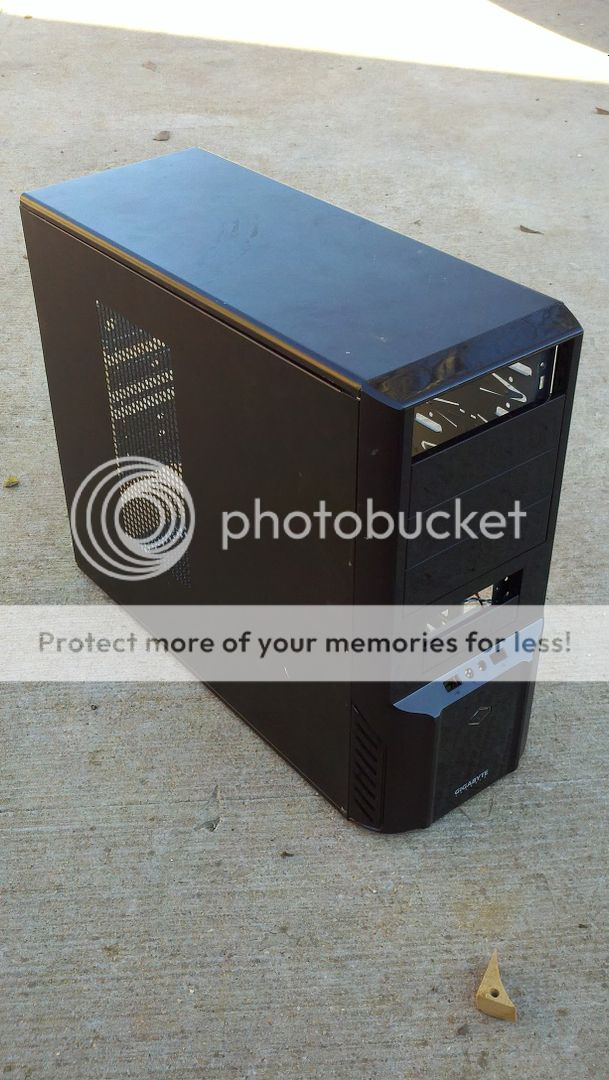
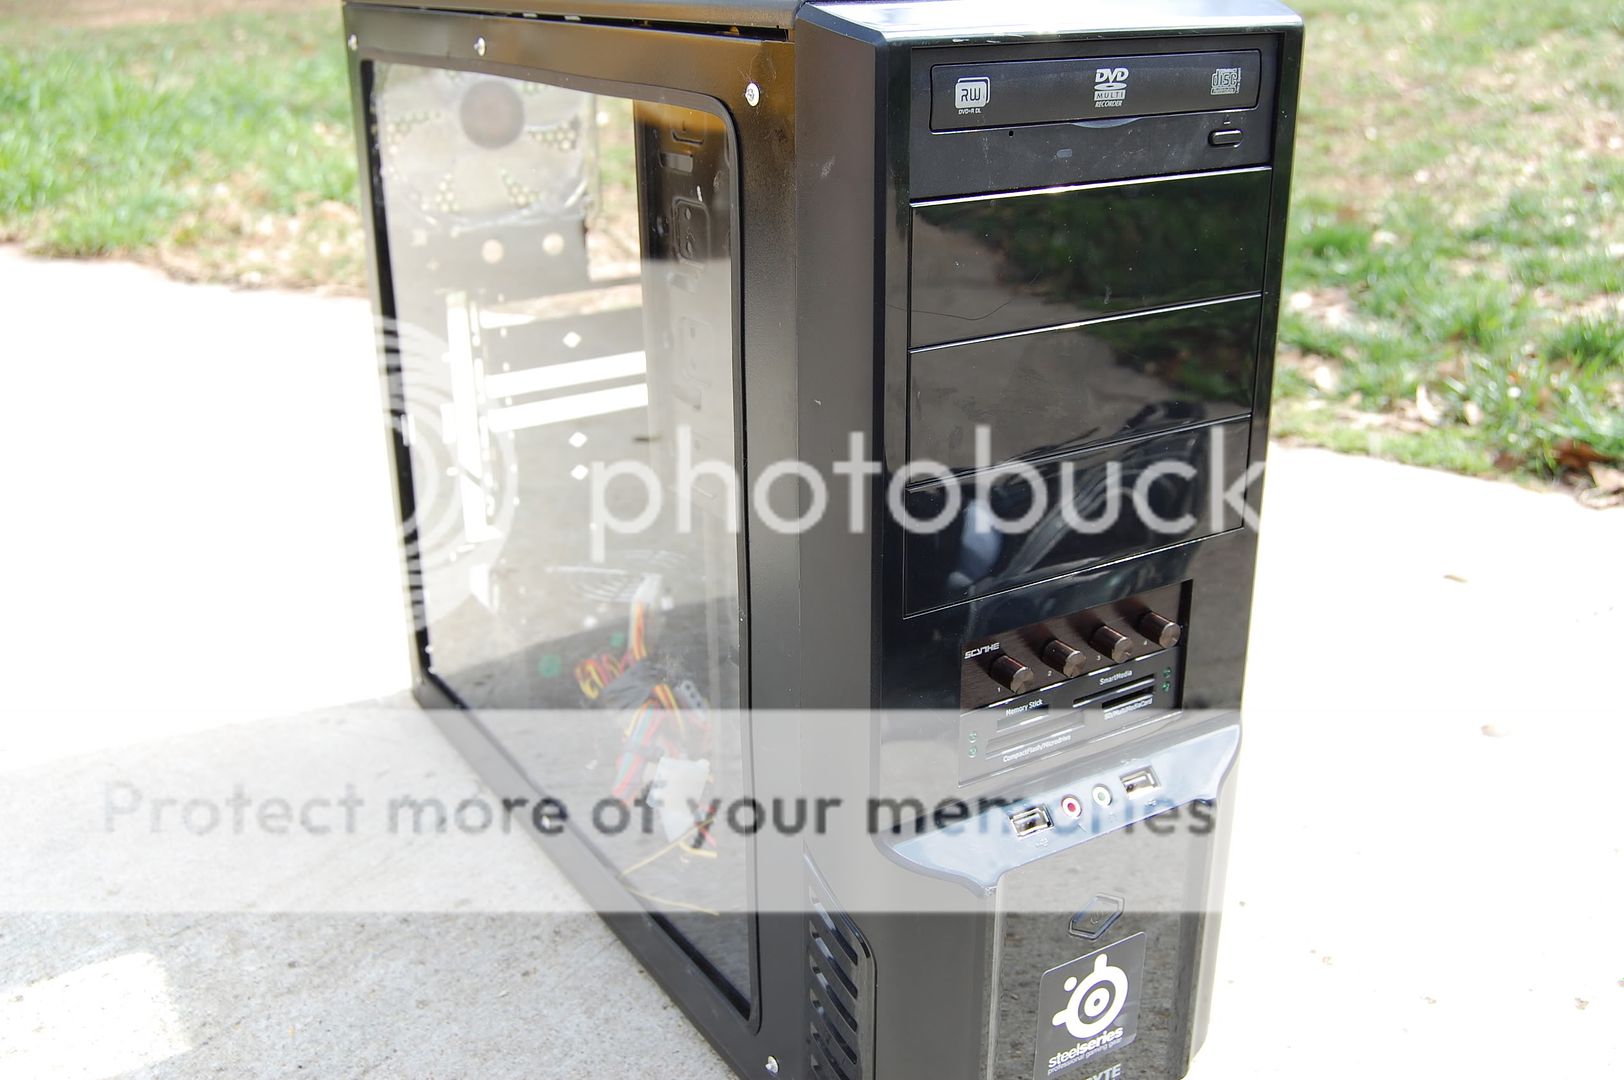
Alright, so I've been bored for a few weeks and i was really wanting something to do. I looked over and saw this old crappy Gigabyte computer case just laying around so i figured well why not, lets mess around.
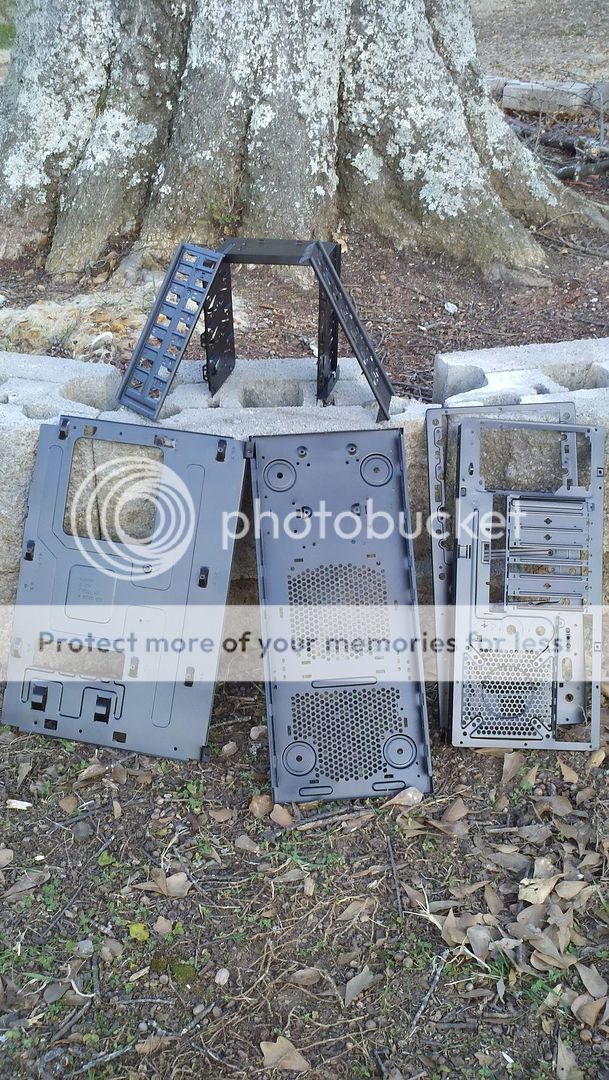
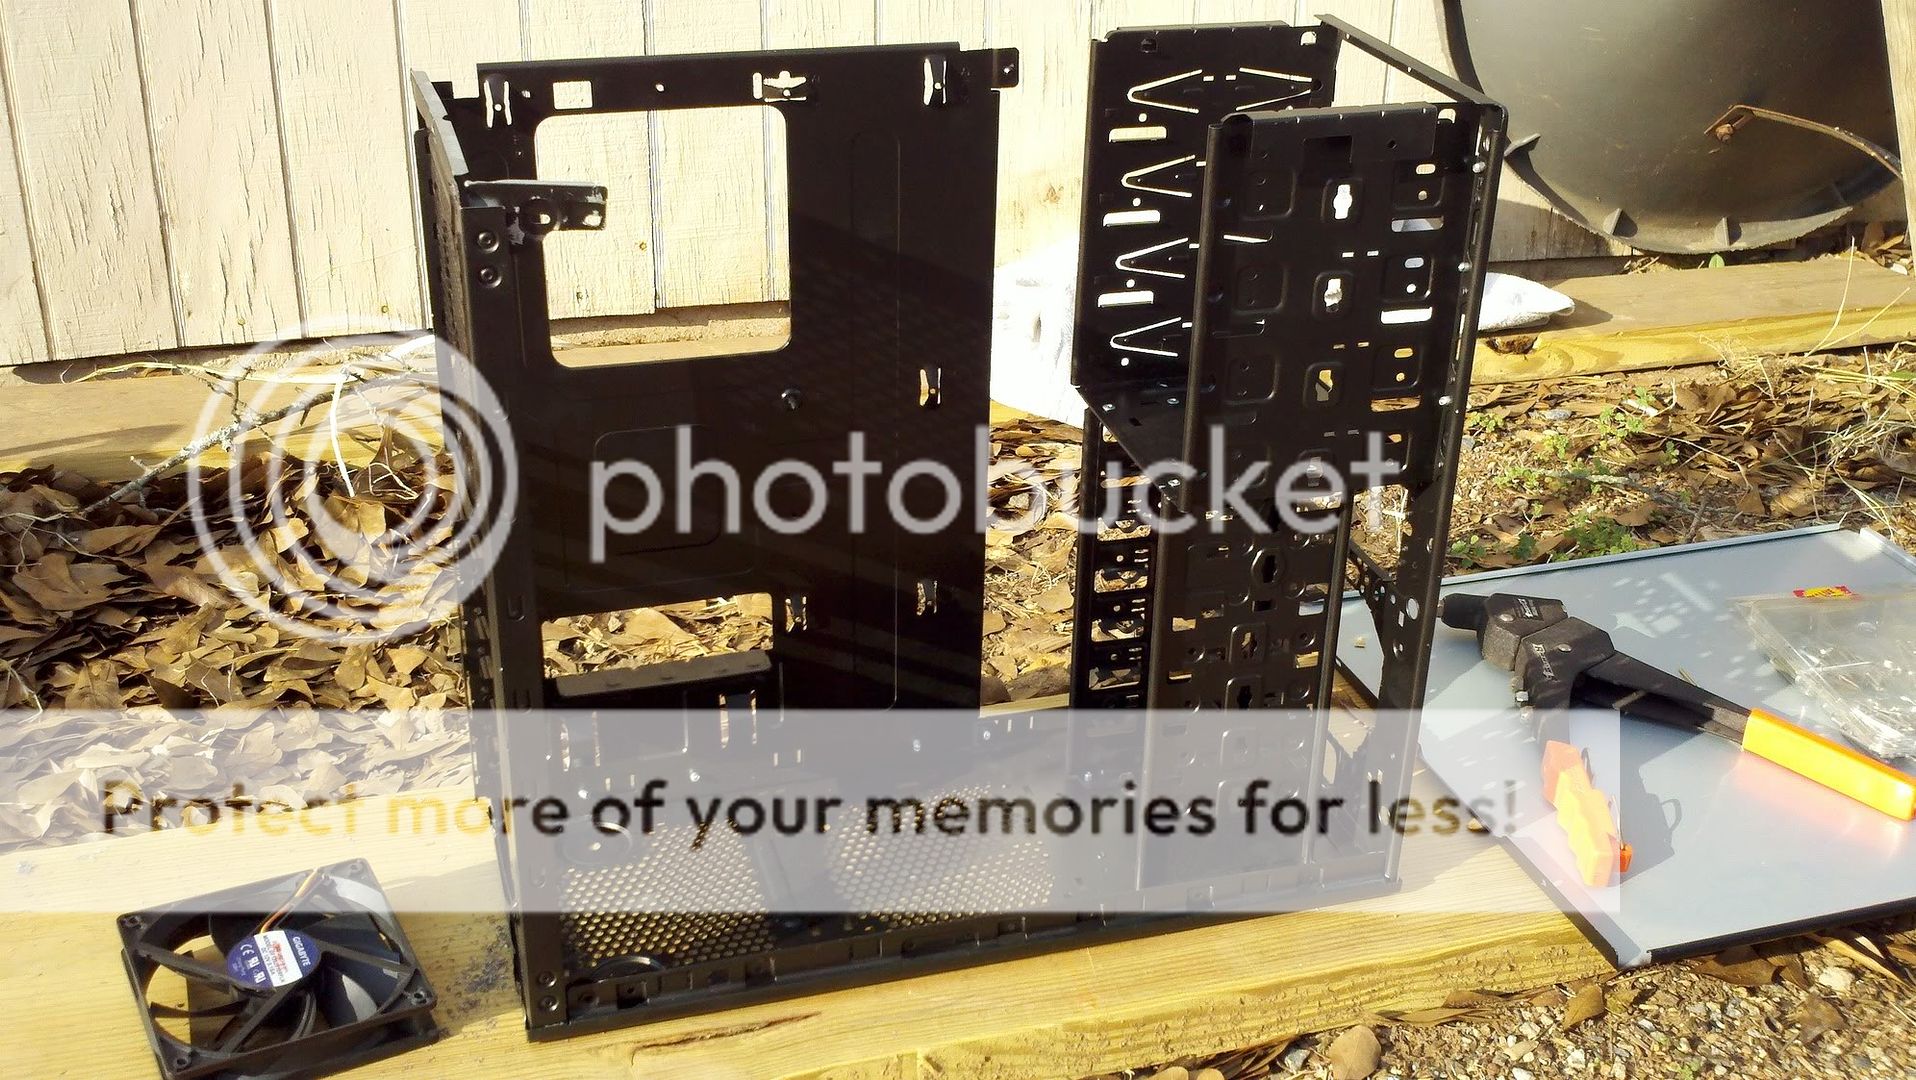
So this is what I'm working with.
Alright so i started off by taking a drill with a smaller sized drill bit and drilled out each pop rivet in the case. Easy task, never though taking apart a computer would be so easy.
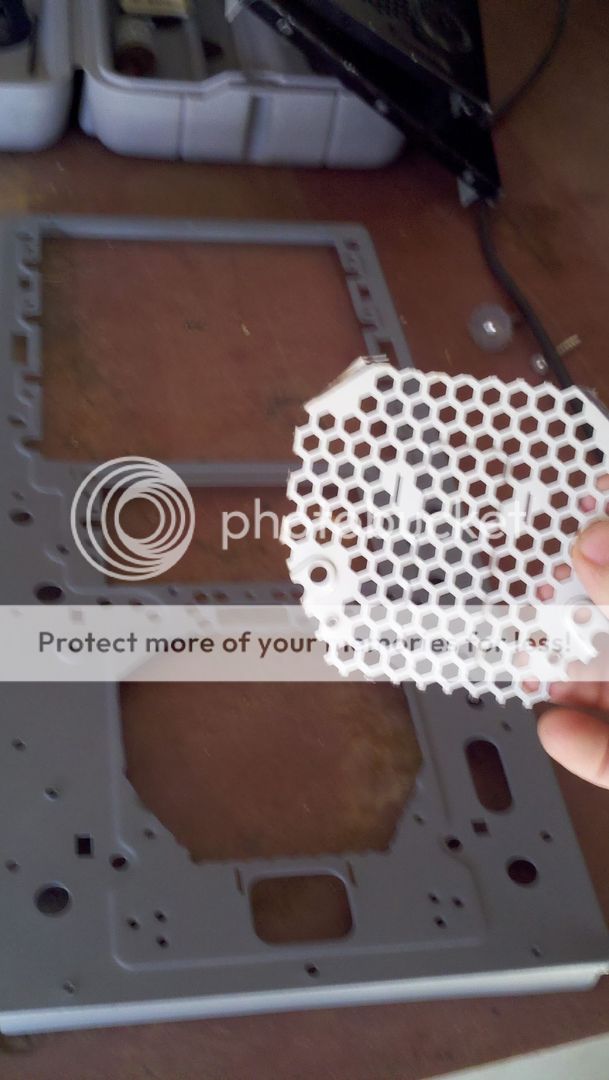
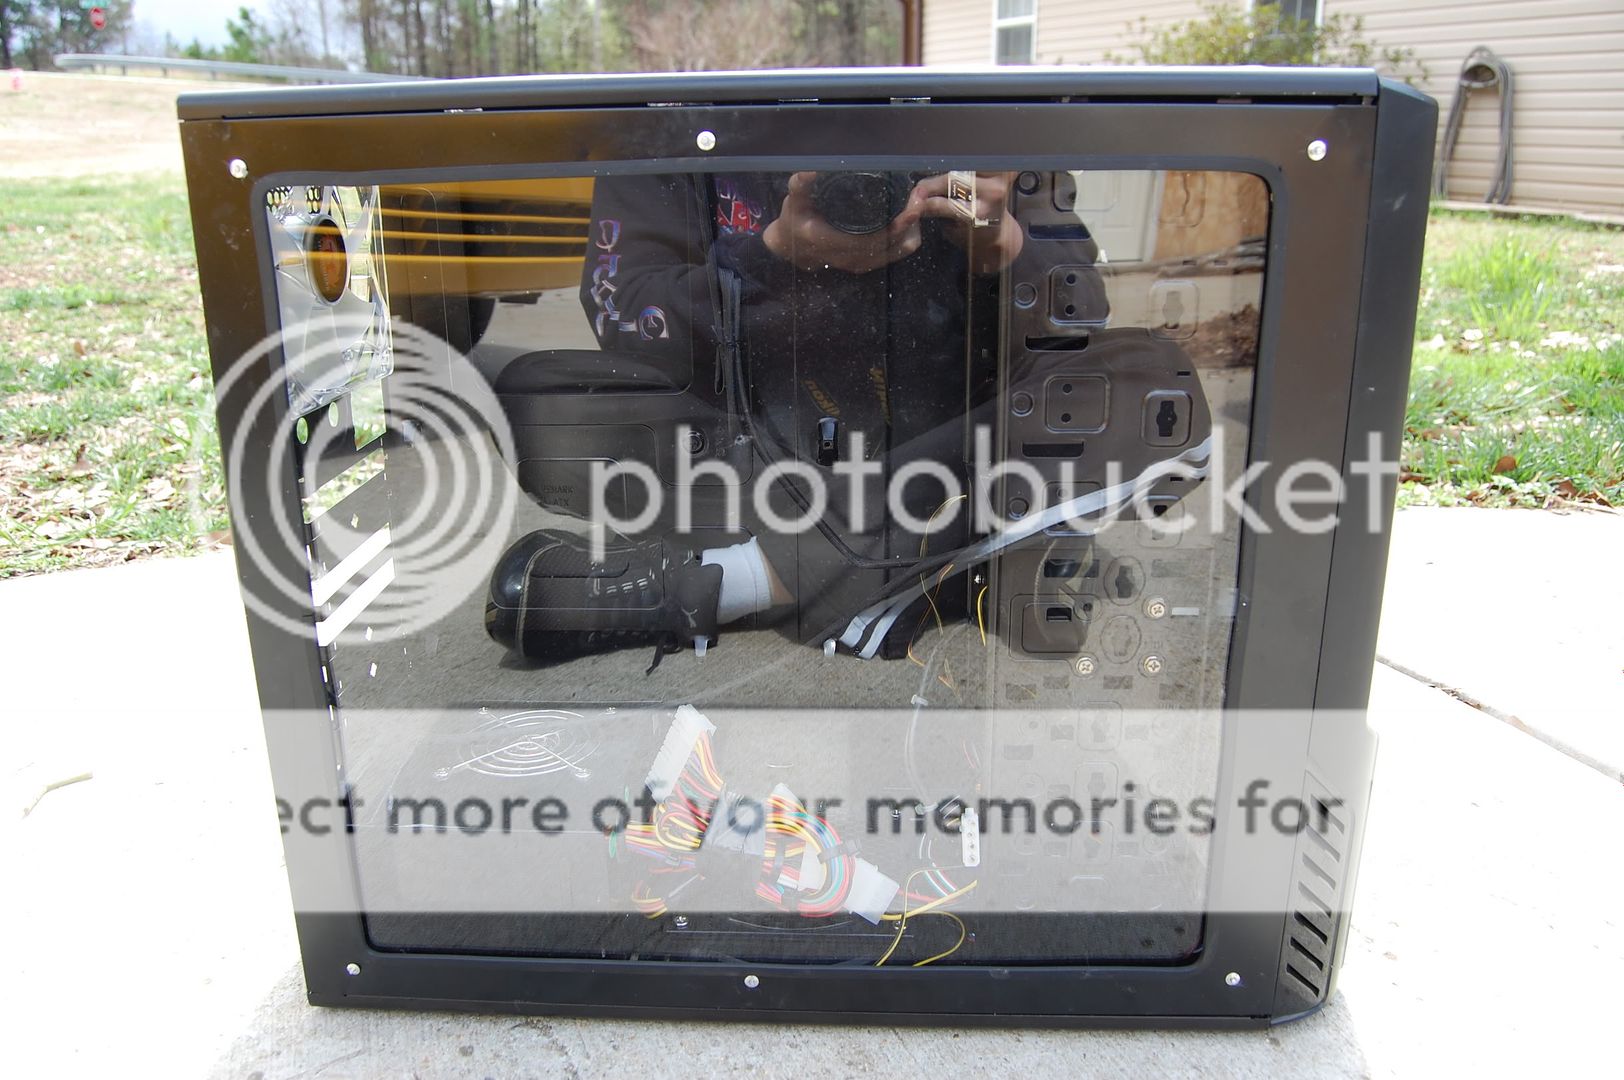
I took out my dremmel and went and did a little work. I cut out the front grill so the fan could get a little better airflow. Not much air will flow through here anyways. The cuts aren't pretty here but they will do since they are hidden. I'm also cutting out the side panel and a small square on the opposite panel. I'll have more pictures on that later.
After all this i went to walmart and got some paint. This Krylon primer and satan bronze paint works pretty well.
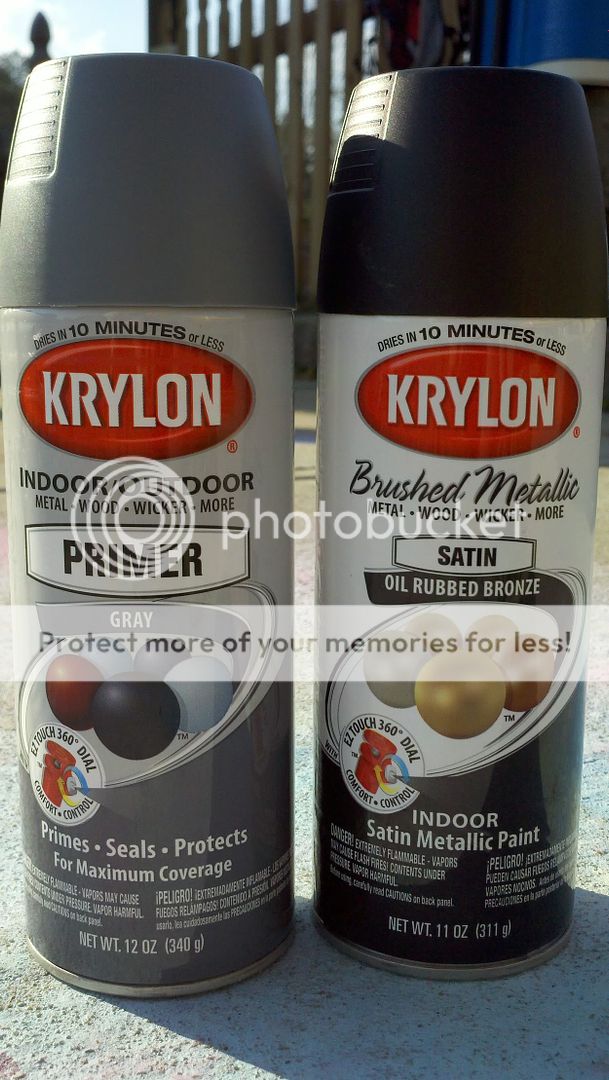
The paint dries fast! In under 10 minutes. Sprayed a coat of primer and a few coats of the black. I chose satin cause i didn't want a super shiney finish nor a flat boring one.
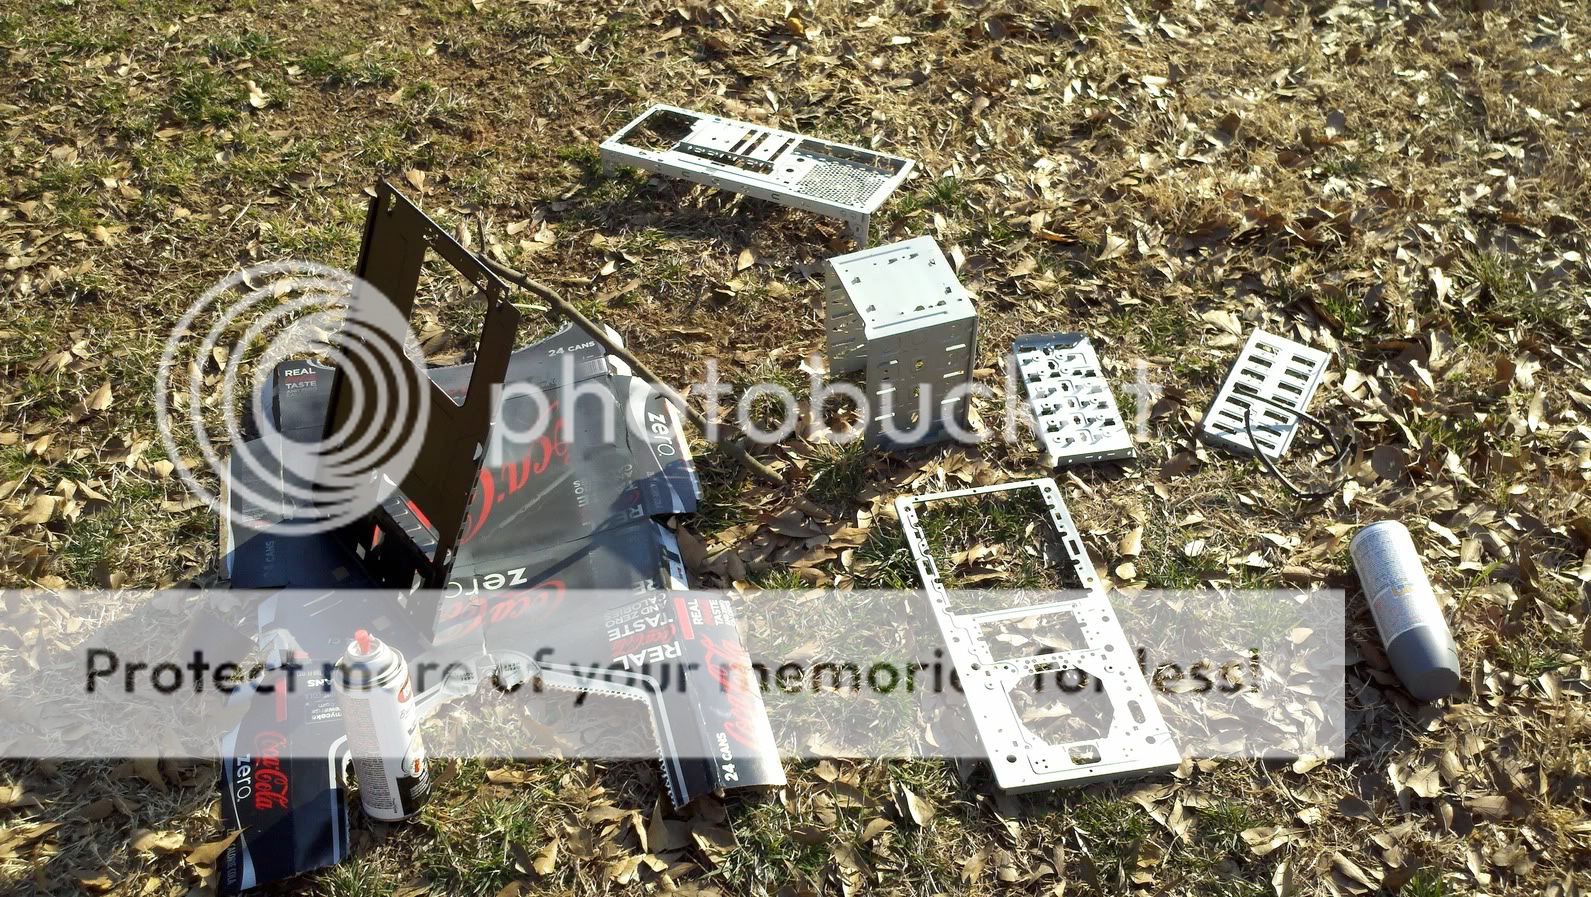
Quarter of the way done!
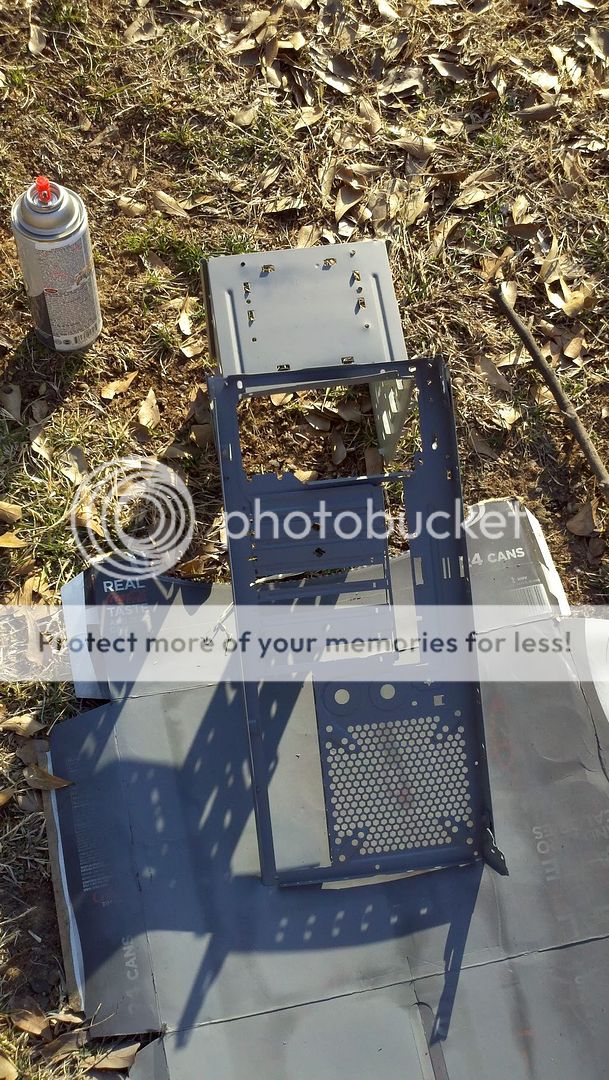
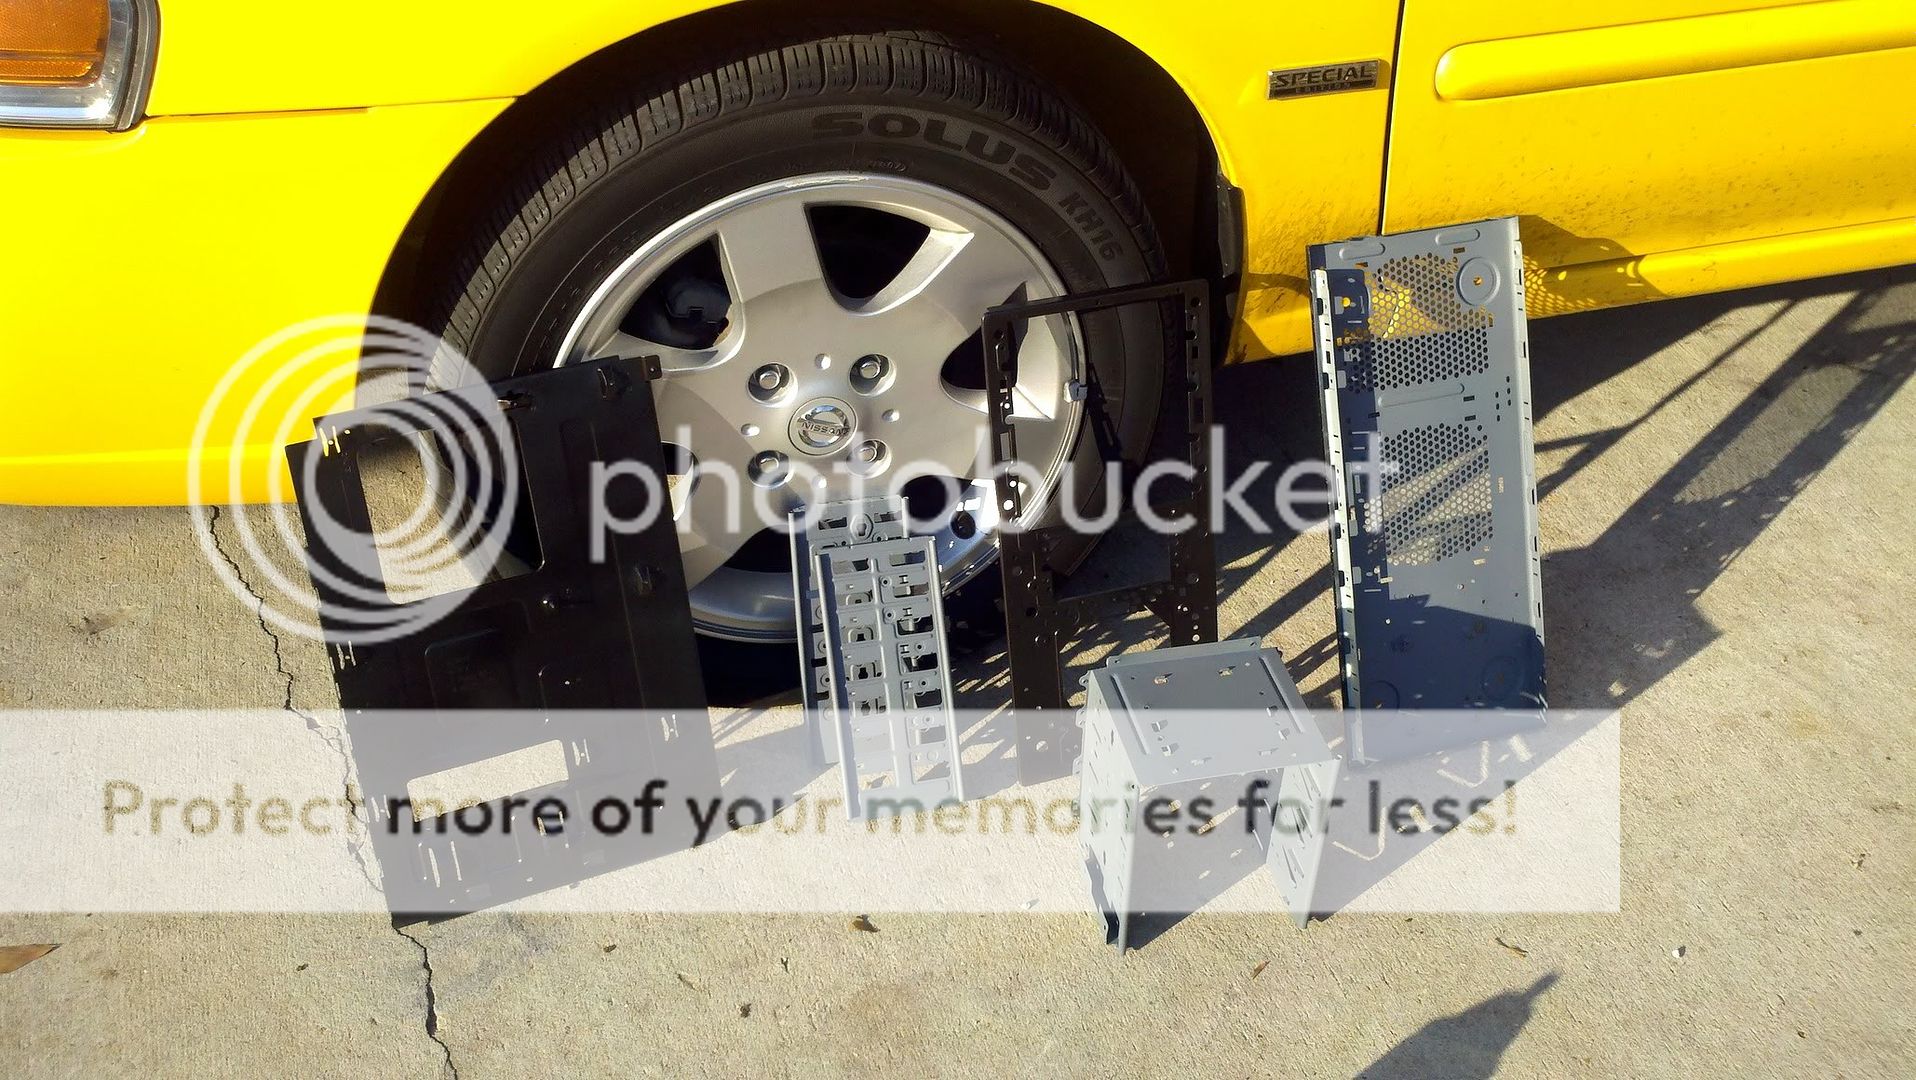
I've got everything primed here and i tested out the paint on the backside of the motherboard holder. Btw the car was the only thing i could find to lean them up against
Alright, heres the finished product dealing with the paint. Everything went smooth, dried fast, and looks good. I recomend this paint if anyone wants to do this.
Ok so tomorrow ill go buy some pop rivets and start getting this together. Then i'll also finish cutting out the window, cleaning it up a little bit, then putting in the plexi glass. If you guys want you can gimmie some idea's that i can do. I think Bf2s might get a special place on it.
_______________________________________________________________________________________________________________________
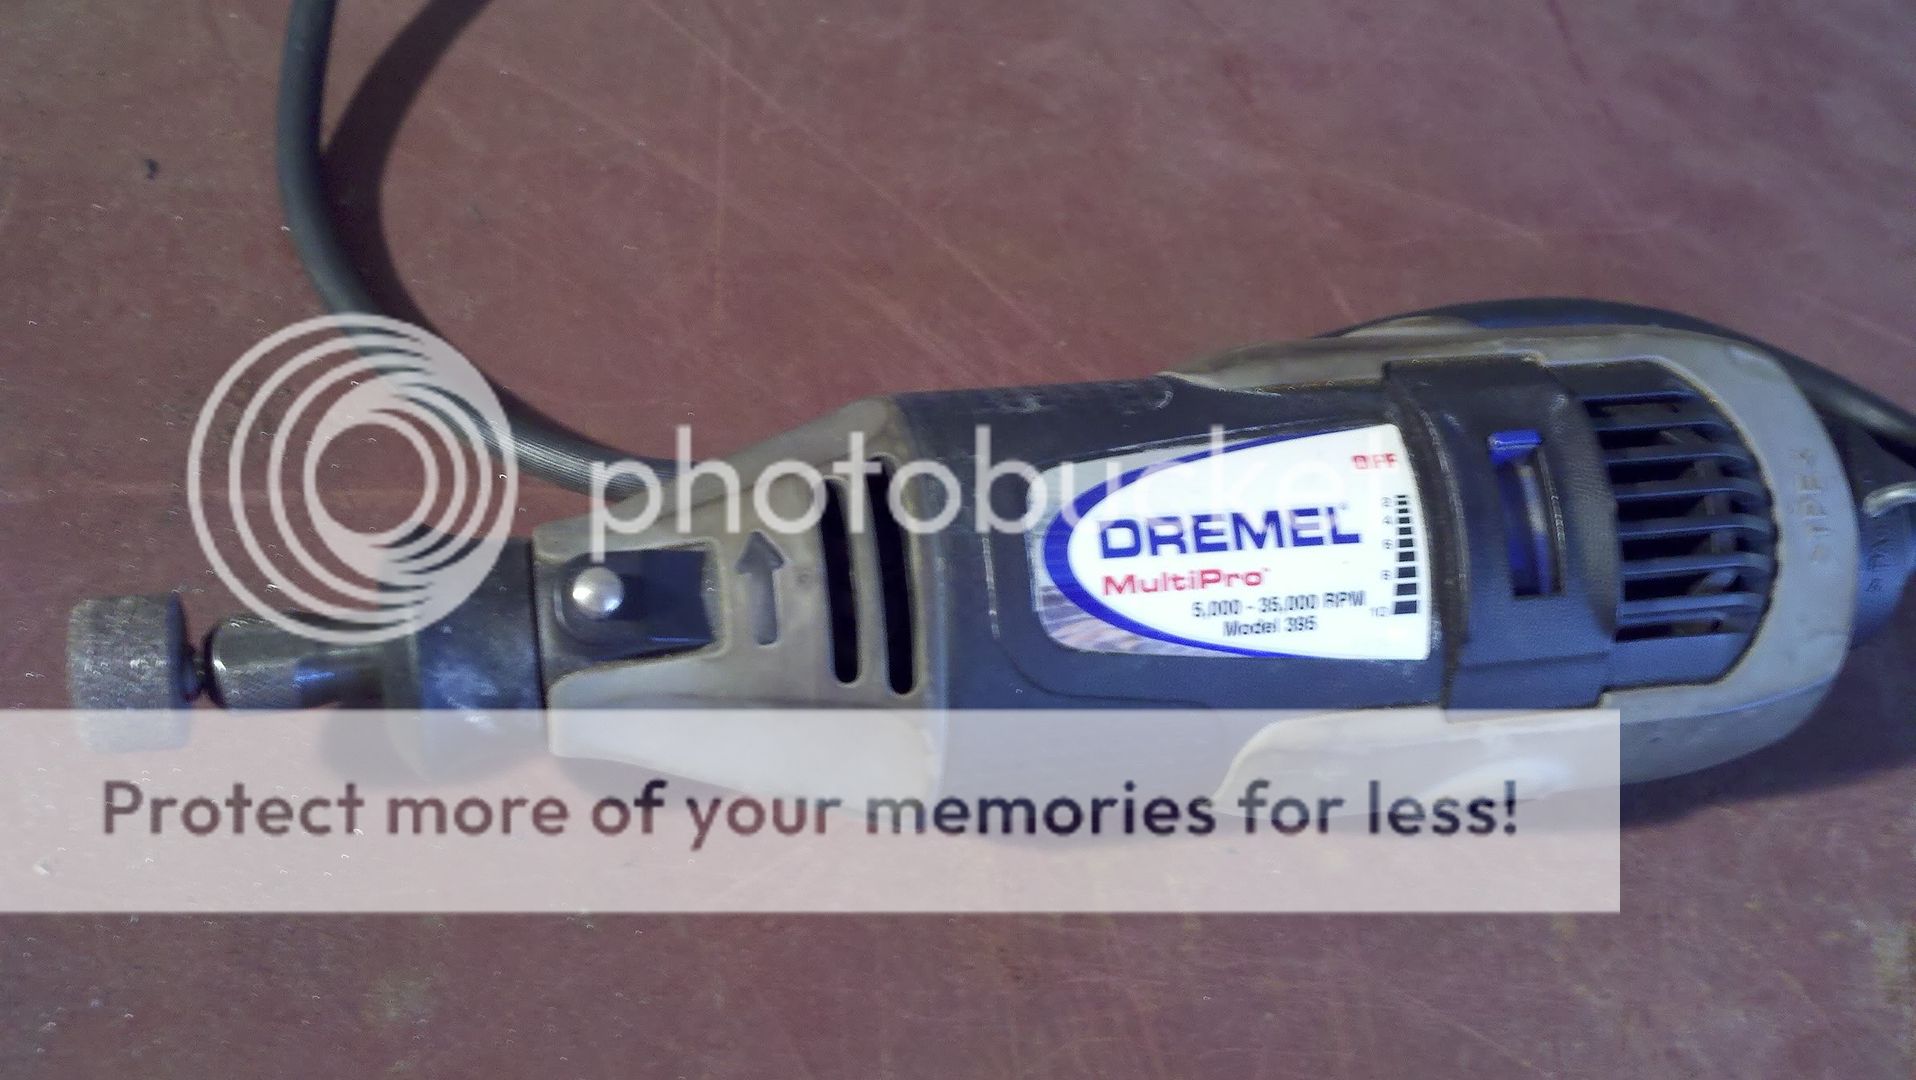
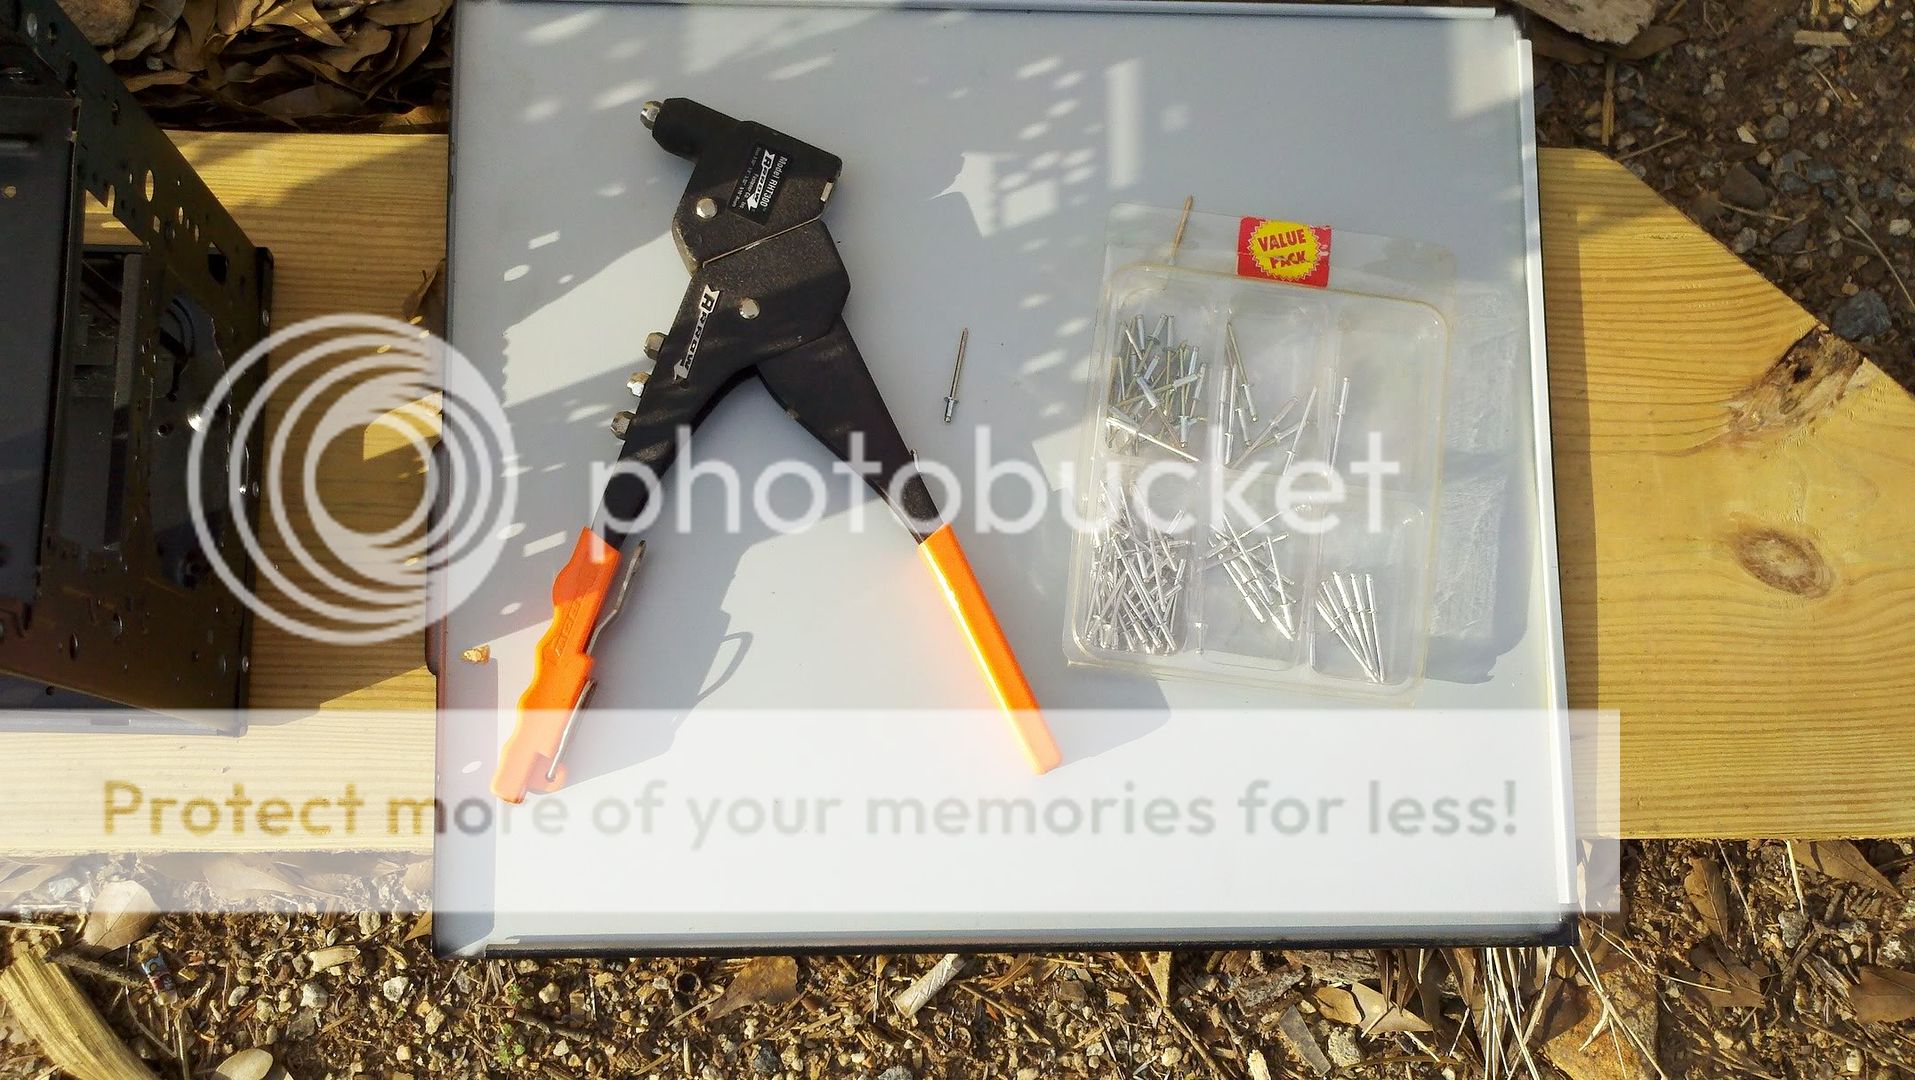
Okay so i found my self to have a free and open weekend. I decided to work on this a little bit. First off, this is most amazing tool ever. Everyone should own one. Go buy one.
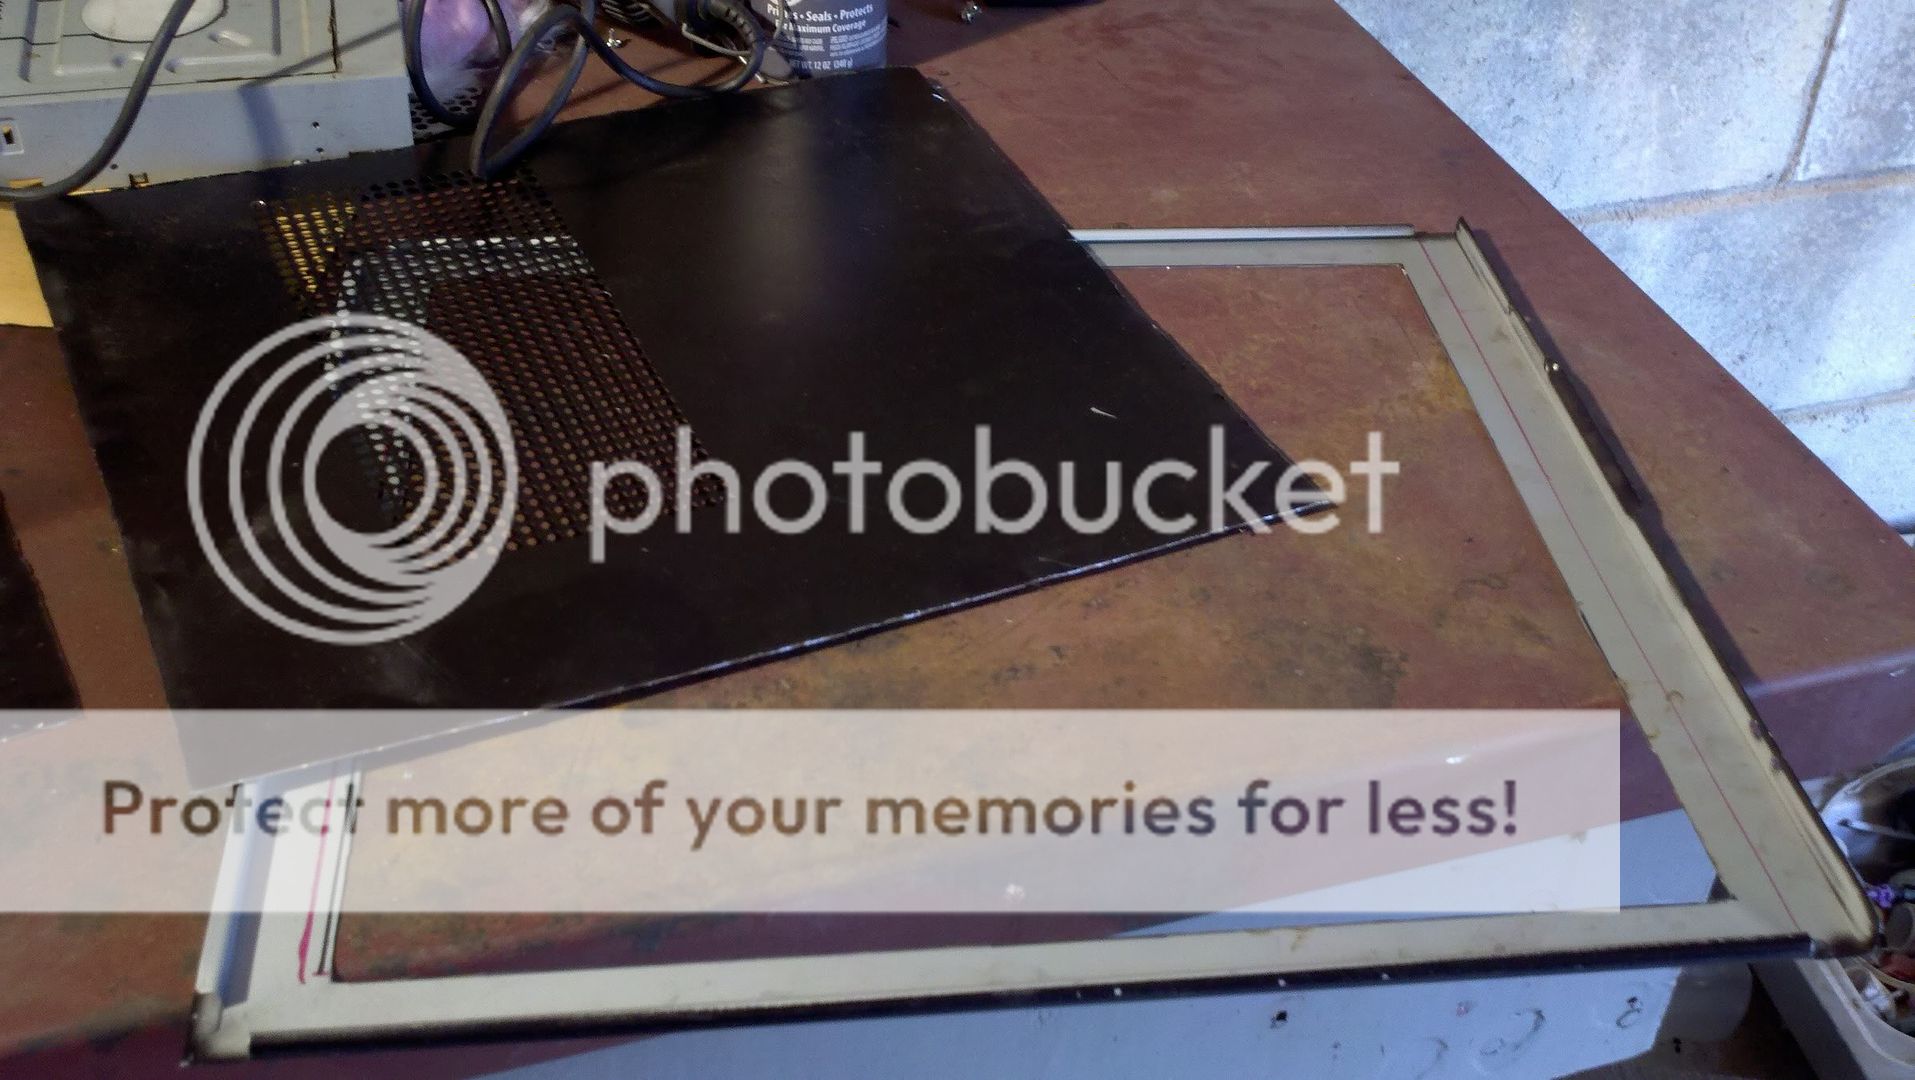
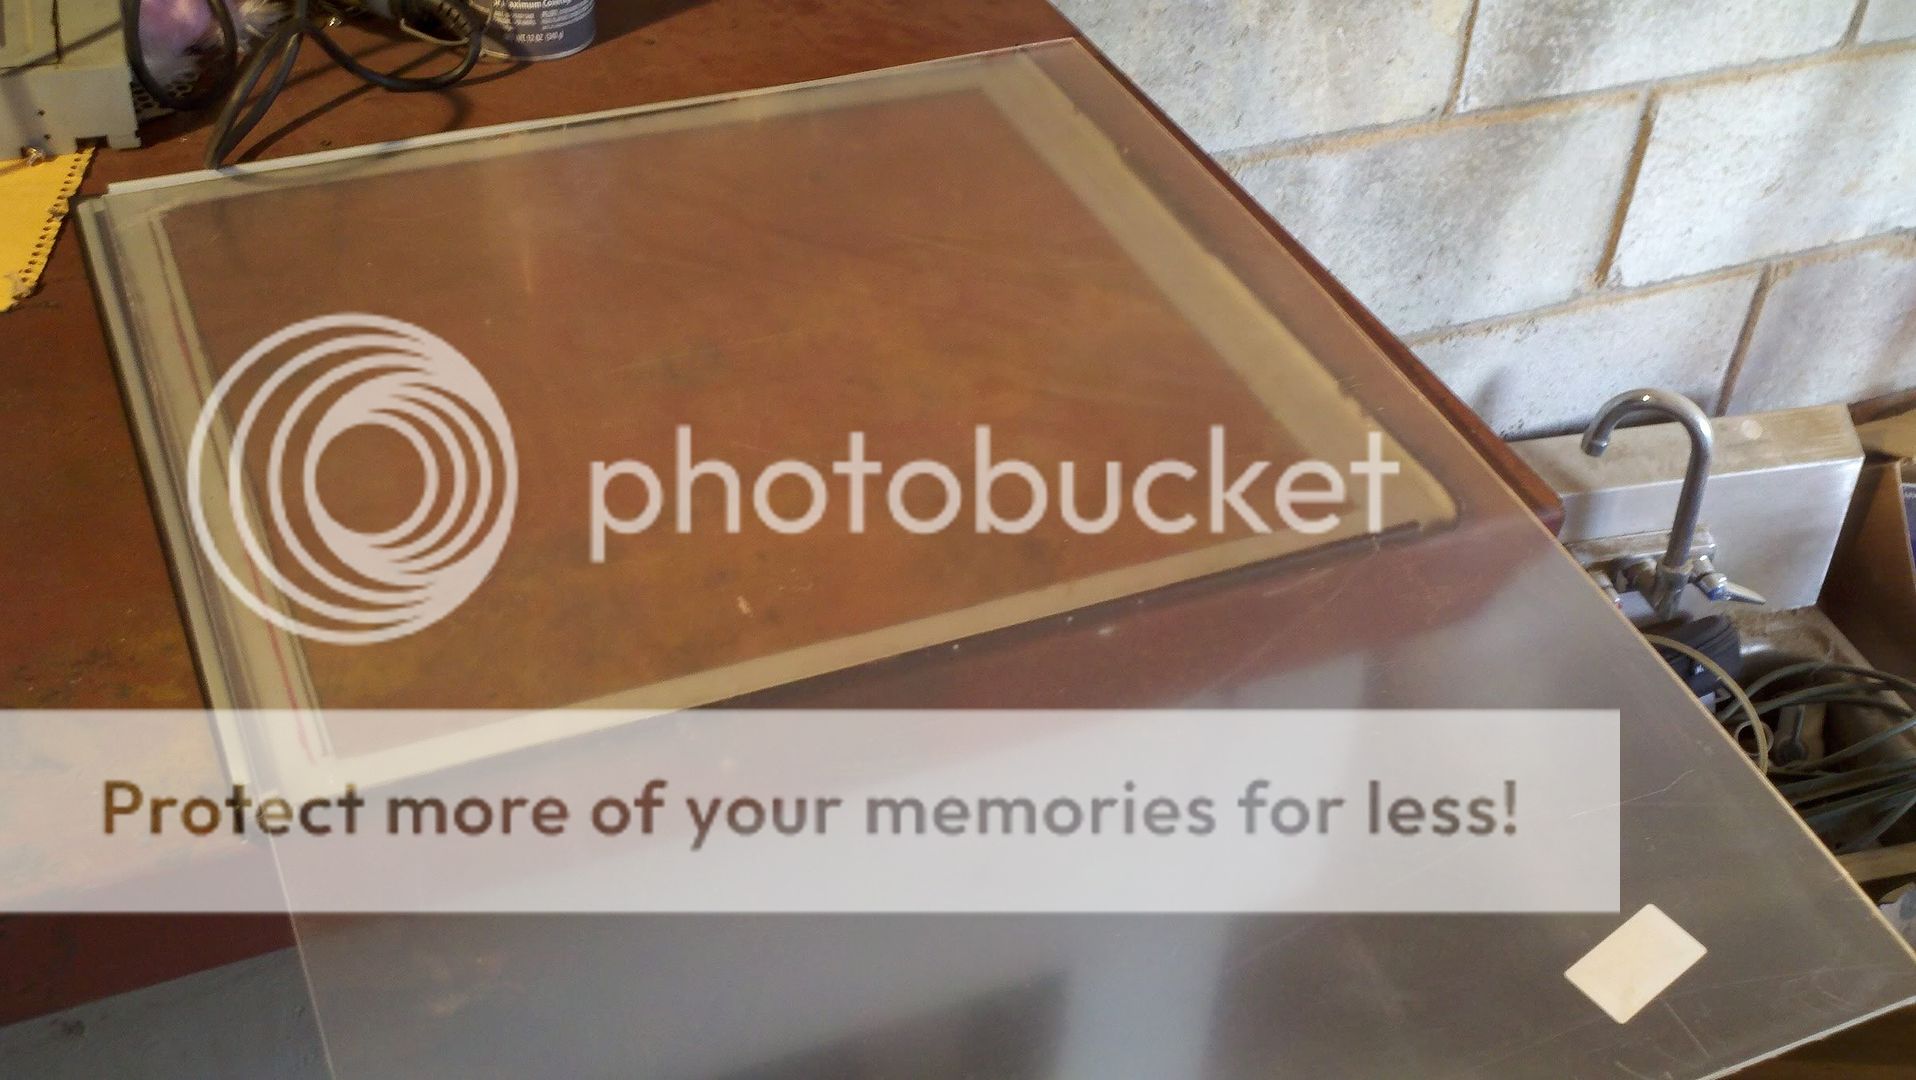
This is my side panel window all cut out and grinded down. I'll be repainting it and laying u-channel molden along the edges to make it look really clean and nice. This is also the plexiglass i'll be using. It's a big sheet for only about $15 at home depo.
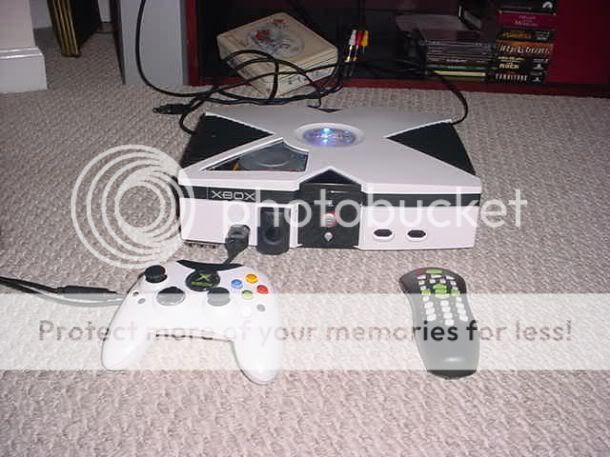
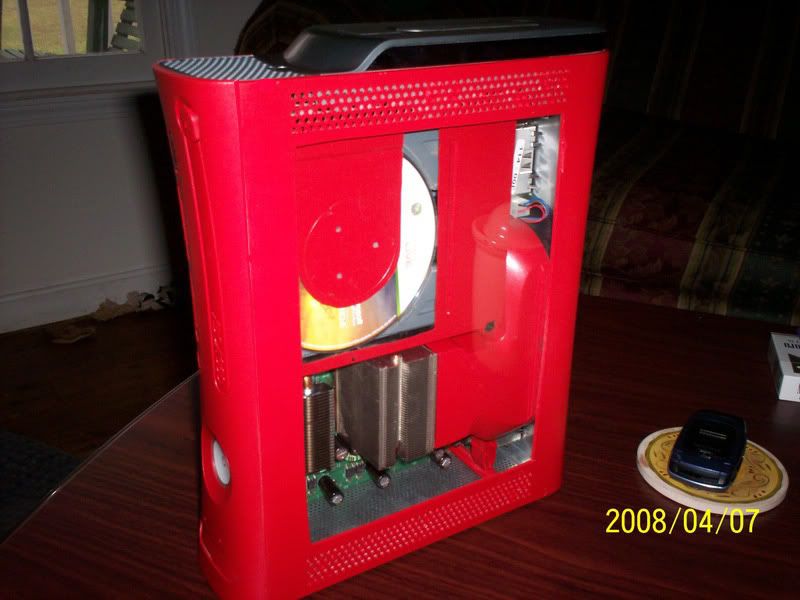
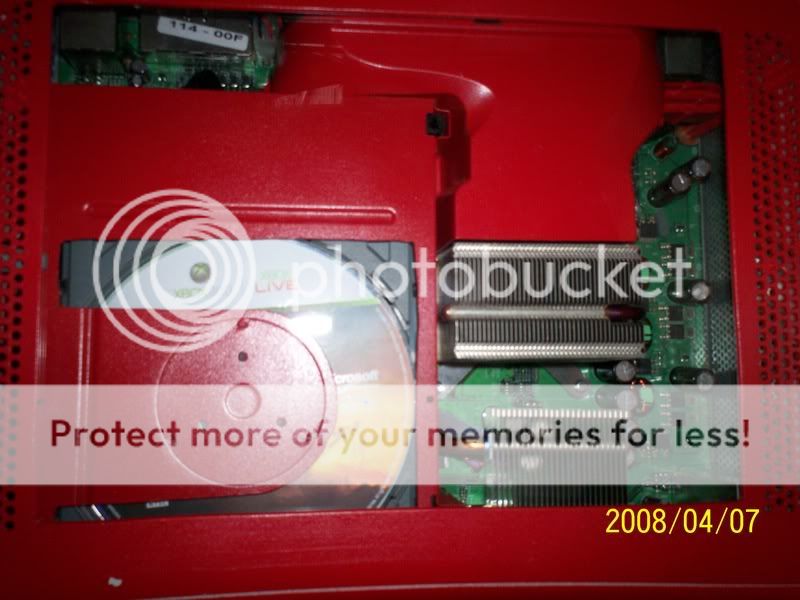
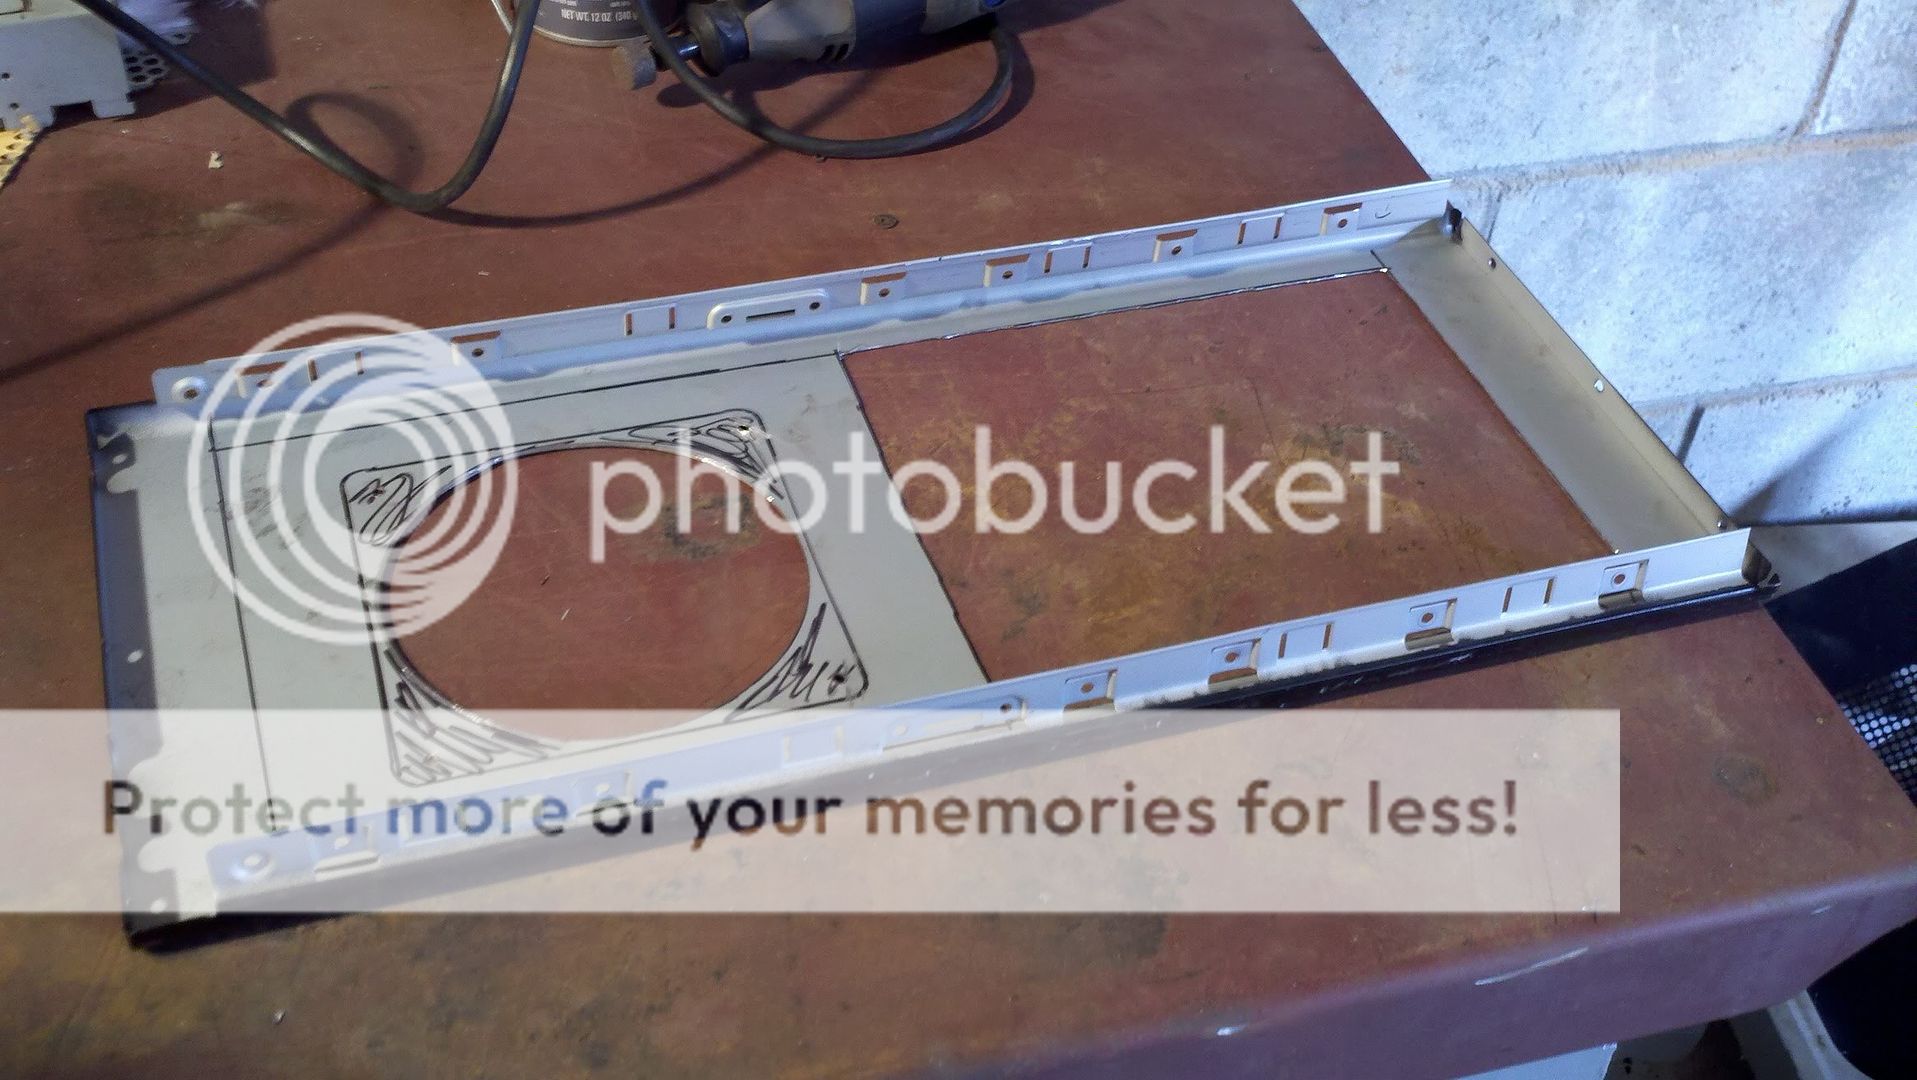
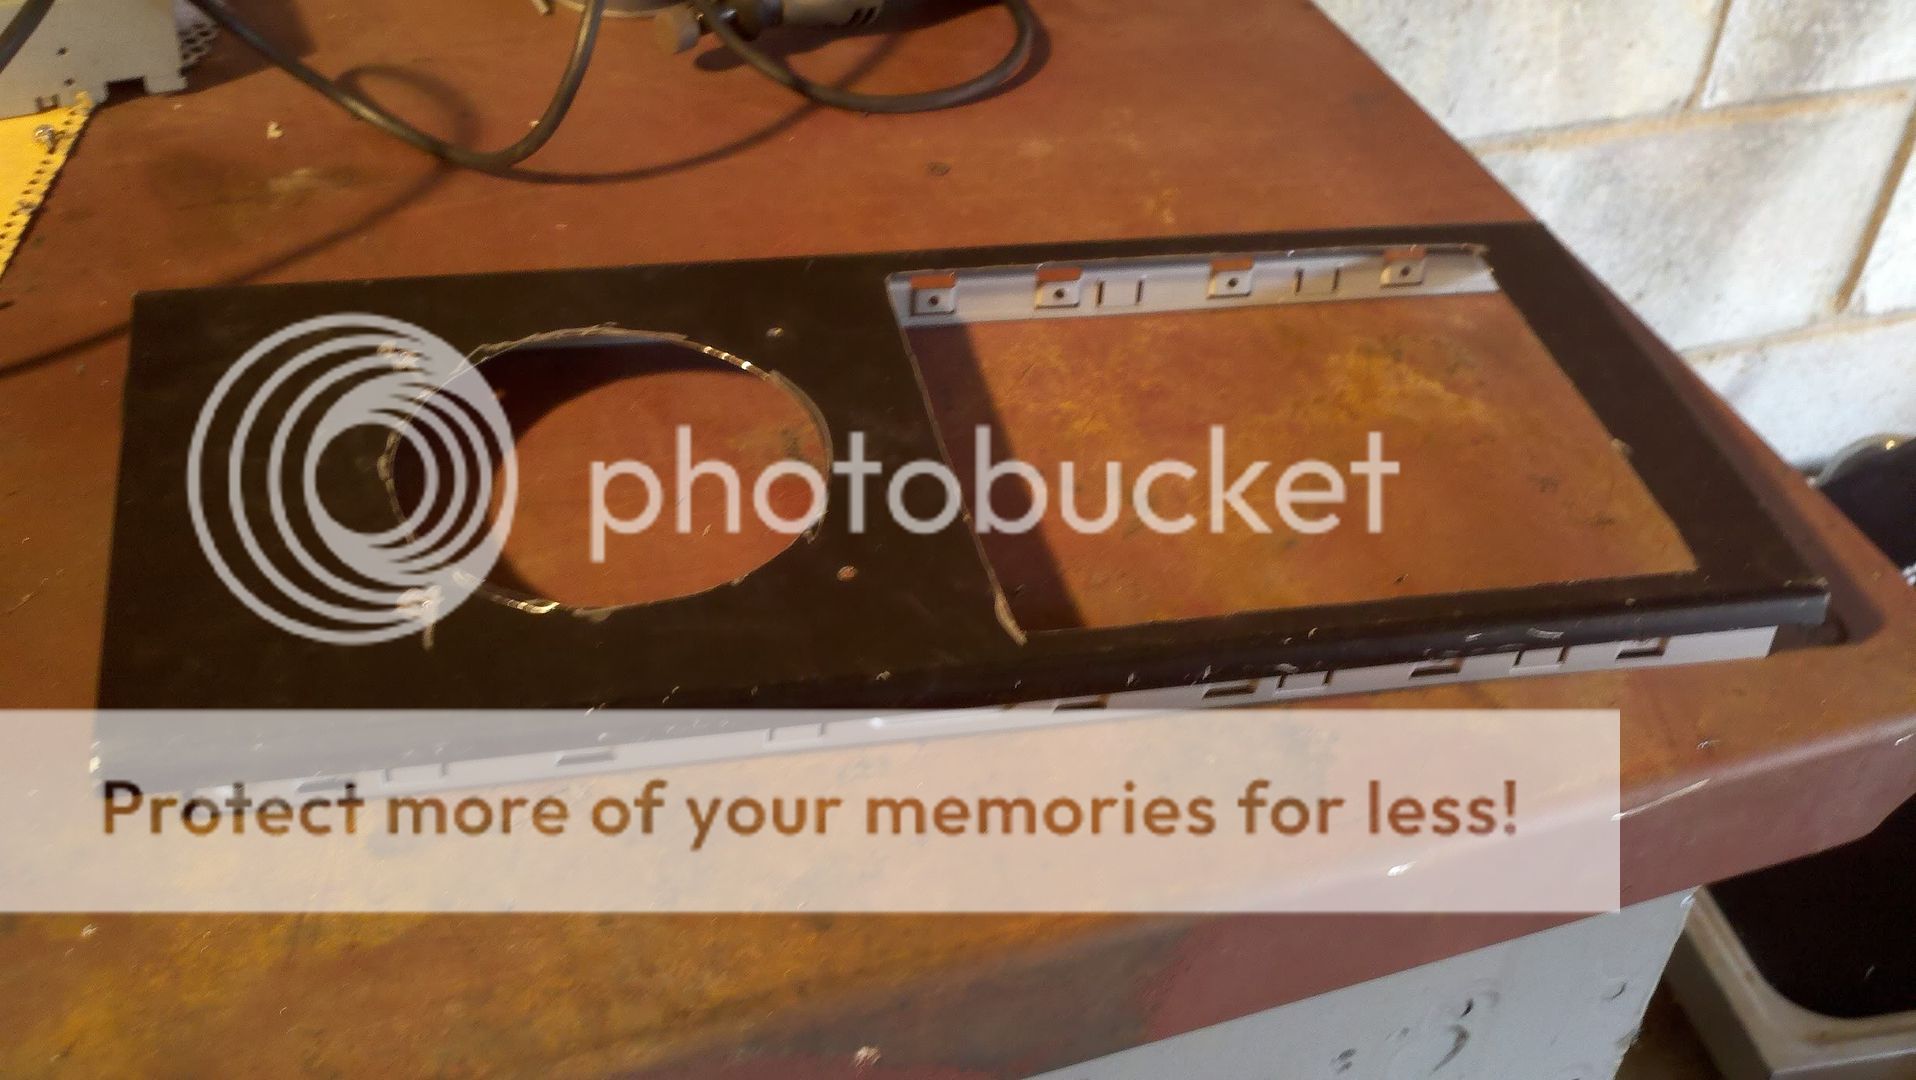
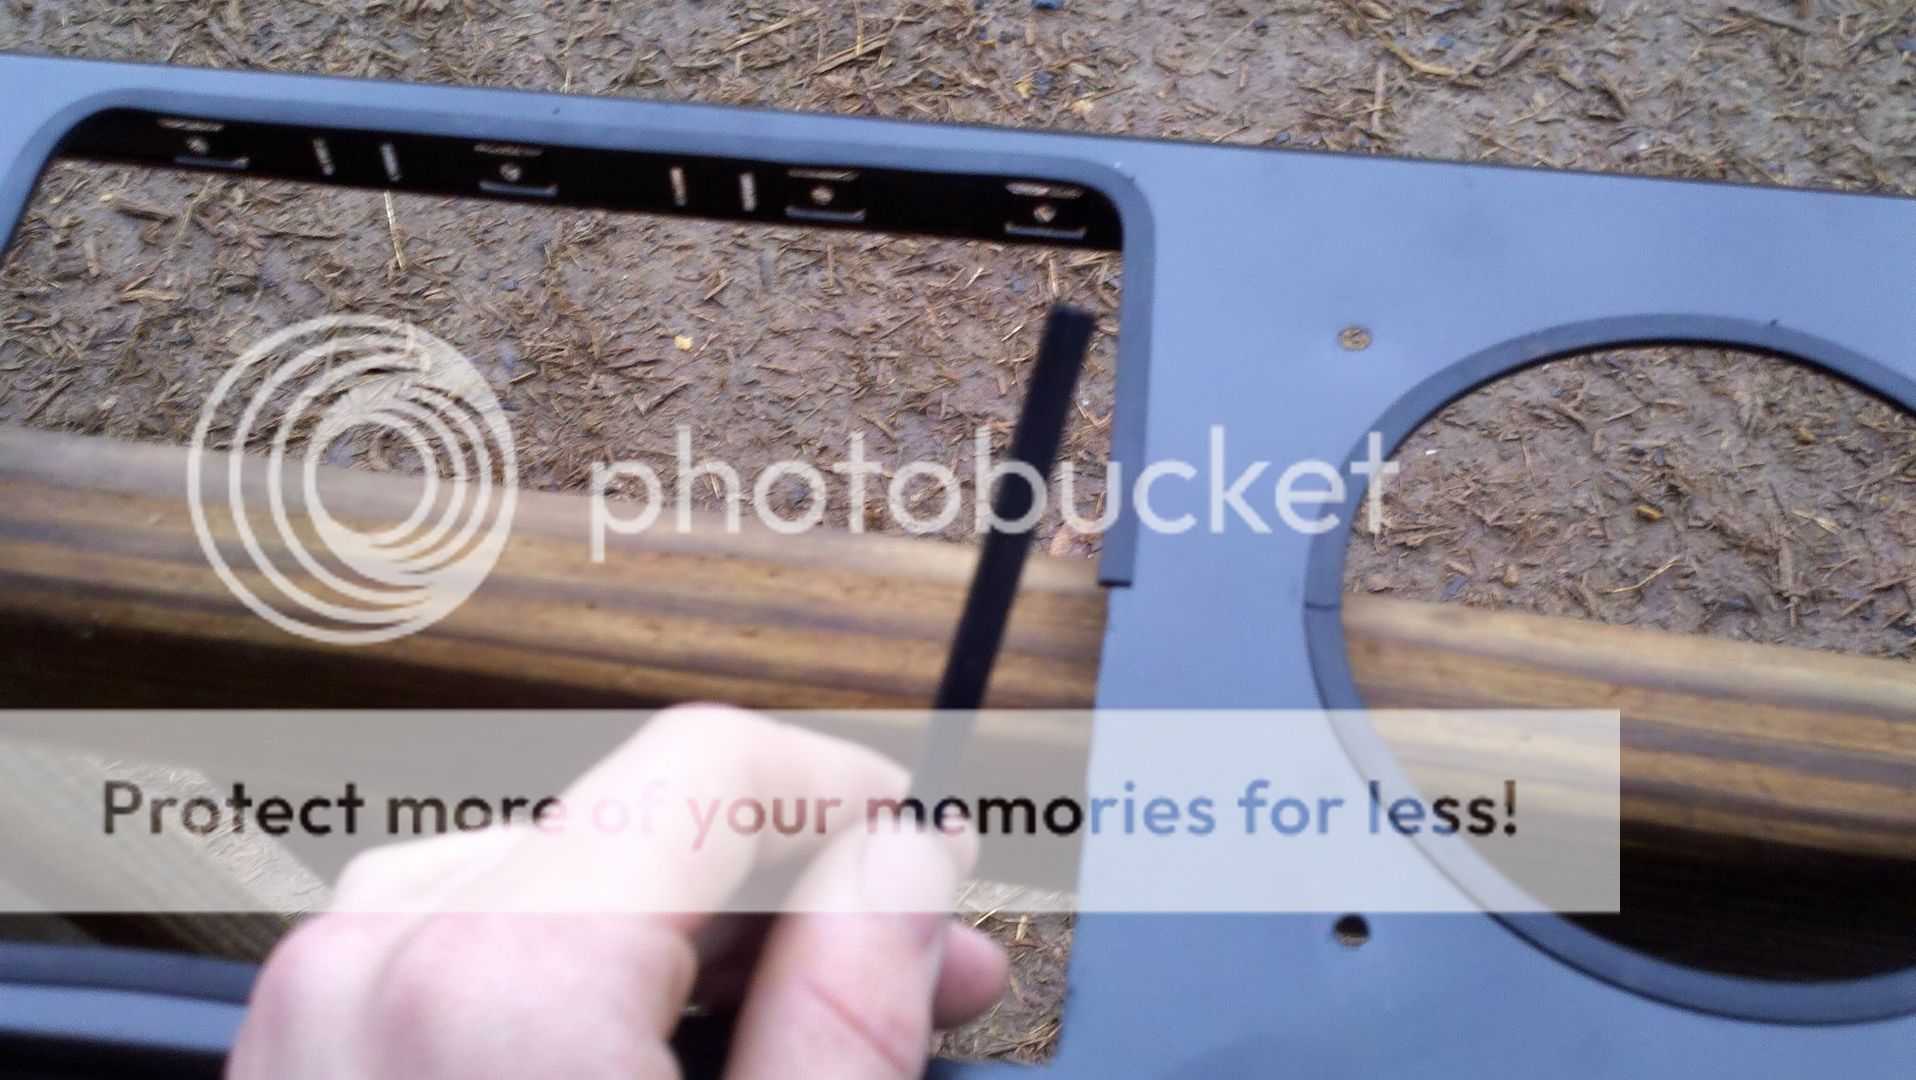
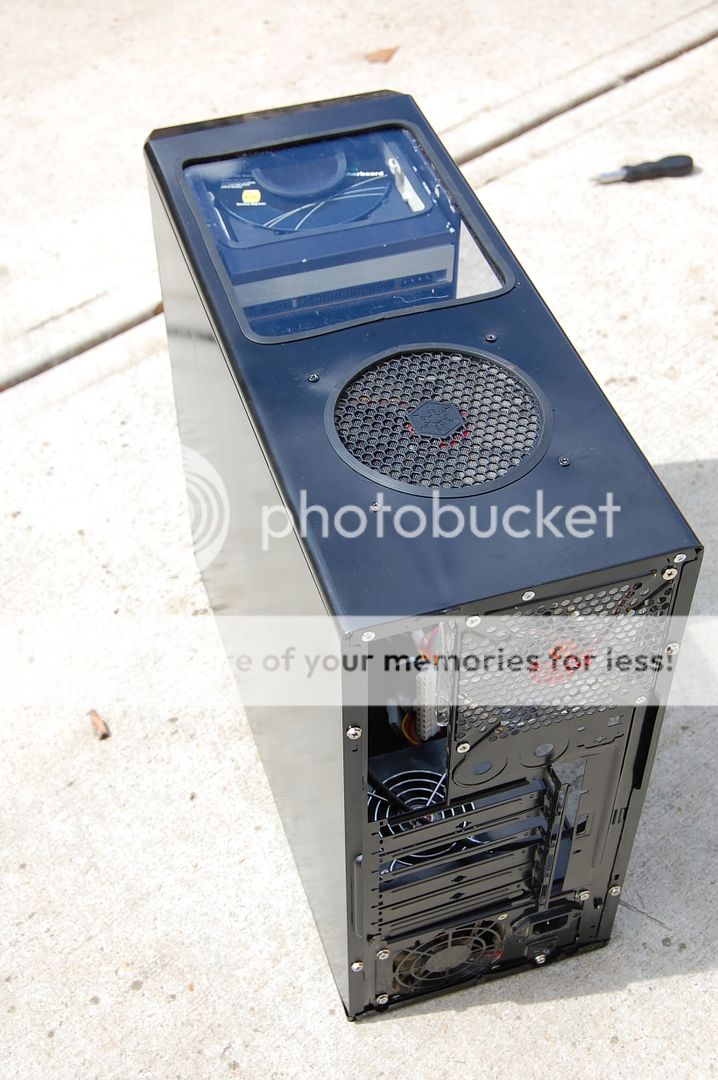
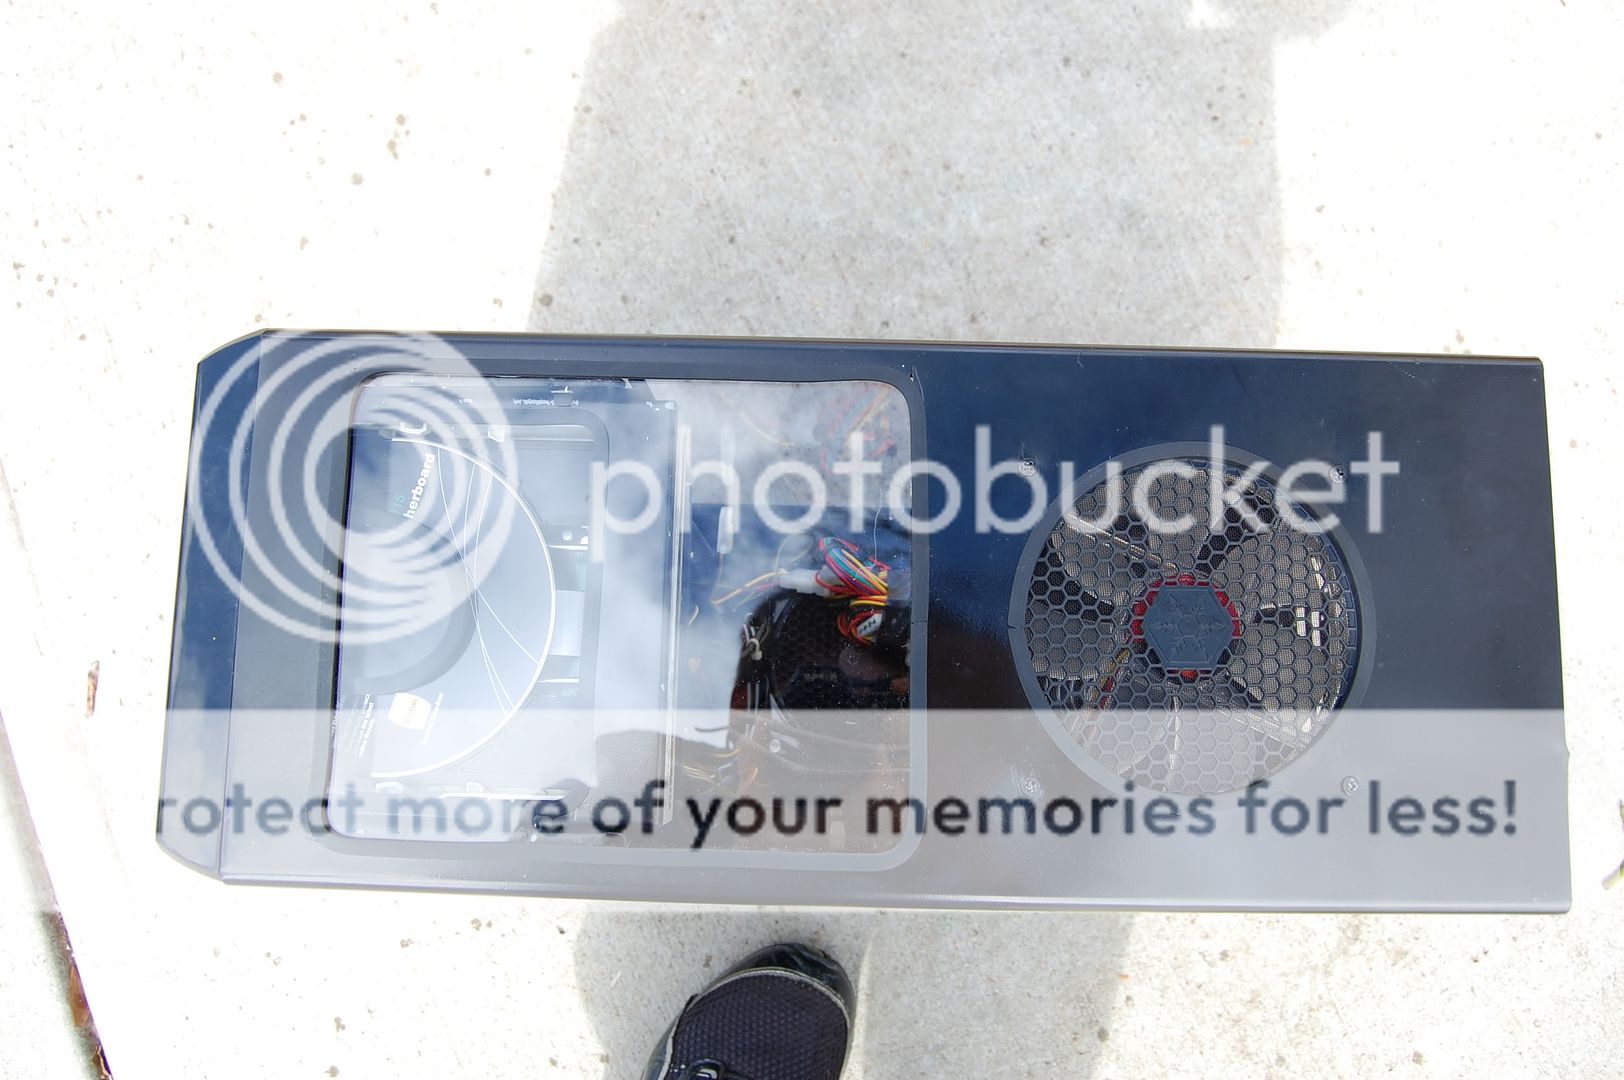
These two pictures are the top of the case itself. I used a hole saw and a drill at 4-1/2" to get the shape. Looks nice. The rectangle slot is for a piece of plexi to get a good view of the dvd drive. Nothing to fancy on the drive. Same thing i did with my xbox not too long ago.
This is the pop rivet tool that you can buy at any hardware stores. It's easy to use and perfect for these types of projects.
This isn't too far from completion. You get the general idea. It's not looking too bad either
I'm trying to make all my drives and such match.

It's almost done! I'm just waiting for a few things to come in the mail then i'll update again
______________________________________________________________________________________________________________________
Okay so ive been working on it a little bit recently and this is what i got so far. There's not much in this update but it's near completion.
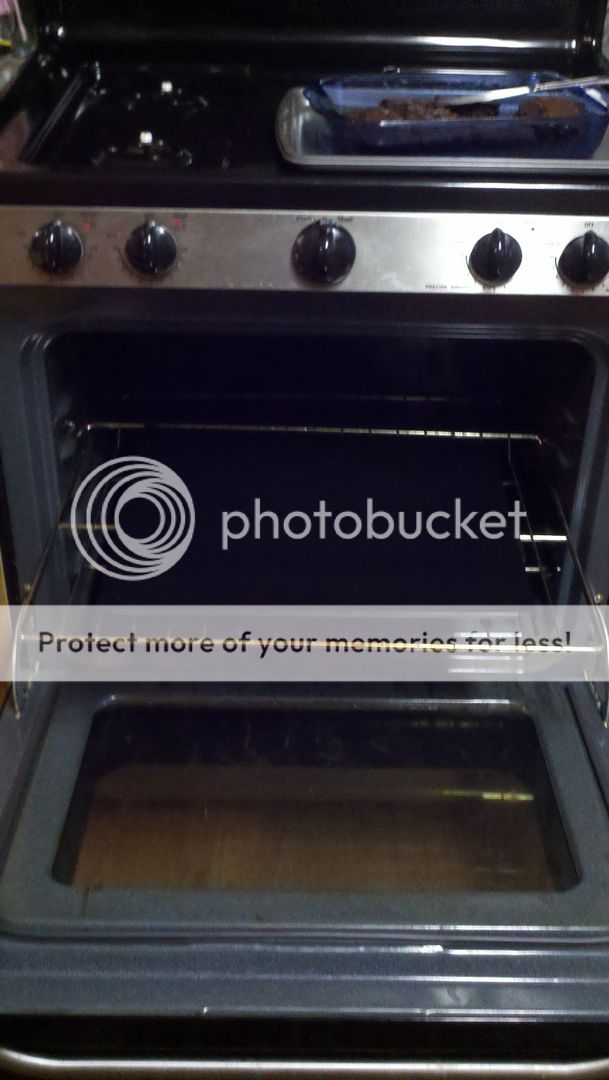
Alright so here's a side panel i painted black and put clear coat on. Unfortunatly the clear coat came out milky and white. So i said fuck it lets bake it. I put it in the over at 200 degrees for 4 minutes and everything went better than expected came out clear smooth and shiney. PERFECT!
Here's some u molding i bought online from mnpctech it was like $3.99 for 6 feet. It works REALLY well and i insist anyone that ever does these mods to do it.
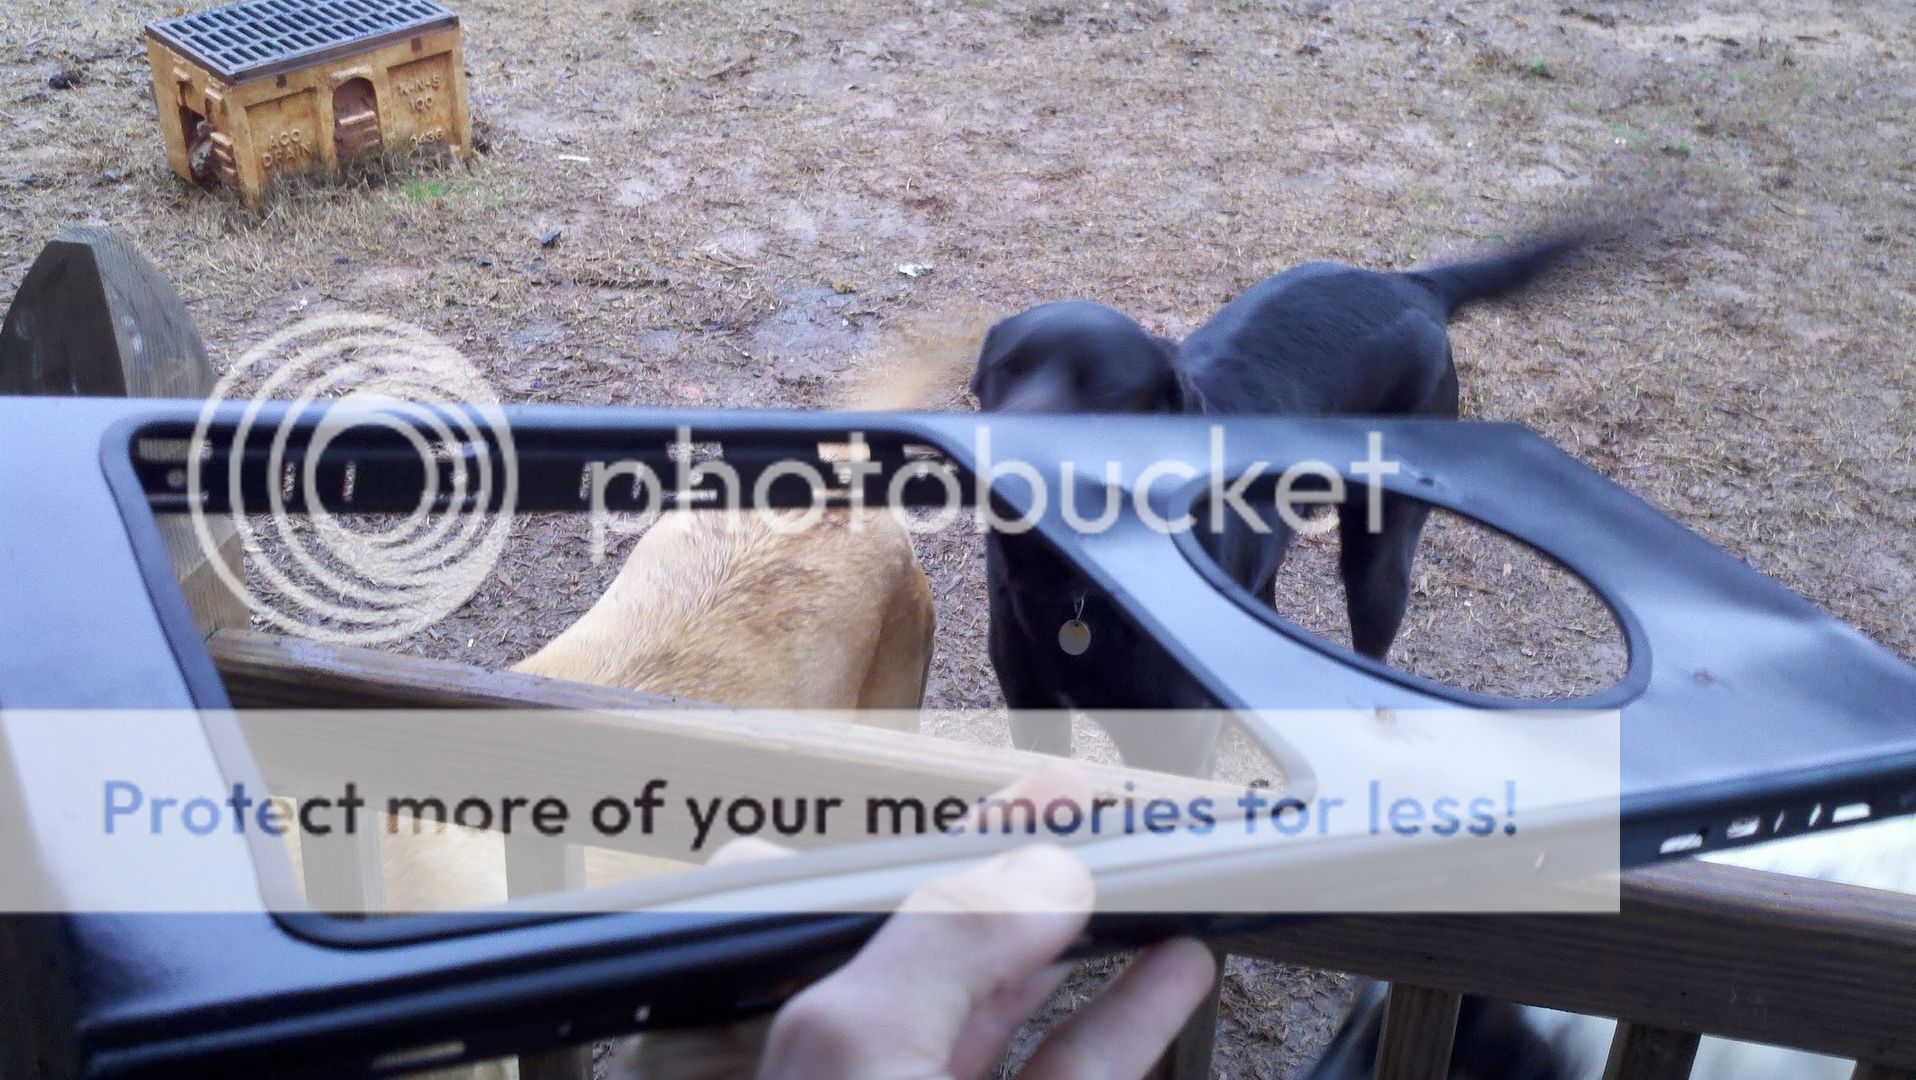
Finished product w/ dogs.
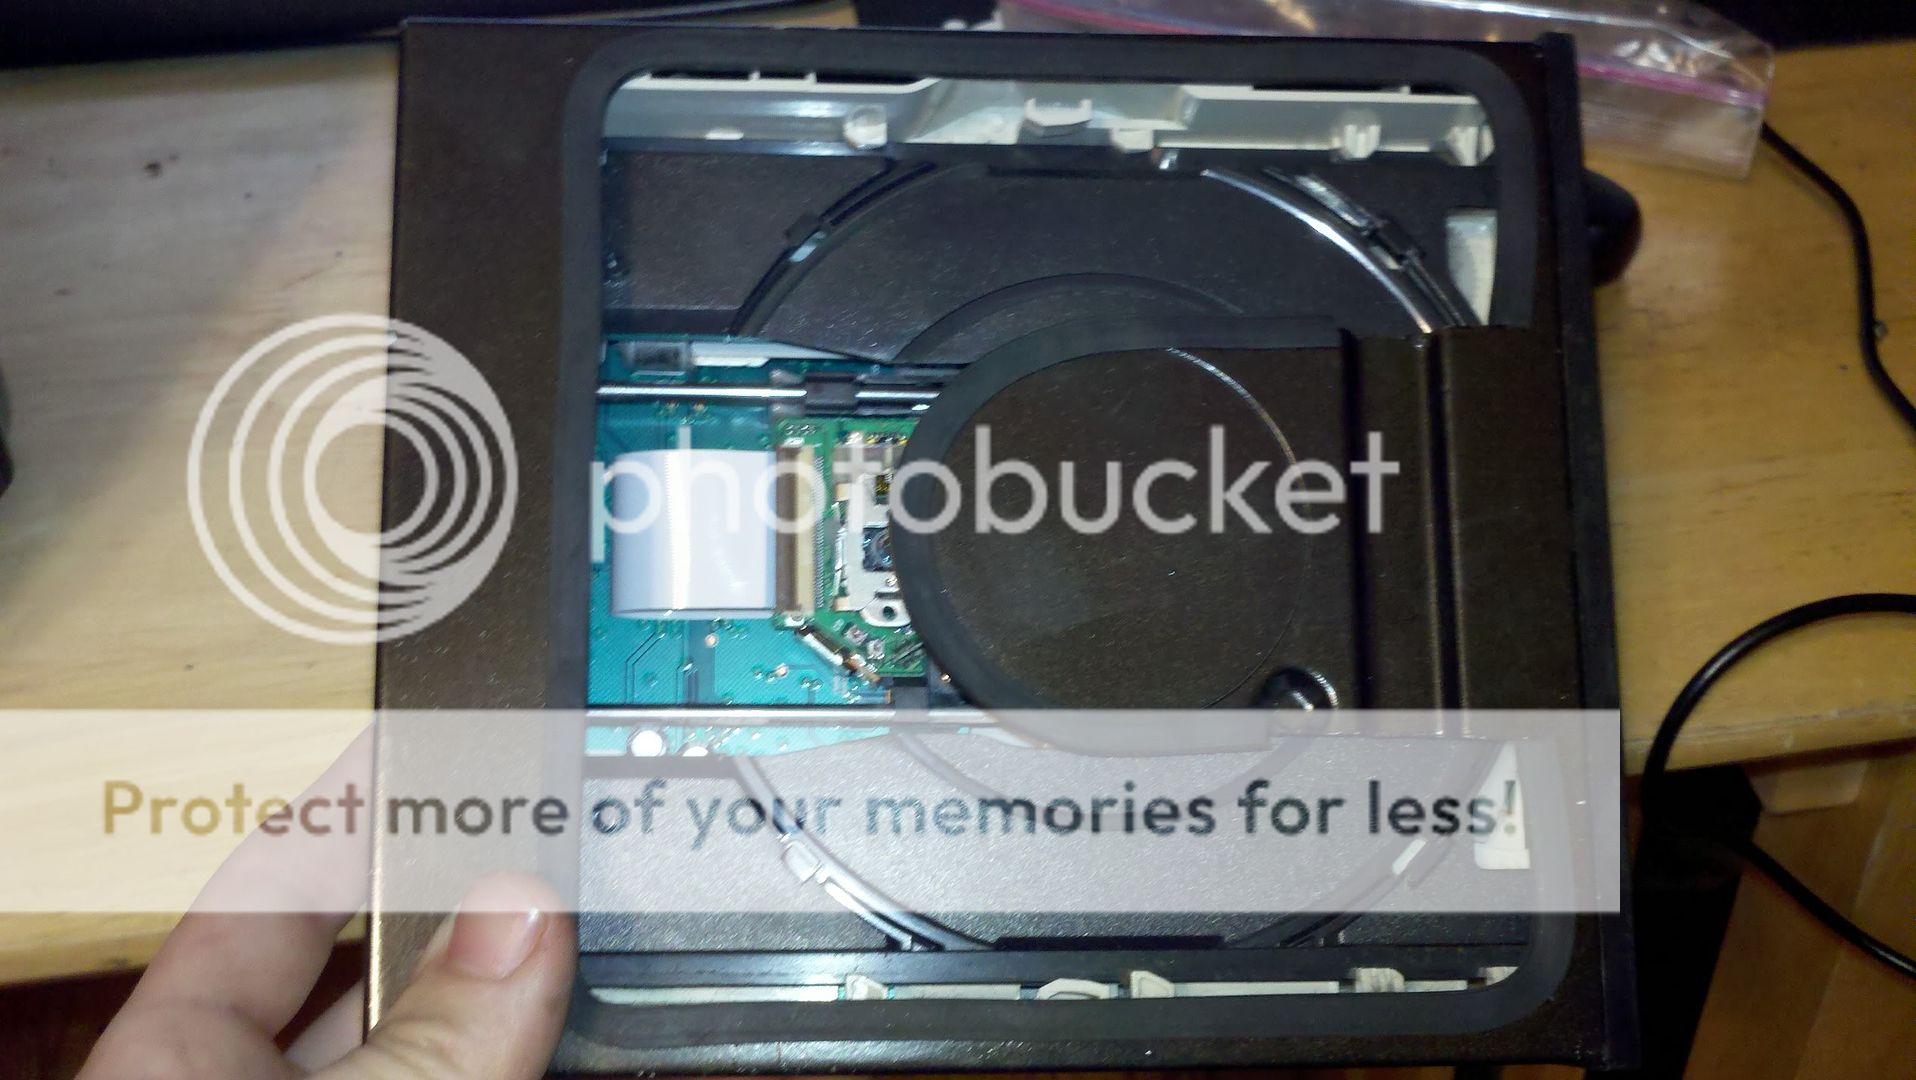
Here's the DVD drive with the same molding and mod.
Almost there!!!
Here's the top attached finally, pop riveting this back on was a bitch and here's the top view...

So hopefully by tomorrow this project WILL FINALLY be done. I hope...
______________________________________________________________________________________________________________________
DONE!
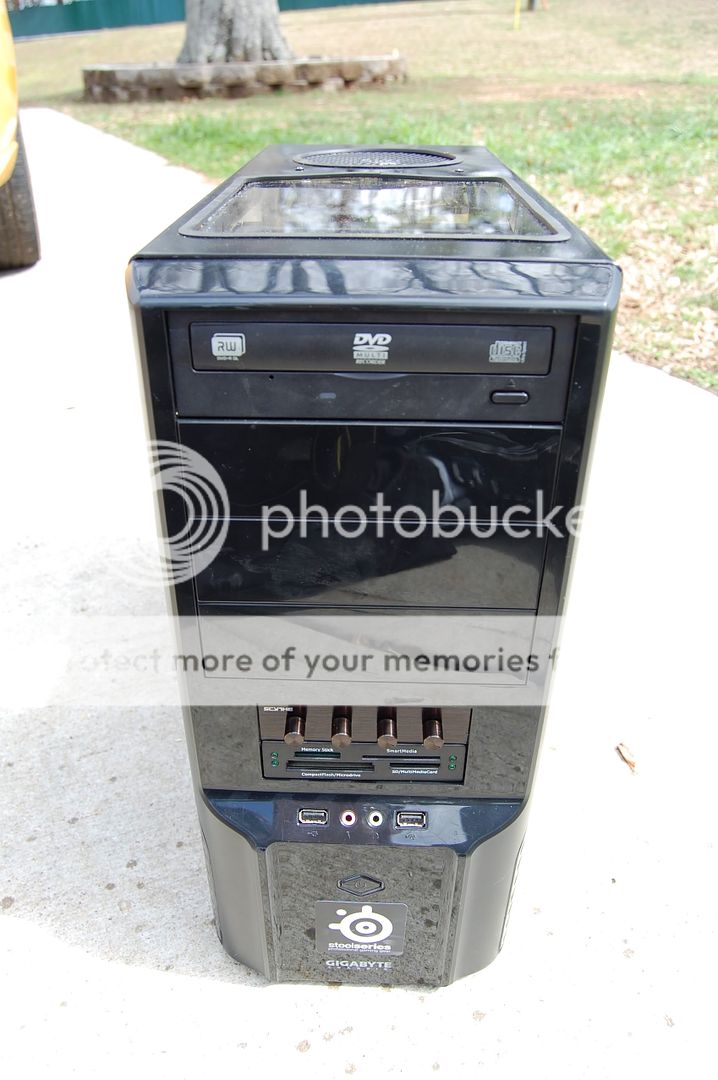
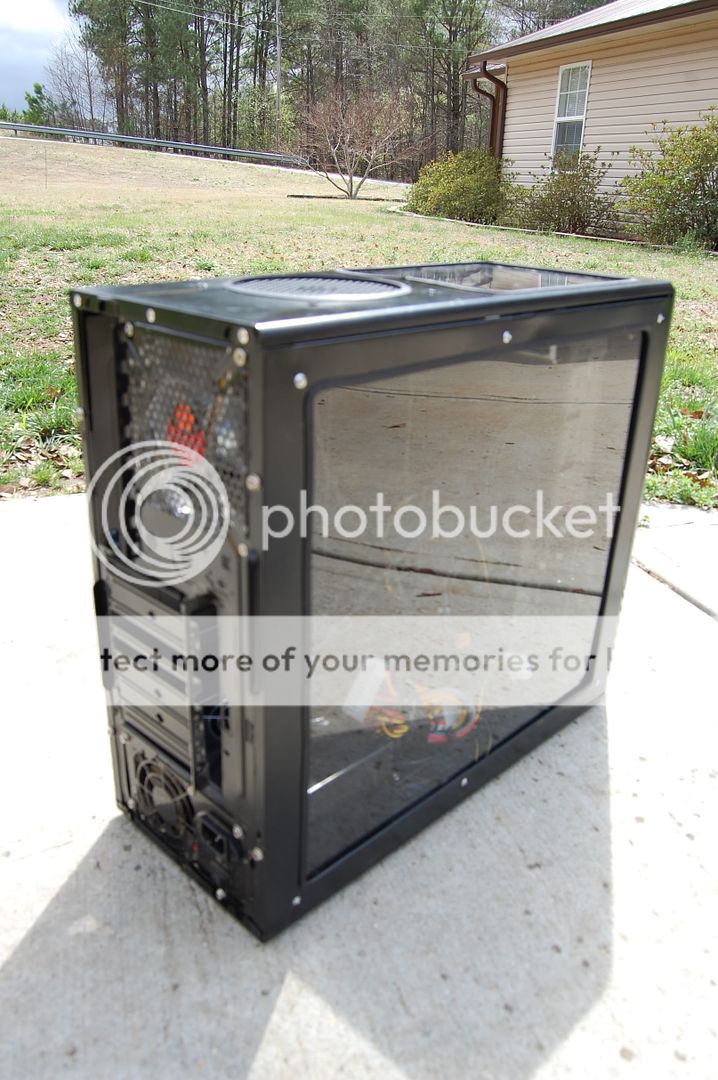
So this is what I'm working with.
Alright so i started off by taking a drill with a smaller sized drill bit and drilled out each pop rivet in the case. Easy task, never though taking apart a computer would be so easy.
I took out my dremmel and went and did a little work. I cut out the front grill so the fan could get a little better airflow. Not much air will flow through here anyways. The cuts aren't pretty here but they will do since they are hidden. I'm also cutting out the side panel and a small square on the opposite panel. I'll have more pictures on that later.
After all this i went to walmart and got some paint. This Krylon primer and satan bronze paint works pretty well.
The paint dries fast! In under 10 minutes. Sprayed a coat of primer and a few coats of the black. I chose satin cause i didn't want a super shiney finish nor a flat boring one.
Quarter of the way done!
I've got everything primed here and i tested out the paint on the backside of the motherboard holder. Btw the car was the only thing i could find to lean them up against
Alright, heres the finished product dealing with the paint. Everything went smooth, dried fast, and looks good. I recomend this paint if anyone wants to do this.
Ok so tomorrow ill go buy some pop rivets and start getting this together. Then i'll also finish cutting out the window, cleaning it up a little bit, then putting in the plexi glass. If you guys want you can gimmie some idea's that i can do. I think Bf2s might get a special place on it.
_______________________________________________________________________________________________________________________
Okay so i found my self to have a free and open weekend. I decided to work on this a little bit. First off, this is most amazing tool ever. Everyone should own one. Go buy one.
This is my side panel window all cut out and grinded down. I'll be repainting it and laying u-channel molden along the edges to make it look really clean and nice. This is also the plexiglass i'll be using. It's a big sheet for only about $15 at home depo.
These two pictures are the top of the case itself. I used a hole saw and a drill at 4-1/2" to get the shape. Looks nice. The rectangle slot is for a piece of plexi to get a good view of the dvd drive. Nothing to fancy on the drive. Same thing i did with my xbox not too long ago.
This is the pop rivet tool that you can buy at any hardware stores. It's easy to use and perfect for these types of projects.
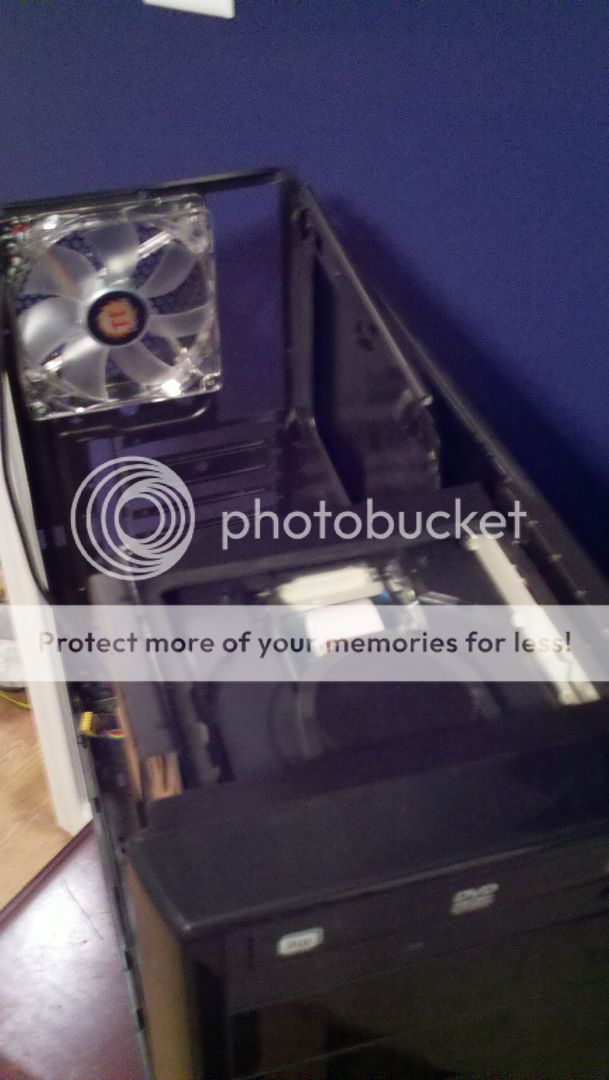
This isn't too far from completion. You get the general idea. It's not looking too bad either
I'm trying to make all my drives and such match.
It's almost done! I'm just waiting for a few things to come in the mail then i'll update again
______________________________________________________________________________________________________________________
Okay so ive been working on it a little bit recently and this is what i got so far. There's not much in this update but it's near completion.
Alright so here's a side panel i painted black and put clear coat on. Unfortunatly the clear coat came out milky and white. So i said fuck it lets bake it. I put it in the over at 200 degrees for 4 minutes and everything went better than expected came out clear smooth and shiney. PERFECT!
Here's some u molding i bought online from mnpctech it was like $3.99 for 6 feet. It works REALLY well and i insist anyone that ever does these mods to do it.
Finished product w/ dogs.
Here's the DVD drive with the same molding and mod.
Almost there!!!
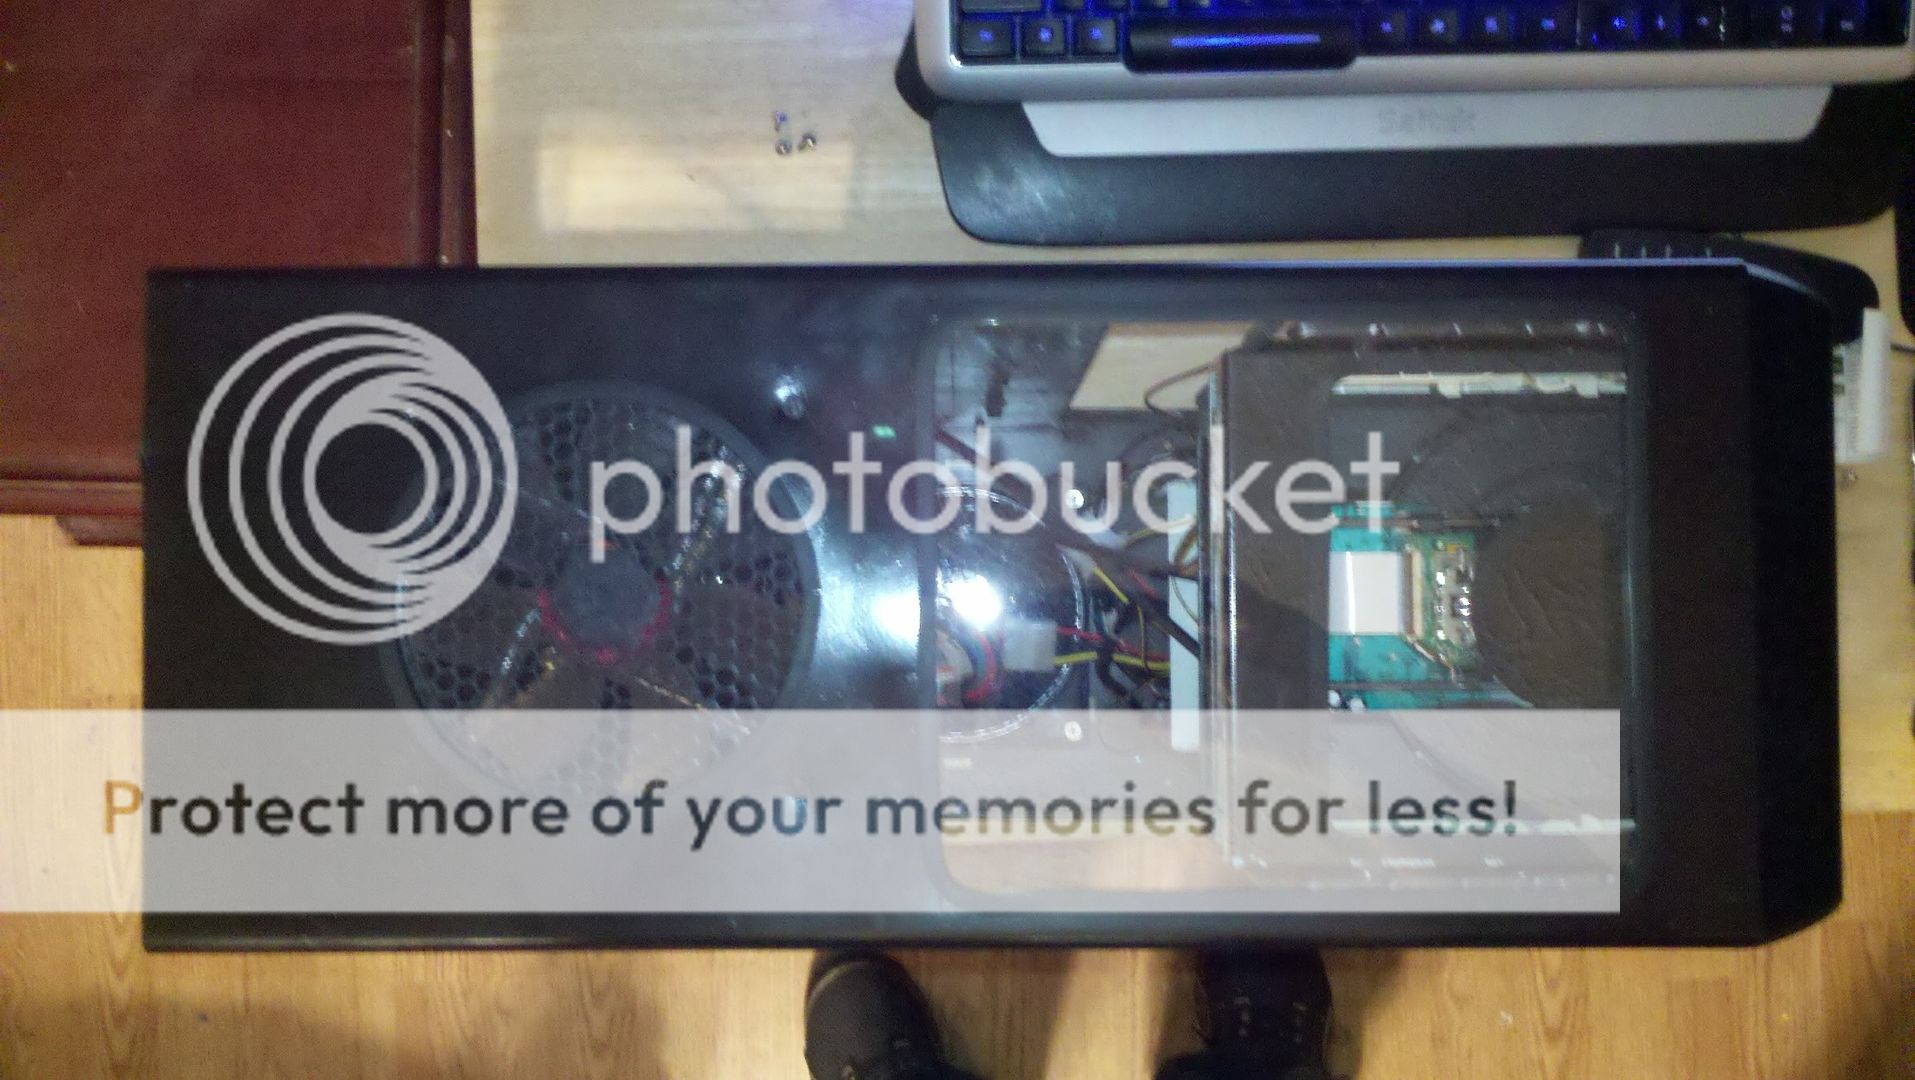
Here's the top attached finally, pop riveting this back on was a bitch and here's the top view...
So hopefully by tomorrow this project WILL FINALLY be done. I hope...
______________________________________________________________________________________________________________________
DONE!
Last edited by NeXuS (2011-03-10 11:21:05)